Phones are more capable than you think
Not everyone who loves mushrooms has a dedicated camera, and that is completely fine. Modern smartphones are genuinely capable of producing excellent mushroom photographs. The cameras in current flagship phones rival entry-level DSLRs in many conditions, and their ability to focus at close range is often better than a standard camera with a kit lens. For documenting finds, sharing to iNaturalist, or building a social media presence around fungi, a phone is a perfectly legitimate tool.
I want to be upfront about the photos in this article: they were taken with a relatively old phone from around 2015, which by today’s standards is quite limited. Newer generation smartphones produce significantly better results, particularly in low light and at close range. So if my phone shots look a bit rough compared to the macro photography elsewhere on this site, that is why. The techniques still work, the results just get considerably better with a more recent device.
Starting with a phone is actually a great way to get into mushroom photography. The same fundamental principles apply: lighting, angle, stability, choosing the right specimen. Learning those things on a phone means that when you eventually move to a dedicated camera, the transition is much smoother than starting from scratch. And there is a real convenience advantage to phones that should not be underestimated. A mirrorless camera with a macro lens and a tripod is a serious kit to carry. A phone is always in your pocket. Some of the best fungi finds happen when you are not expecting them, and having something capable on you at all times is genuinely valuable.
That said, getting the most out of a phone camera for mushroom photography does require some thought. The same principles that apply to mushroom photography in general apply here: lighting matters enormously, stability is critical, and getting down to the level of your subject changes everything.
Stabilisation is everything
One of the most common reasons phone mushroom photos come out soft or blurry has nothing to do with the camera itself. It is camera shake. Holding a phone freehand in low forest light, which is most of the time, introduces enough movement to soften the image noticeably. The solution is the same as it is for any camera: stabilise it.
A small phone tripod is one of the most useful accessories you can own for field photography. It does not need to be expensive. What matters more than size or price is that it can get low. Mushrooms grow at ground level, and a tripod that cannot get the phone close to the ground is only partially useful. Look for one with legs that splay wide or a mount that can be positioned almost flat to the surface.
A GorillaPod-style flexible tripod is an excellent choice for phone photography specifically. The flexible legs can be wrapped around branches, roots, or rocks to position the phone at angles that a rigid tripod never could. For very low shots, placing the phone directly on a bean bag, a folded jacket, or even a flat rock works well and costs nothing.
If you are using the phone freehand, use the volume button or a Bluetooth remote to trigger the shutter rather than tapping the screen, which always introduces a small amount of movement at the moment of capture. Most phones also have a timer delay option that serves the same purpose.
Lighting tips for phone photography
The same lighting principles that apply to camera photography apply to phone photography, perhaps even more so because phone sensors are smaller and less forgiving of difficult light conditions. Overcast days produce the best results: soft, even, diffused light with no harsh shadows or blown-out highlights. Direct sunlight is almost always unflattering for mushroom photography regardless of what you are shooting with.
On sunny days, find naturally shaded spots under the forest canopy, or create shade by blocking the light with your body or having a companion stand in the right position. One particularly effective technique is to use a translucent white umbrella to block direct sunlight and create a softbox-like effect over the subject. The light that passes through the umbrella becomes soft and even in a way that closely mimics an overcast sky.
As with any mushroom photography, getting some light underneath the cap onto the gills and stem makes a significant difference. A piece of white paper, a foil-lined bag, or a small portable LED held below the mushroom bounces light into the naturally shadowed areas and brings the image to life. Phone cameras are good at exposing for the overall scene but they will almost always leave the underside of a cap in shadow if you do not actively address it.
The black background trick
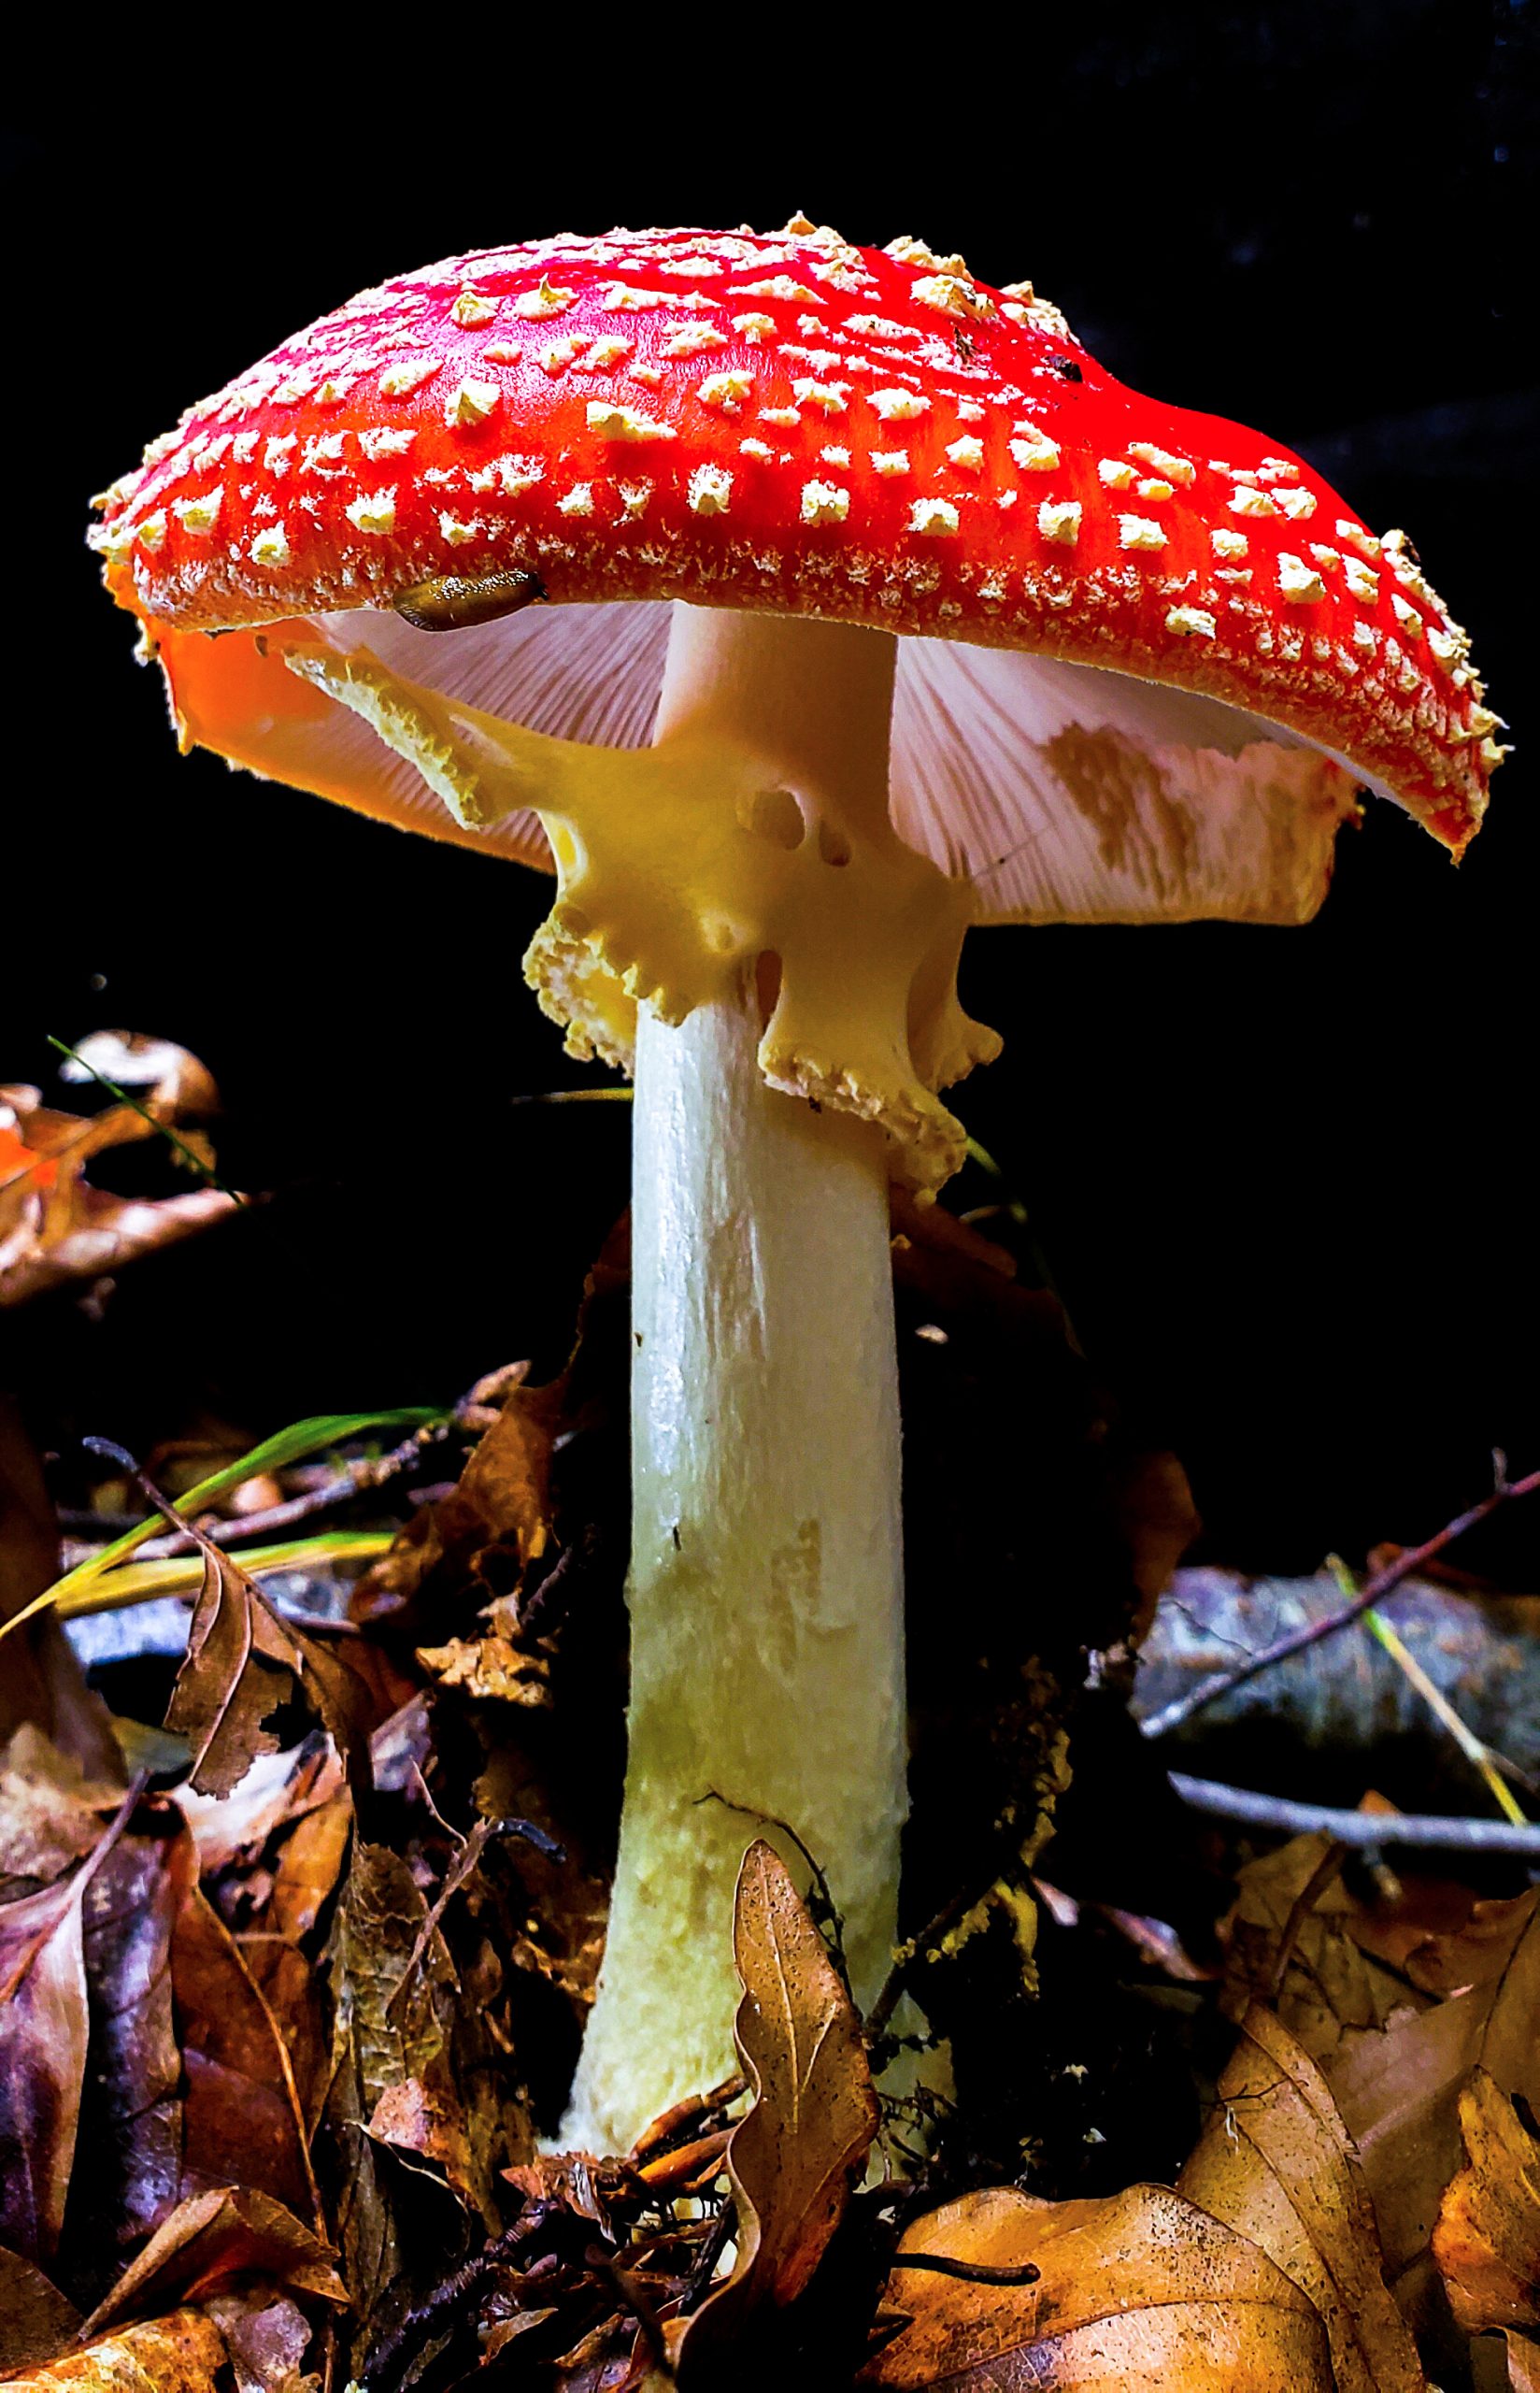
This is one of the most striking and creative techniques for phone mushroom photography, and it works completely counterintuitively. By bringing a light source very close to the mushroom and pointing it directly at the subject, you create a strong exposure difference between the brightly lit mushroom and the darker surroundings. The phone’s sensor exposes for the bright subject, and as a result the background goes almost completely black, even in full daylight in the middle of a forest.
The effect is dramatic and produces images that look almost like studio shots taken against a black backdrop. It works best when the background is already relatively dark, such as in forest shade, but it can work surprisingly well even in brighter conditions if the light-to-subject distance is short enough. A small LED panel or even a phone torch held very close to the mushroom is enough to create the effect. It is worth experimenting with on any outing.
Composition and getting low
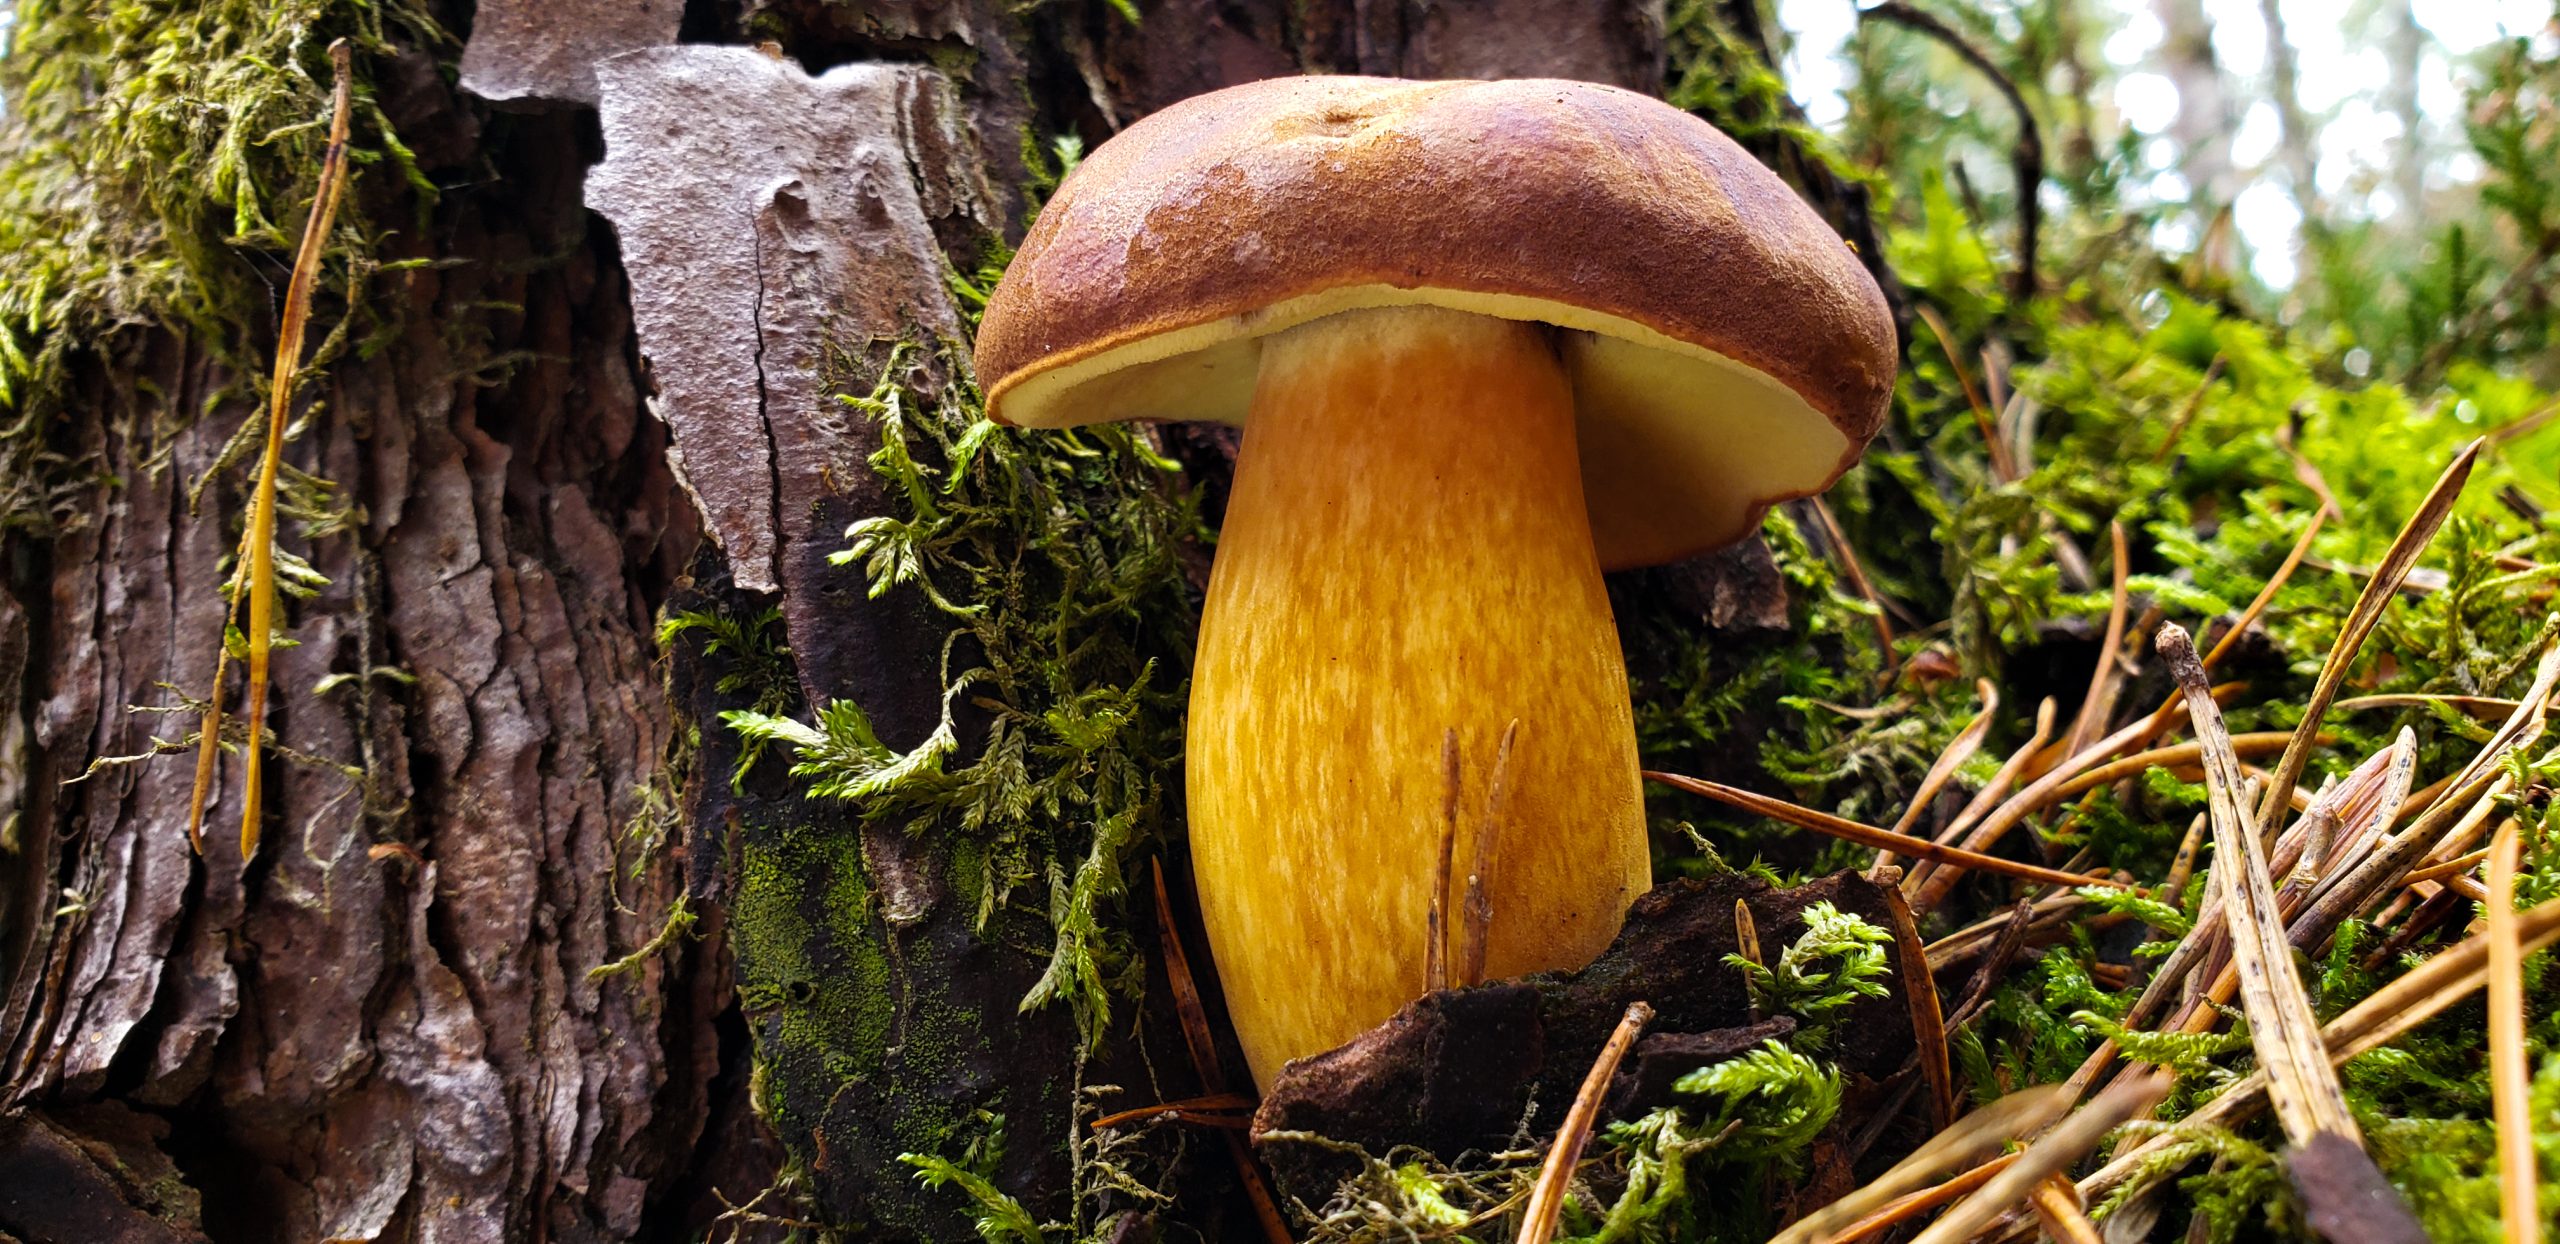
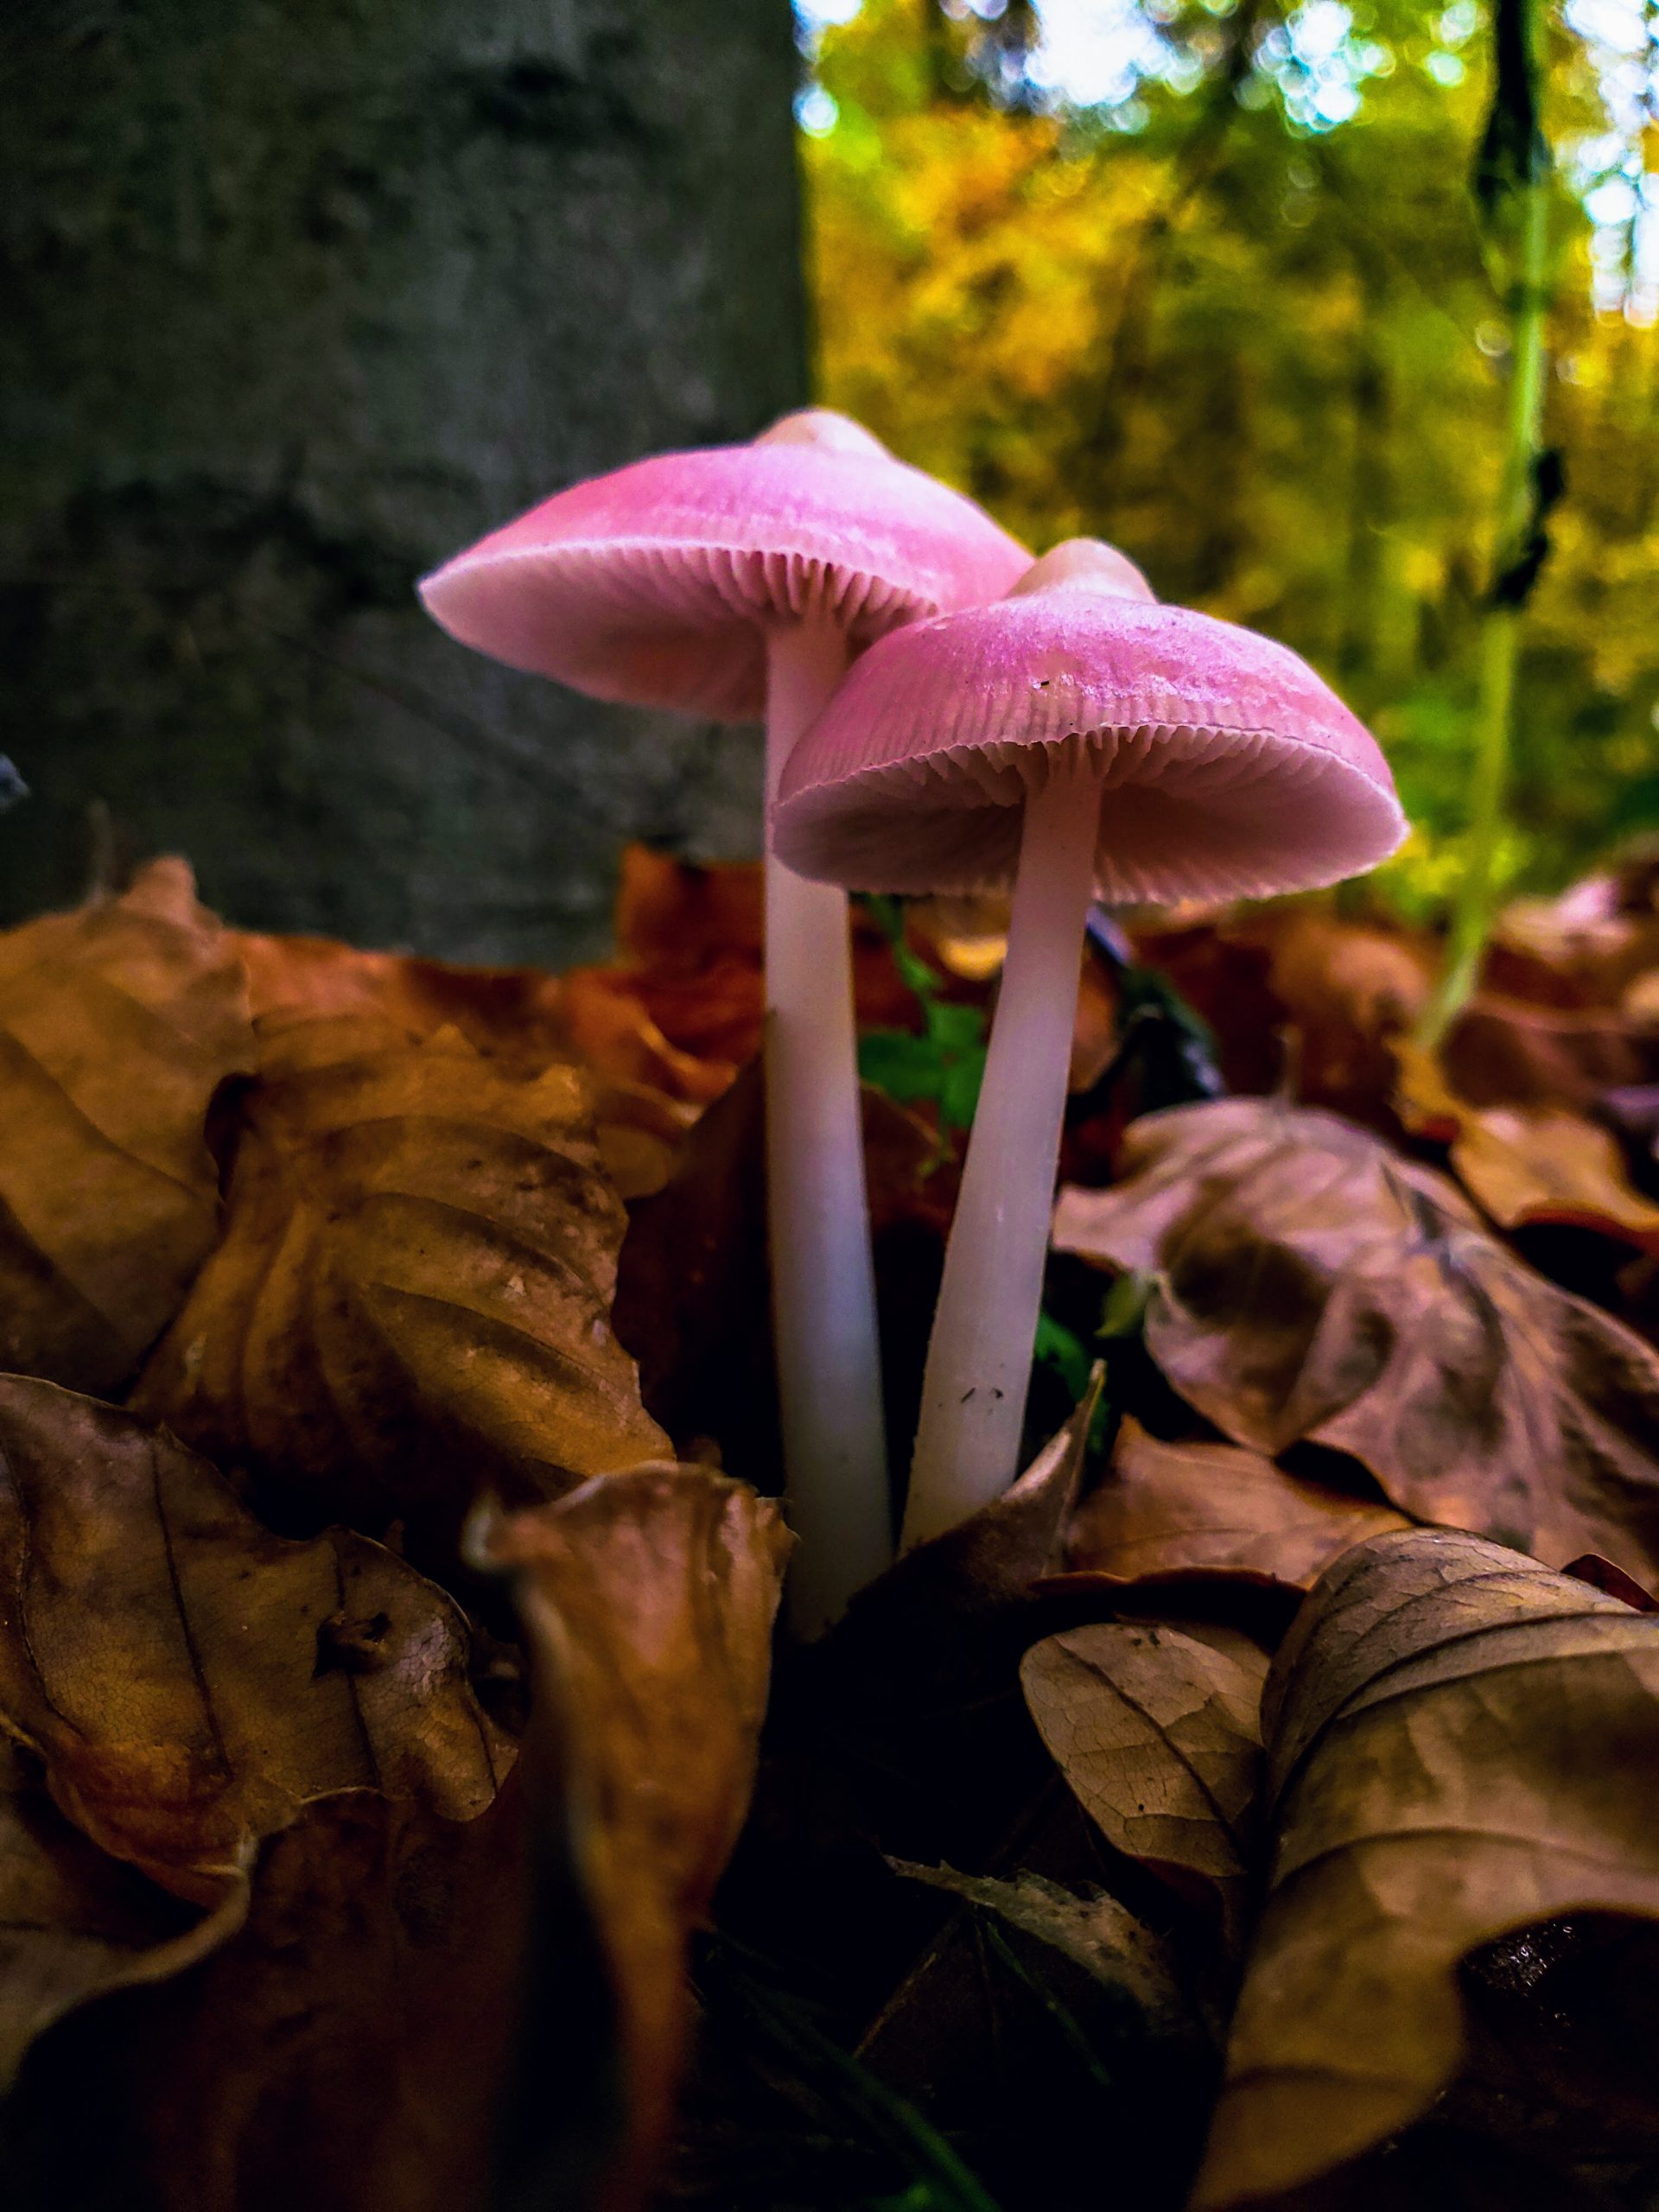
The single most impactful compositional change you can make in phone mushroom photography is to get the phone down to the level of the subject. Most people photograph mushrooms from standing or crouching height, which produces the kind of top-down shot that makes even a beautiful specimen look flat and unremarkable. Getting the phone to ground level and shooting at the height of the gills completely transforms the image.
For this kind of shot, a low tripod or a bean bag to rest the phone on is invaluable. Some photographers mount their phone horizontally for landscape-format shots and vertically for portrait format. If you are shooting for social media, particularly Instagram, vertical shots tend to perform better. For scientific documentation or wider compositions, horizontal is more useful. If you want to capture both, some photographers mount a phone on top of their main camera simultaneously to record video or secondary shots while they work.
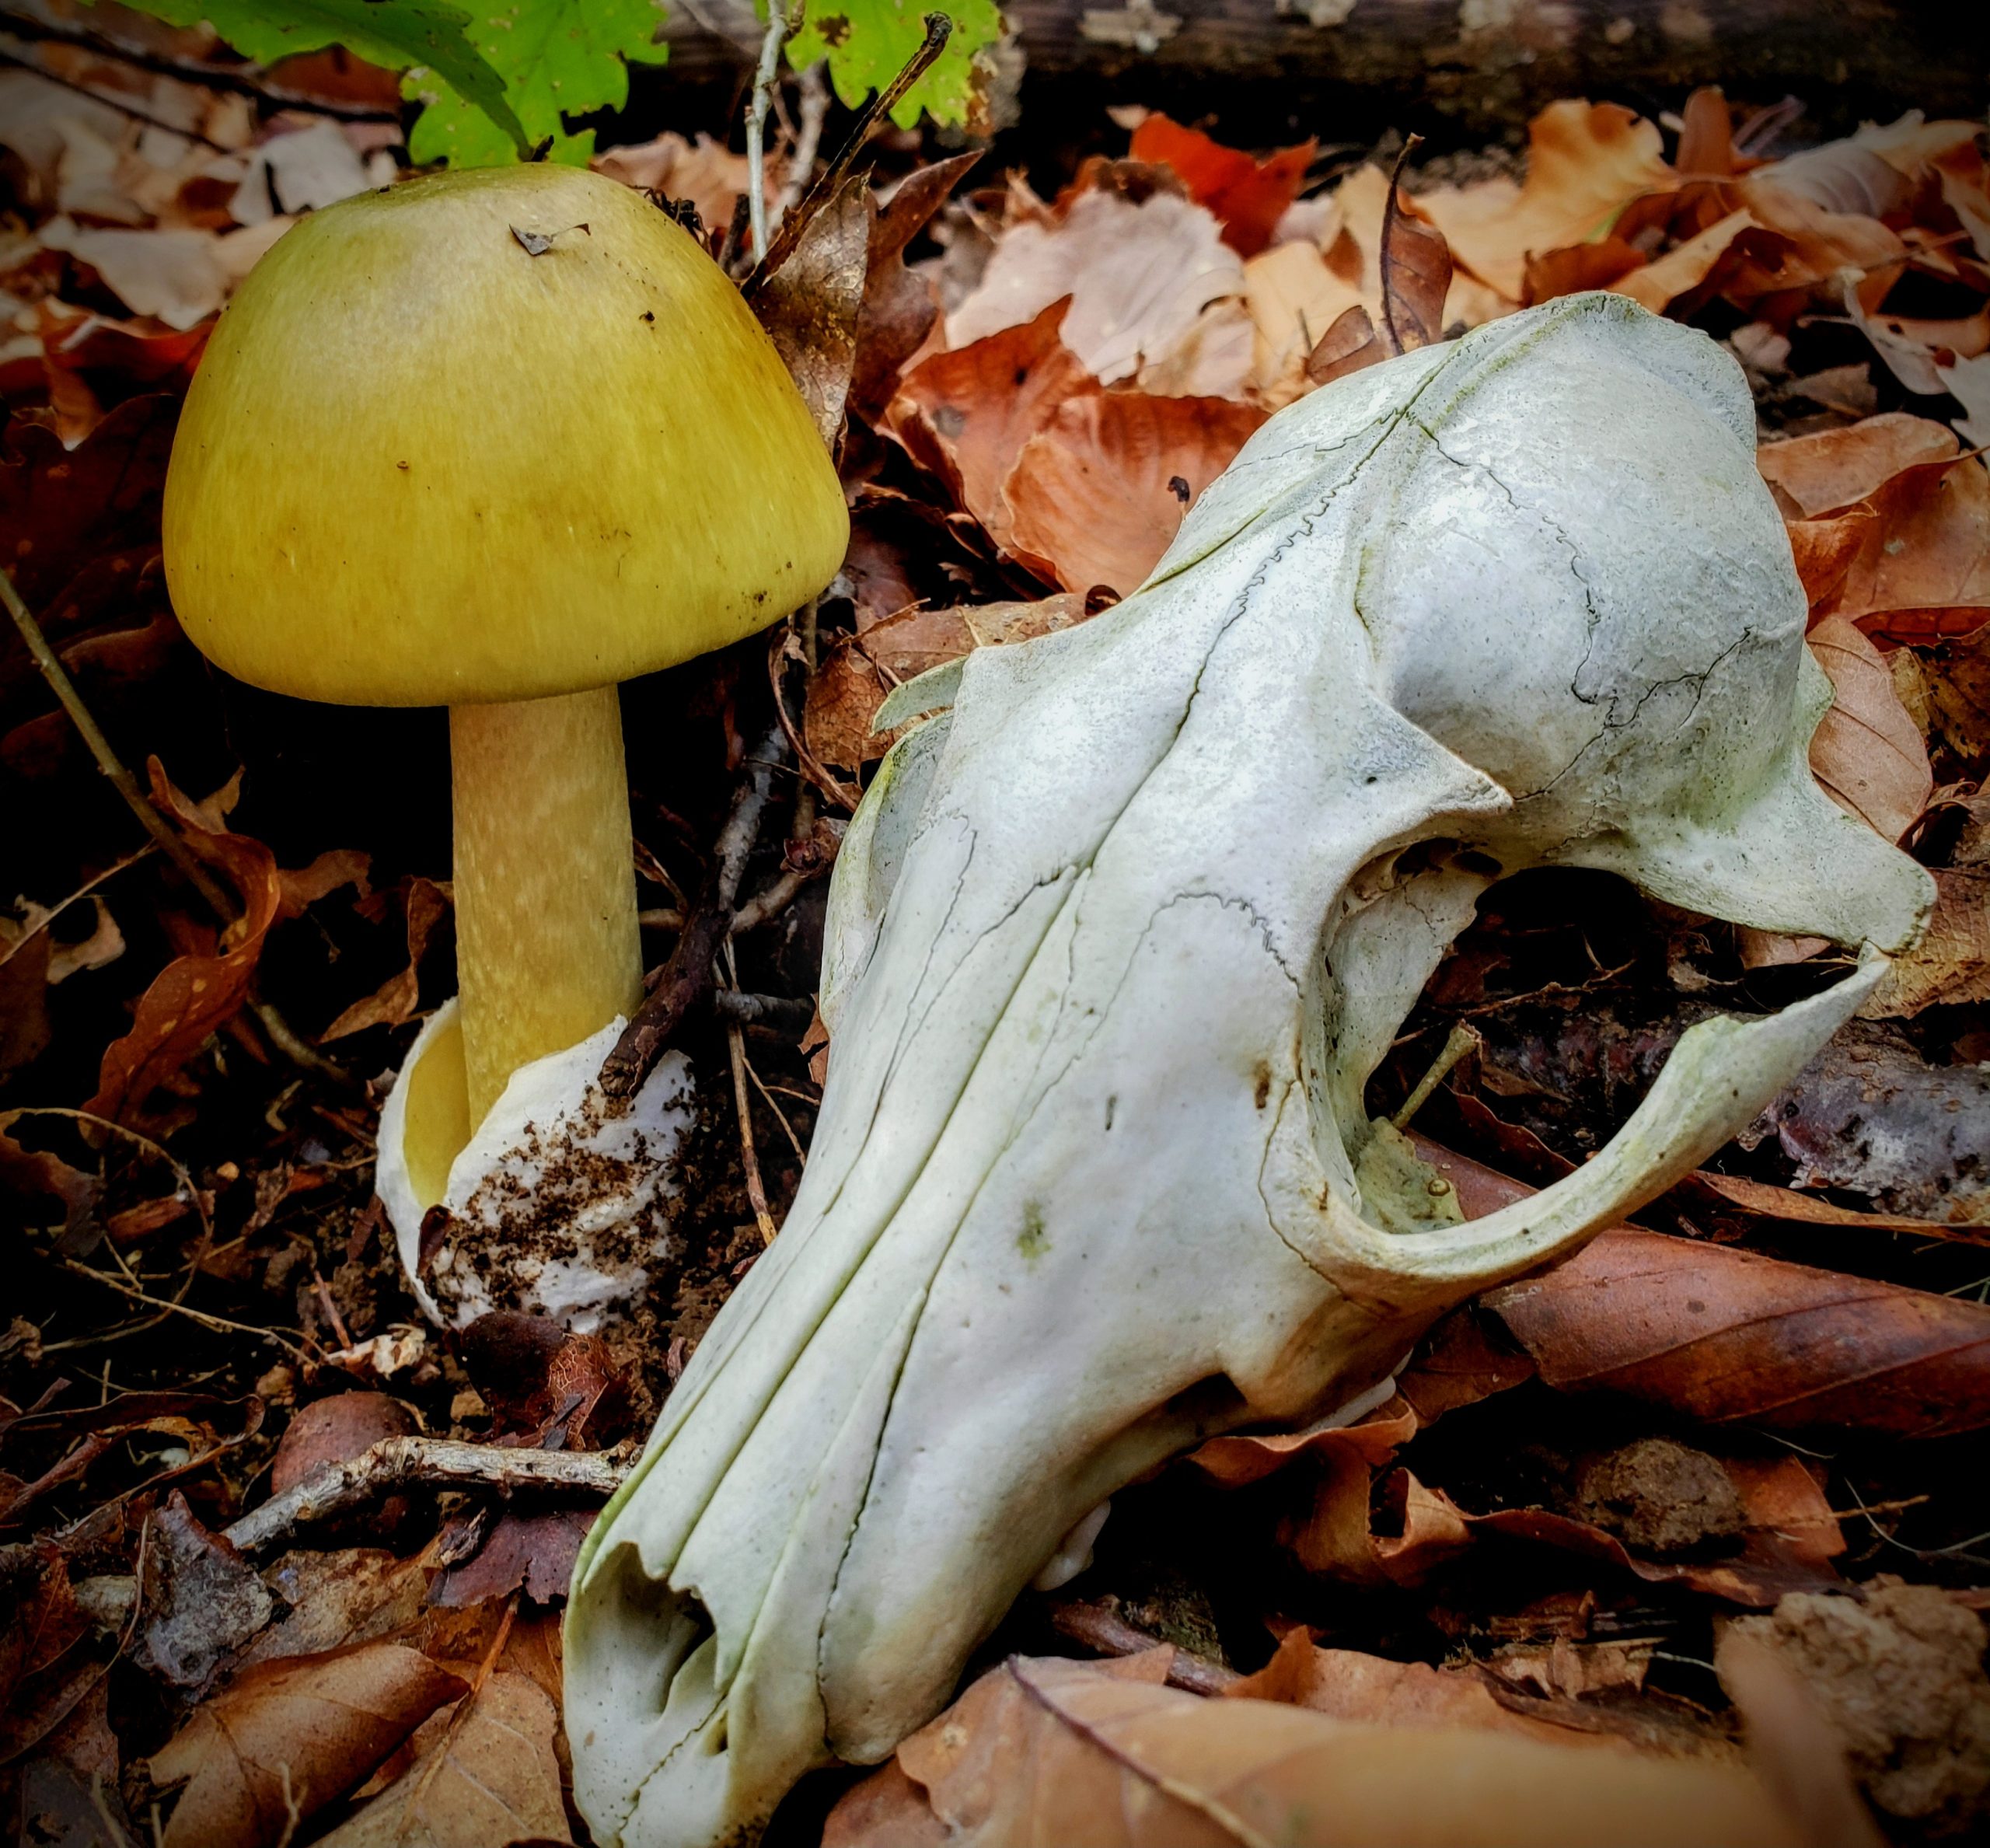
Pay attention to what is in the background. A cluttered, busy background pulls attention away from the subject. Moving a few twigs or leaves out of frame, or shifting your position slightly so the background becomes a cleaner patch of soil or moss, can make a significant difference to the final image without touching the mushroom itself. Props can also add creative interest — a skull next to an Amanita phalloides, for example, is an obvious but effective way to communicate just how deadly the subject is.
Macro and magnification on a phone
Most phones can focus surprisingly close to a subject, often within a centimetre or two on the standard lens. For medium-sized mushrooms this is usually enough. For very small species, slime molds, or any subject under about 5mm, you will hit the limits of what a standard phone camera can resolve.
The most accessible solution is a clip-on macro lens, which attaches directly over the phone’s camera and dramatically reduces the minimum focusing distance. These are inexpensive, widely available, and can transform a phone into a capable close-up tool for subjects in the 5mm to 20mm range. Quality varies significantly between options, so it is worth reading reviews before buying.
For even smaller subjects, holding a magnifying glass in front of the phone’s lens is a surprisingly effective technique. It is not the most elegant solution but it works, and for a quick field shot of a tiny slime mold sporangium or a miniature Mycena it can reveal detail that would otherwise be completely lost. Some dedicated macro photographers also use jeweller’s loupes held in front of the lens for this purpose. If you want to know what to look for once you find one, the guide on finding and photographing slime molds covers that in detail.
For very serious close-up work, the Raynox DCR-250 can be adapted for use with some phone setups, though this starts to get into territory where a dedicated camera with a macro lens becomes the more practical choice.
Documenting specimens properly
If you are photographing mushrooms for scientific documentation, iNaturalist submissions, or your own records, a few extra shots beyond the aesthetic one make a big difference to the usefulness of the record.
Including a ruler or a coin in at least one frame documents the scale of the specimen, which can be important for identification. For the artistic shots, obviously leave the ruler out. A collection number tag placed in the frame during field shots is also useful if you are collecting multiple specimens in a session. When you upload to iNaturalist or Mushroom Observer later, having a number visible in the photo makes it straightforward to match each image to the correct record without confusion.
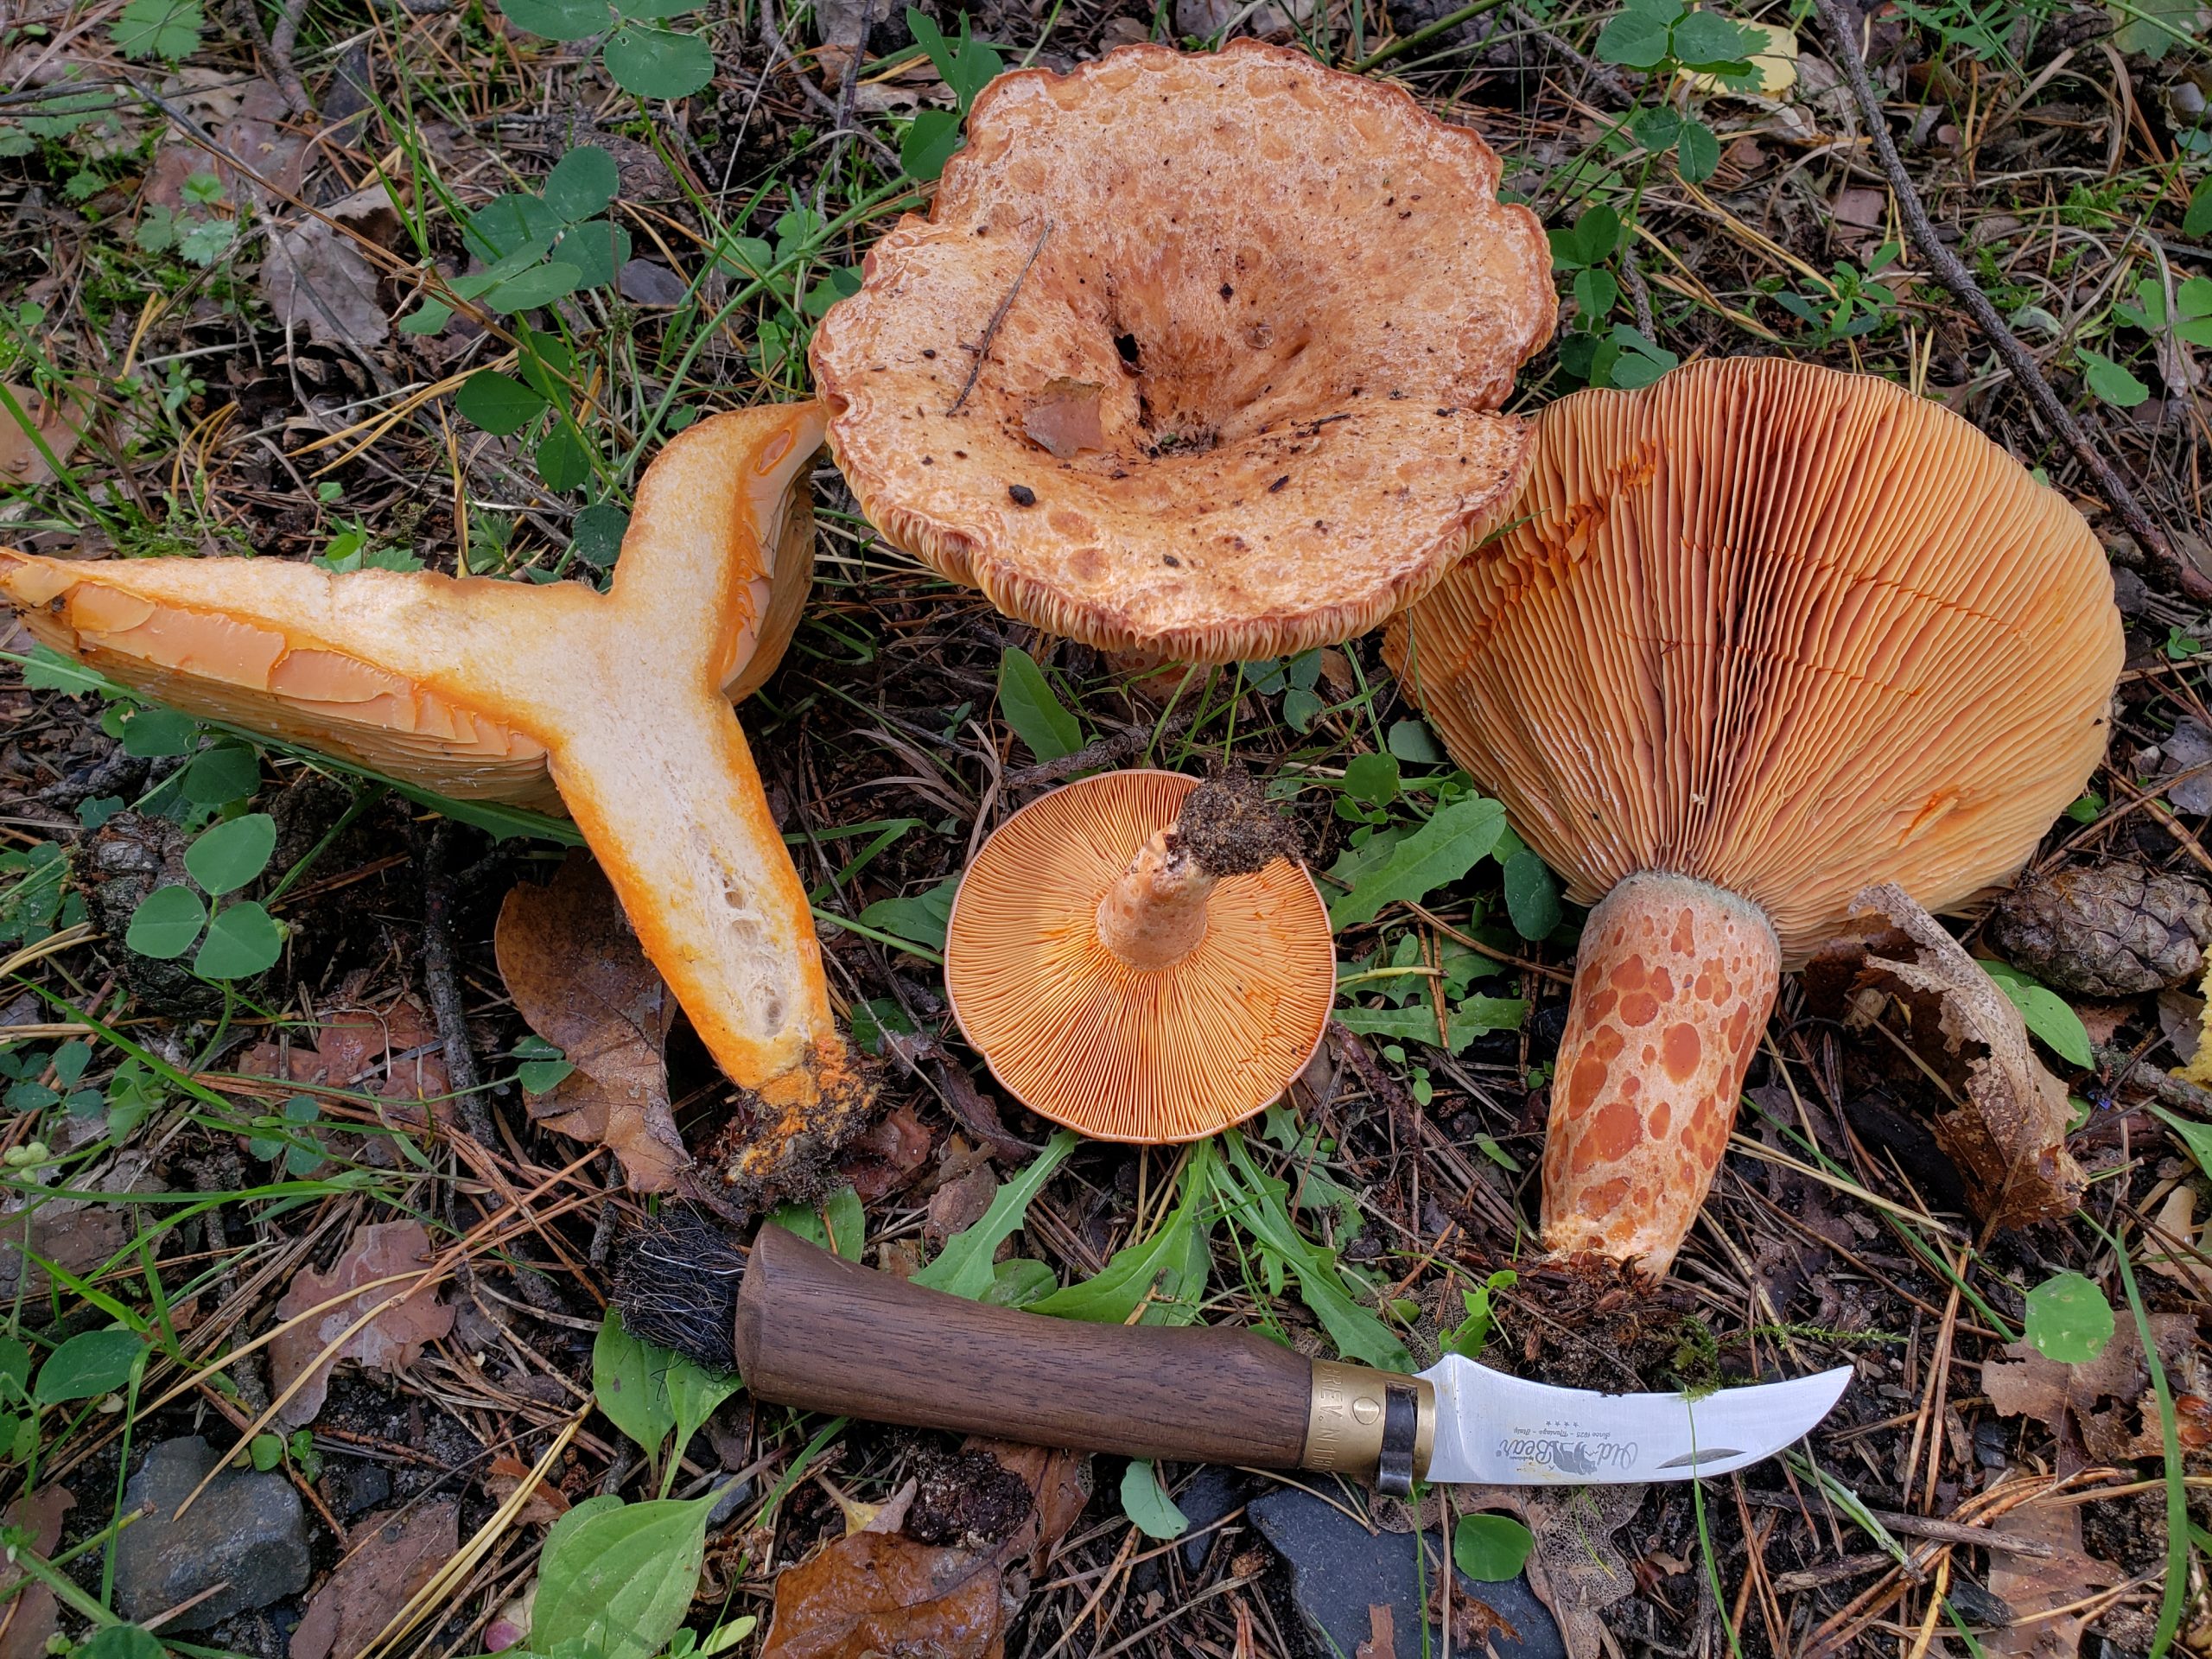
Beyond the cap-down beauty shot, try to document the underside of the cap (the gills, pores, or teeth), the base of the stem, and the habitat context. These details are often what determines whether an identification can be confirmed, and a phone is perfectly capable of capturing all of them.

Where to share your photos
Different platforms serve different purposes and it is worth understanding what each one is good for before deciding where to post.
For scientific value, iNaturalist and Mushroom Observer are the two most important platforms. Photos uploaded there contribute to real biodiversity data and can be identified by the global community of mycologists and naturalists. The more documentation shots you include, the more useful your observation becomes.
For free public use, Wikipedia is worth considering if you have a clean, well-documented photo of a species that lacks good representation on the platform. Your image can end up being the reference photo that millions of people see.
For visual reach and growing an audience, Instagram remains one of the best platforms for nature and fungi photography. Strong images, good hashtags, and consistency matter more than follower count when starting out.
For identification help and community discussion, Facebook groups dedicated to mycology are very active and often have knowledgeable members who can help with difficult identifications. Posting a full set of documentation photos rather than just the beauty shot greatly increases the chance of getting a useful response.
When a phone is not enough
For most casual mushroom photography, a phone is perfectly sufficient. Where it starts to show its limits is in very low light conditions where sensor noise becomes significant, at very high magnification for tiny subjects, and when doing focus stacking for maximum depth of field on small specimens.
Focus stacking in particular is very difficult on a phone. While some camera apps offer basic focus stacking functionality, it is nowhere near as capable as the in-camera focus bracketing available on dedicated camera systems like Olympus, or the results achievable with dedicated stacking software on a computer. If you want to understand the concept properly first, the article on what focus stacking is is a good starting point. If focus stacking is something you want to pursue, it is one of the main arguments for eventually moving to a dedicated camera. The article on cameras with focus stacking capability covers the options in detail.
That said, a phone in your pocket is always better than a camera left at home. Some of the most memorable fungi finds happen when you are not expecting them, and the best camera is always the one you have with you.
Best of luck out there.