Why mushroom photography is more accessible than you might think
When it comes to nature photography, mushroom photography is one of the more accessible genres out there. That is not to say there is no skill or technique involved, because there is plenty, but mushroom photographers have it pretty good compared to those shooting birds, insects, or even plants. Birds and insects move, which means you need to be quick and precise. Birds are also time-sensitive since they are mostly active in the early morning or evening. Insects are best photographed in the morning when cooler temperatures slow them down. Plants, while stationary, are often found in areas exposed to direct sunlight and blow around in the wind.
Mushrooms, on the other hand, stay still and can be photographed at any time of day. Even a strong wind rarely moves them. There are challenges of course, like rain, mud, and the difficulty of finding a good specimen in the first place, but the fundamental act of capturing the shot is considerably more forgiving than most other wildlife photography.
Find the right specimen
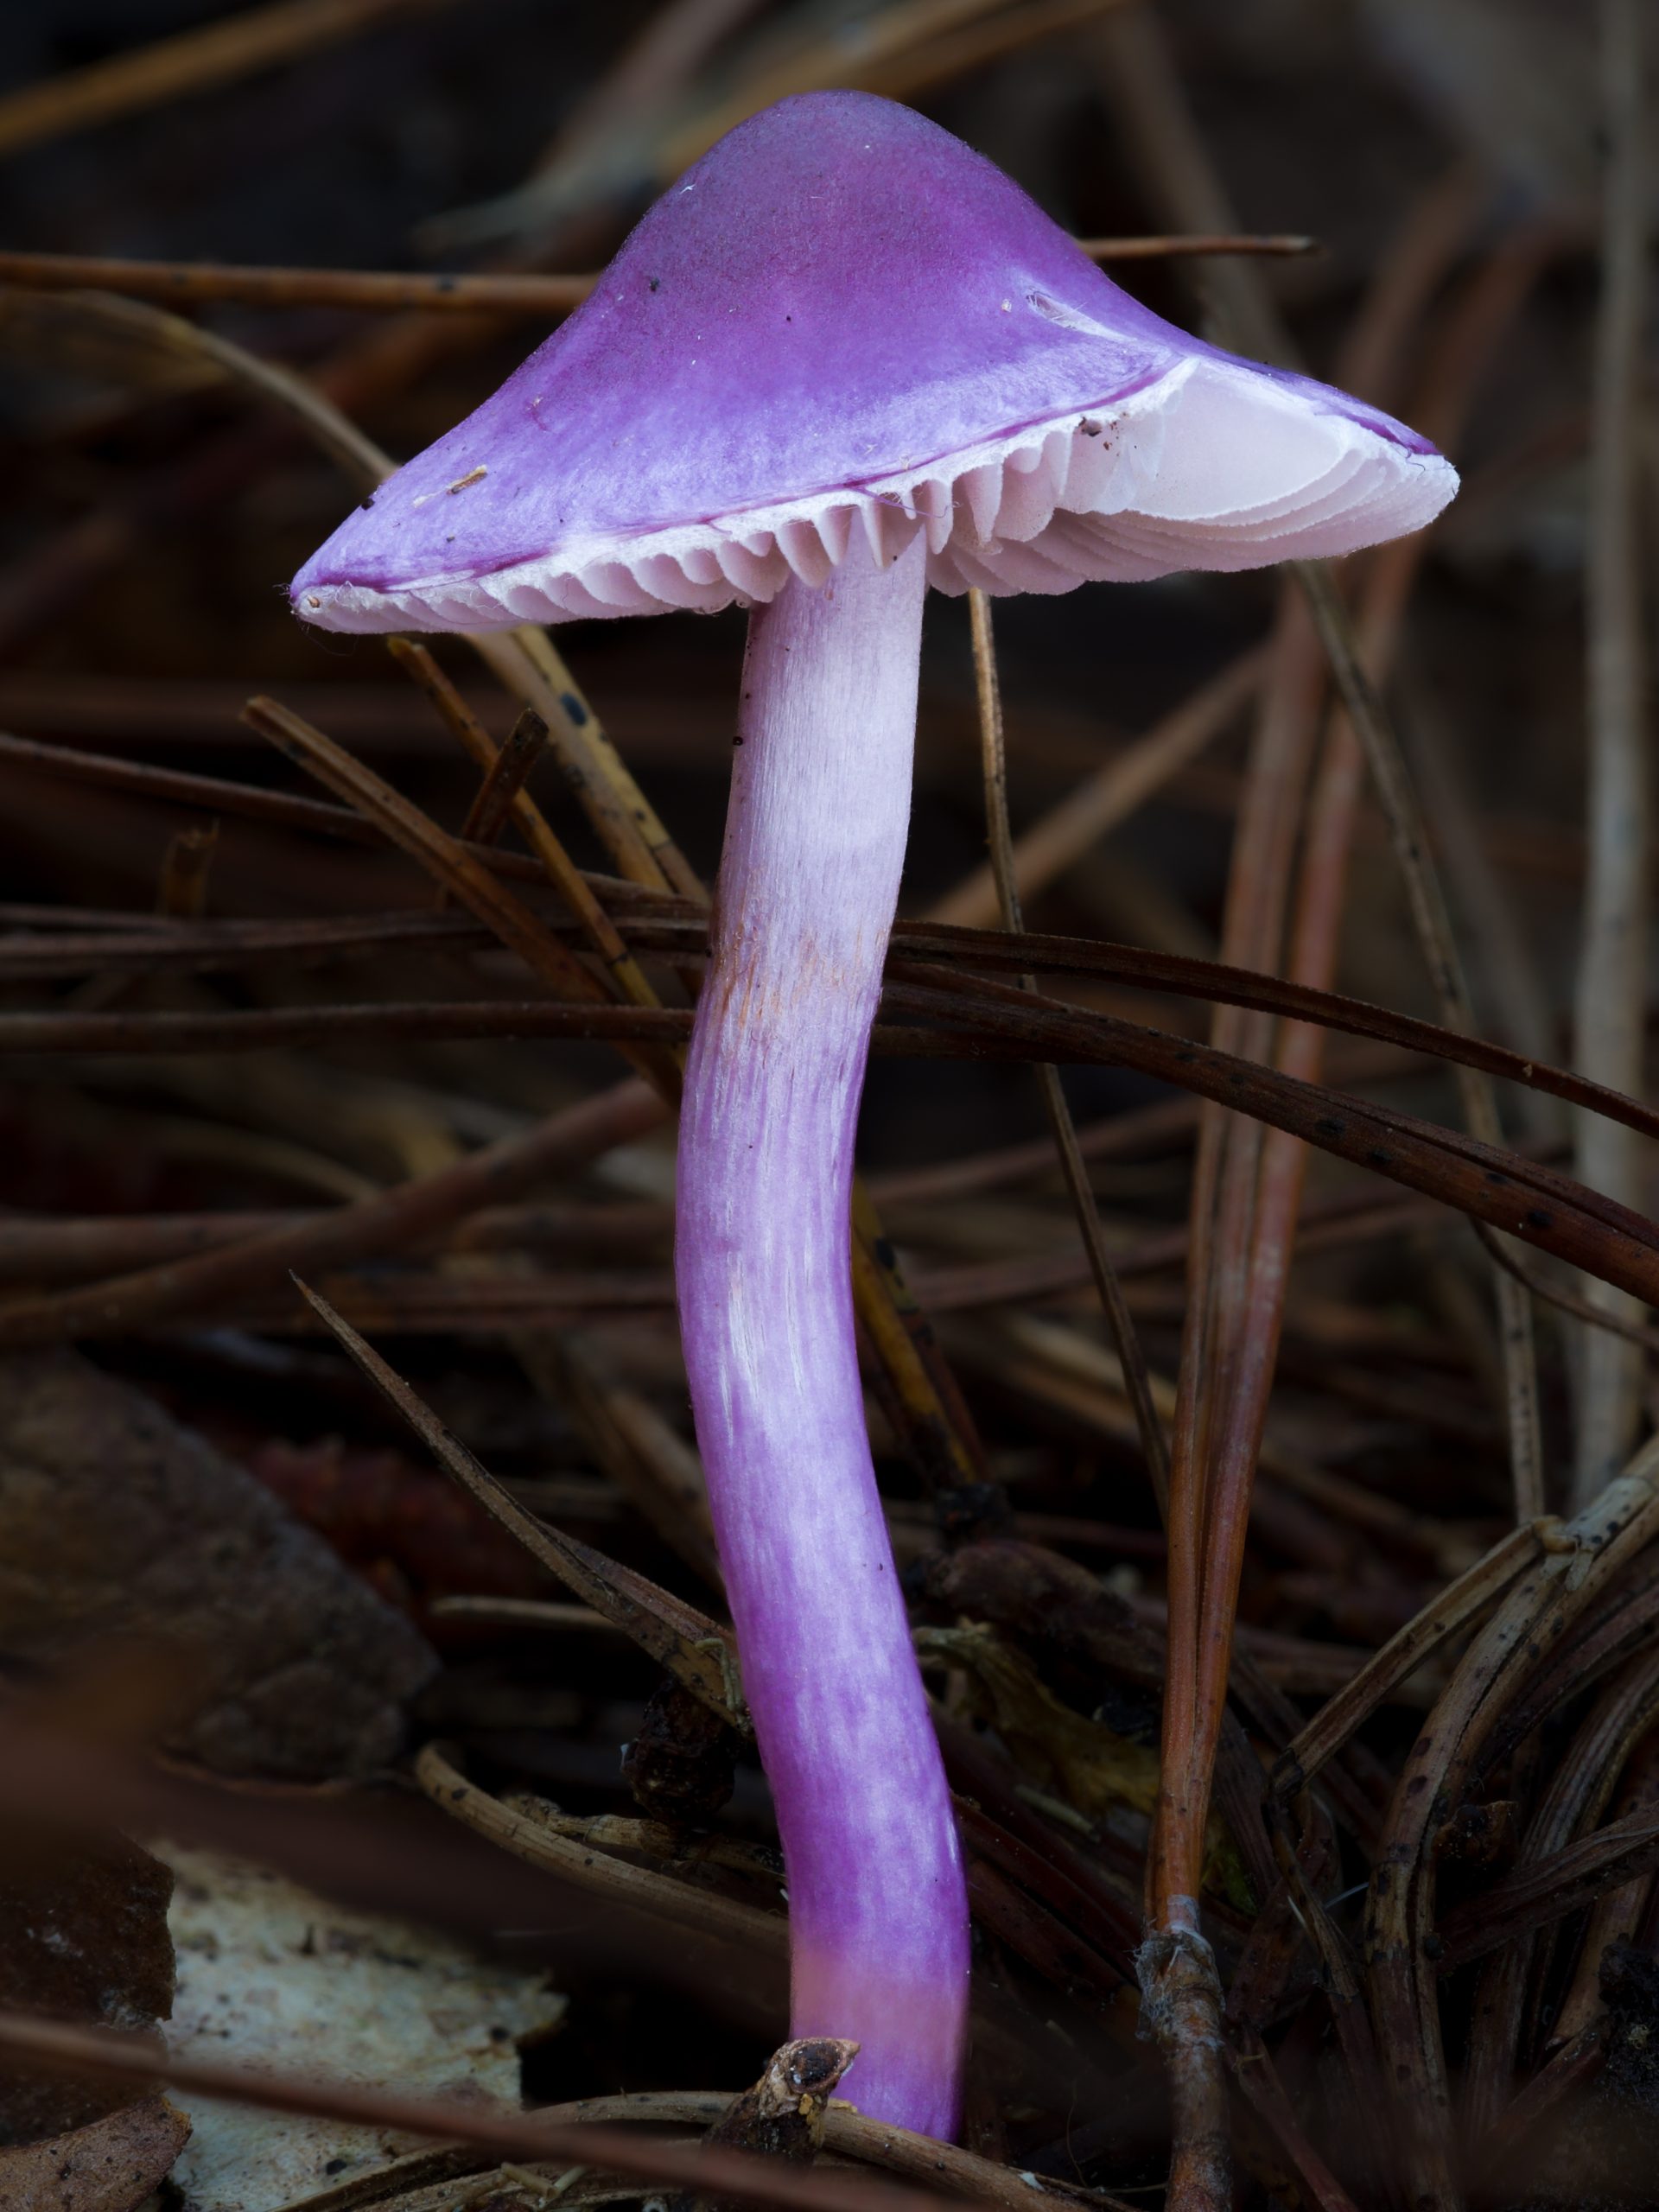
One of the most common mistakes beginners make is spending a lot of time on low-quality specimens. If you are simply recording an observation, that is one thing. But if you want a photogenic, aesthetically pleasing shot, you should move past mushrooms that are old, damaged, drying out, or simply not in their prime. While there is certainly artistic interest in aged or decaying fungi, those are not typically the shots most mushroom photographers are after.
A good shot takes time to set up properly, so when a specimen does not have the potential to be spectacular, it is often better to keep moving. Honestly, if I go out and get one genuinely great shot in a session, I am happy. Quality over quantity matters much more than the number of frames taken.
Take your time
Mushroom photography is not for those trying to cover ground quickly. If you want to experience the slowest hike imaginable, go out with mushroom photographers during peak season. You will be lucky to cover 100 metres from the car in a couple of hours. While this can try the patience of companions, taking your time is essential to getting a good shot. Setting up a tripod, finding the right angle, managing the lighting, and dialling in your settings all take time. Rushing any of it shows in the result.
Slowing down also has unexpected rewards. Spending time with a single mushroom is a way to connect with it properly. You notice things you would have walked past: the insects visiting it, the small fungi growing nearby, the way the light changes as a cloud moves overhead. I often go out alone when photographing mushrooms precisely because I do not feel rushed. That said, having a patient friend along is genuinely useful, especially for helping with light and shade.
Get low
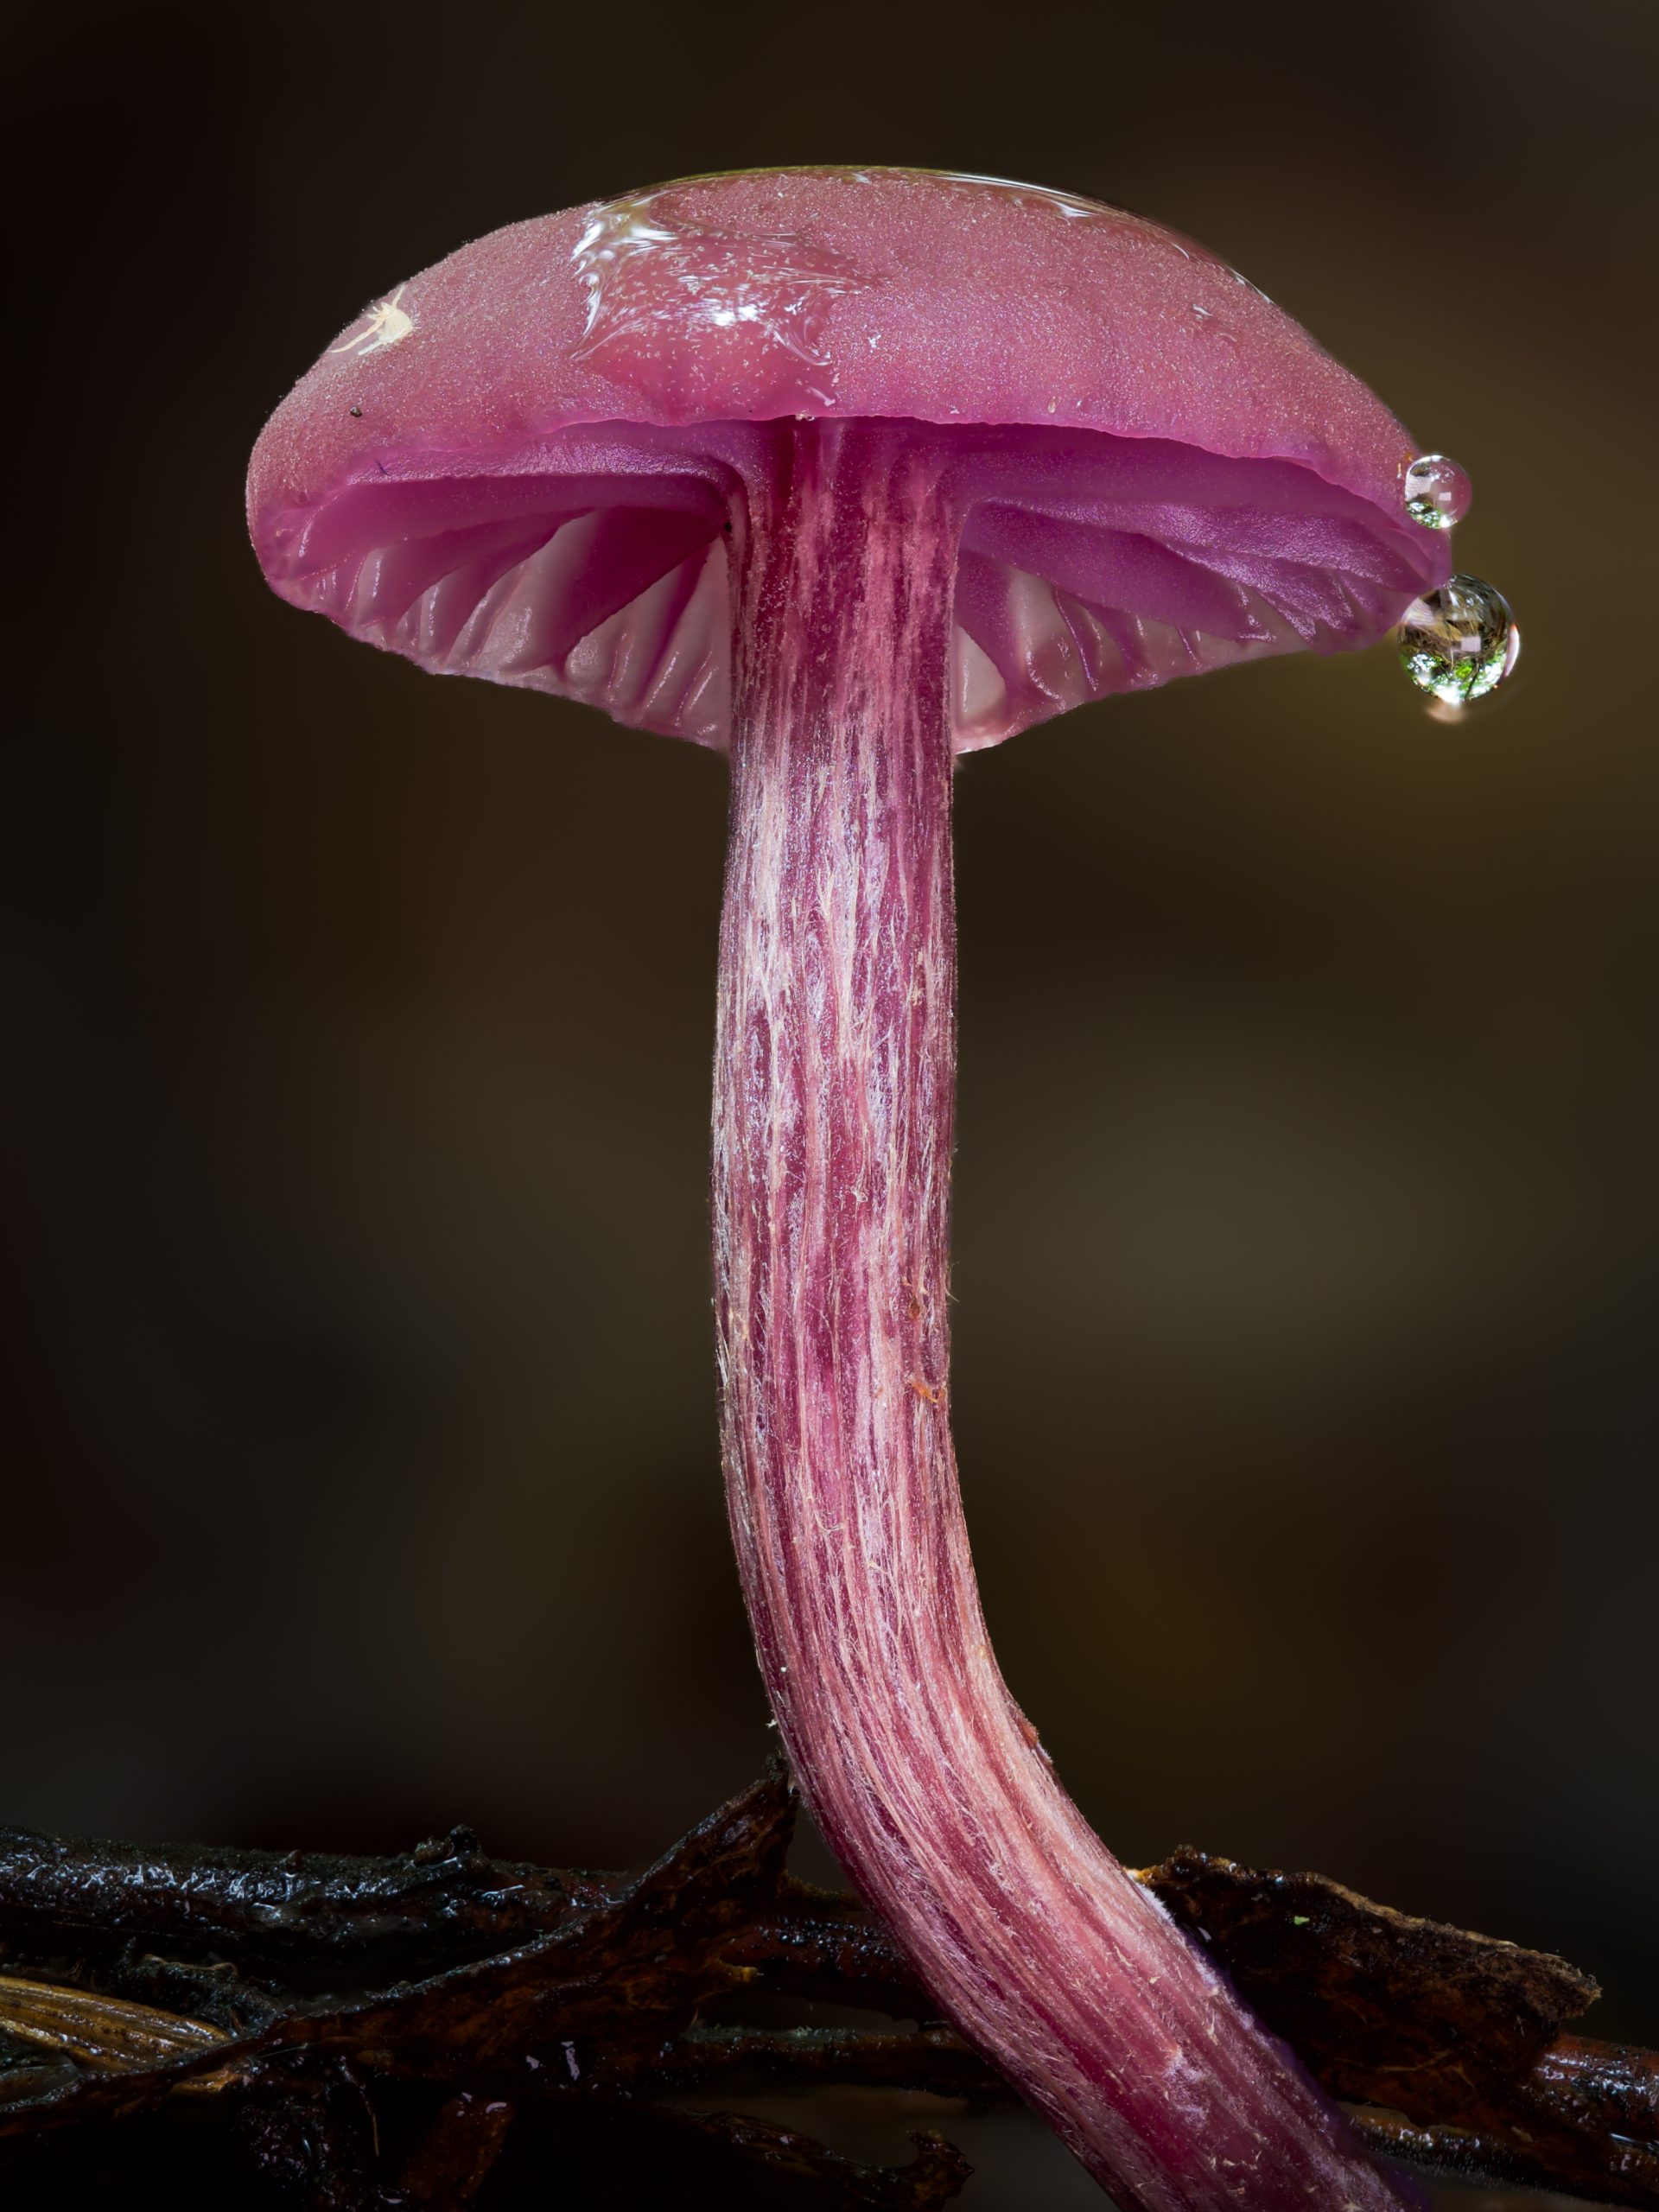
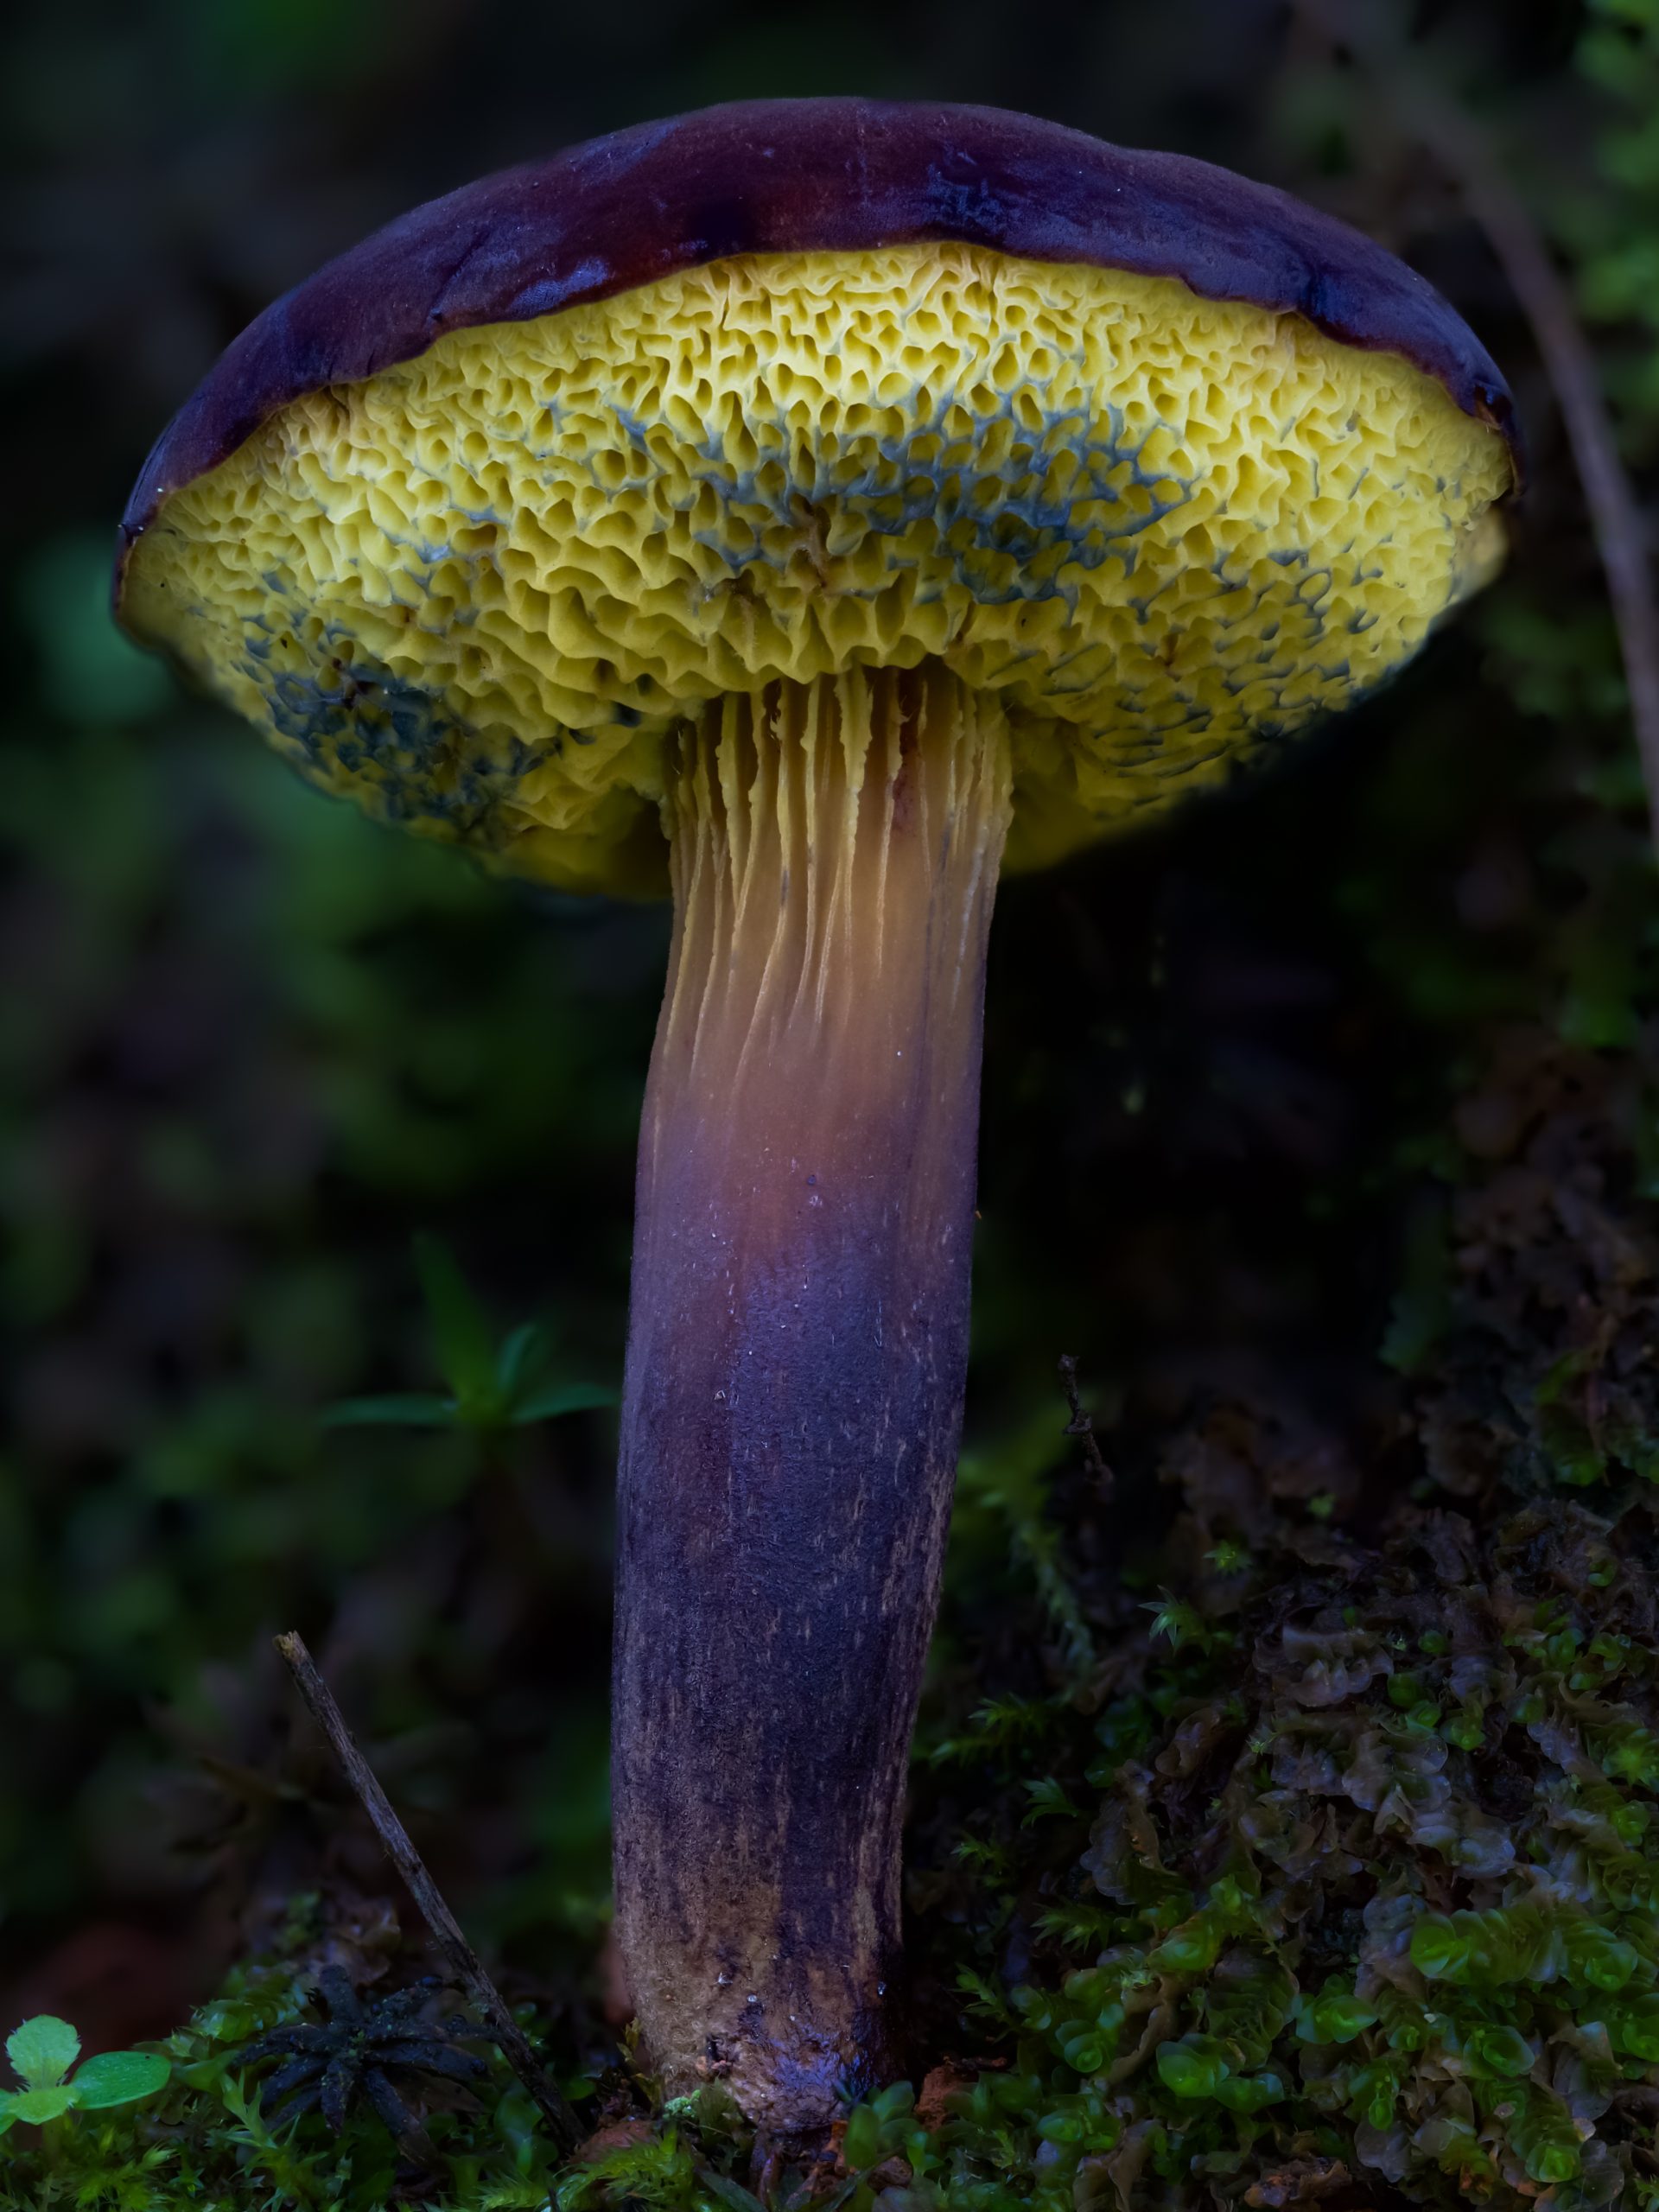
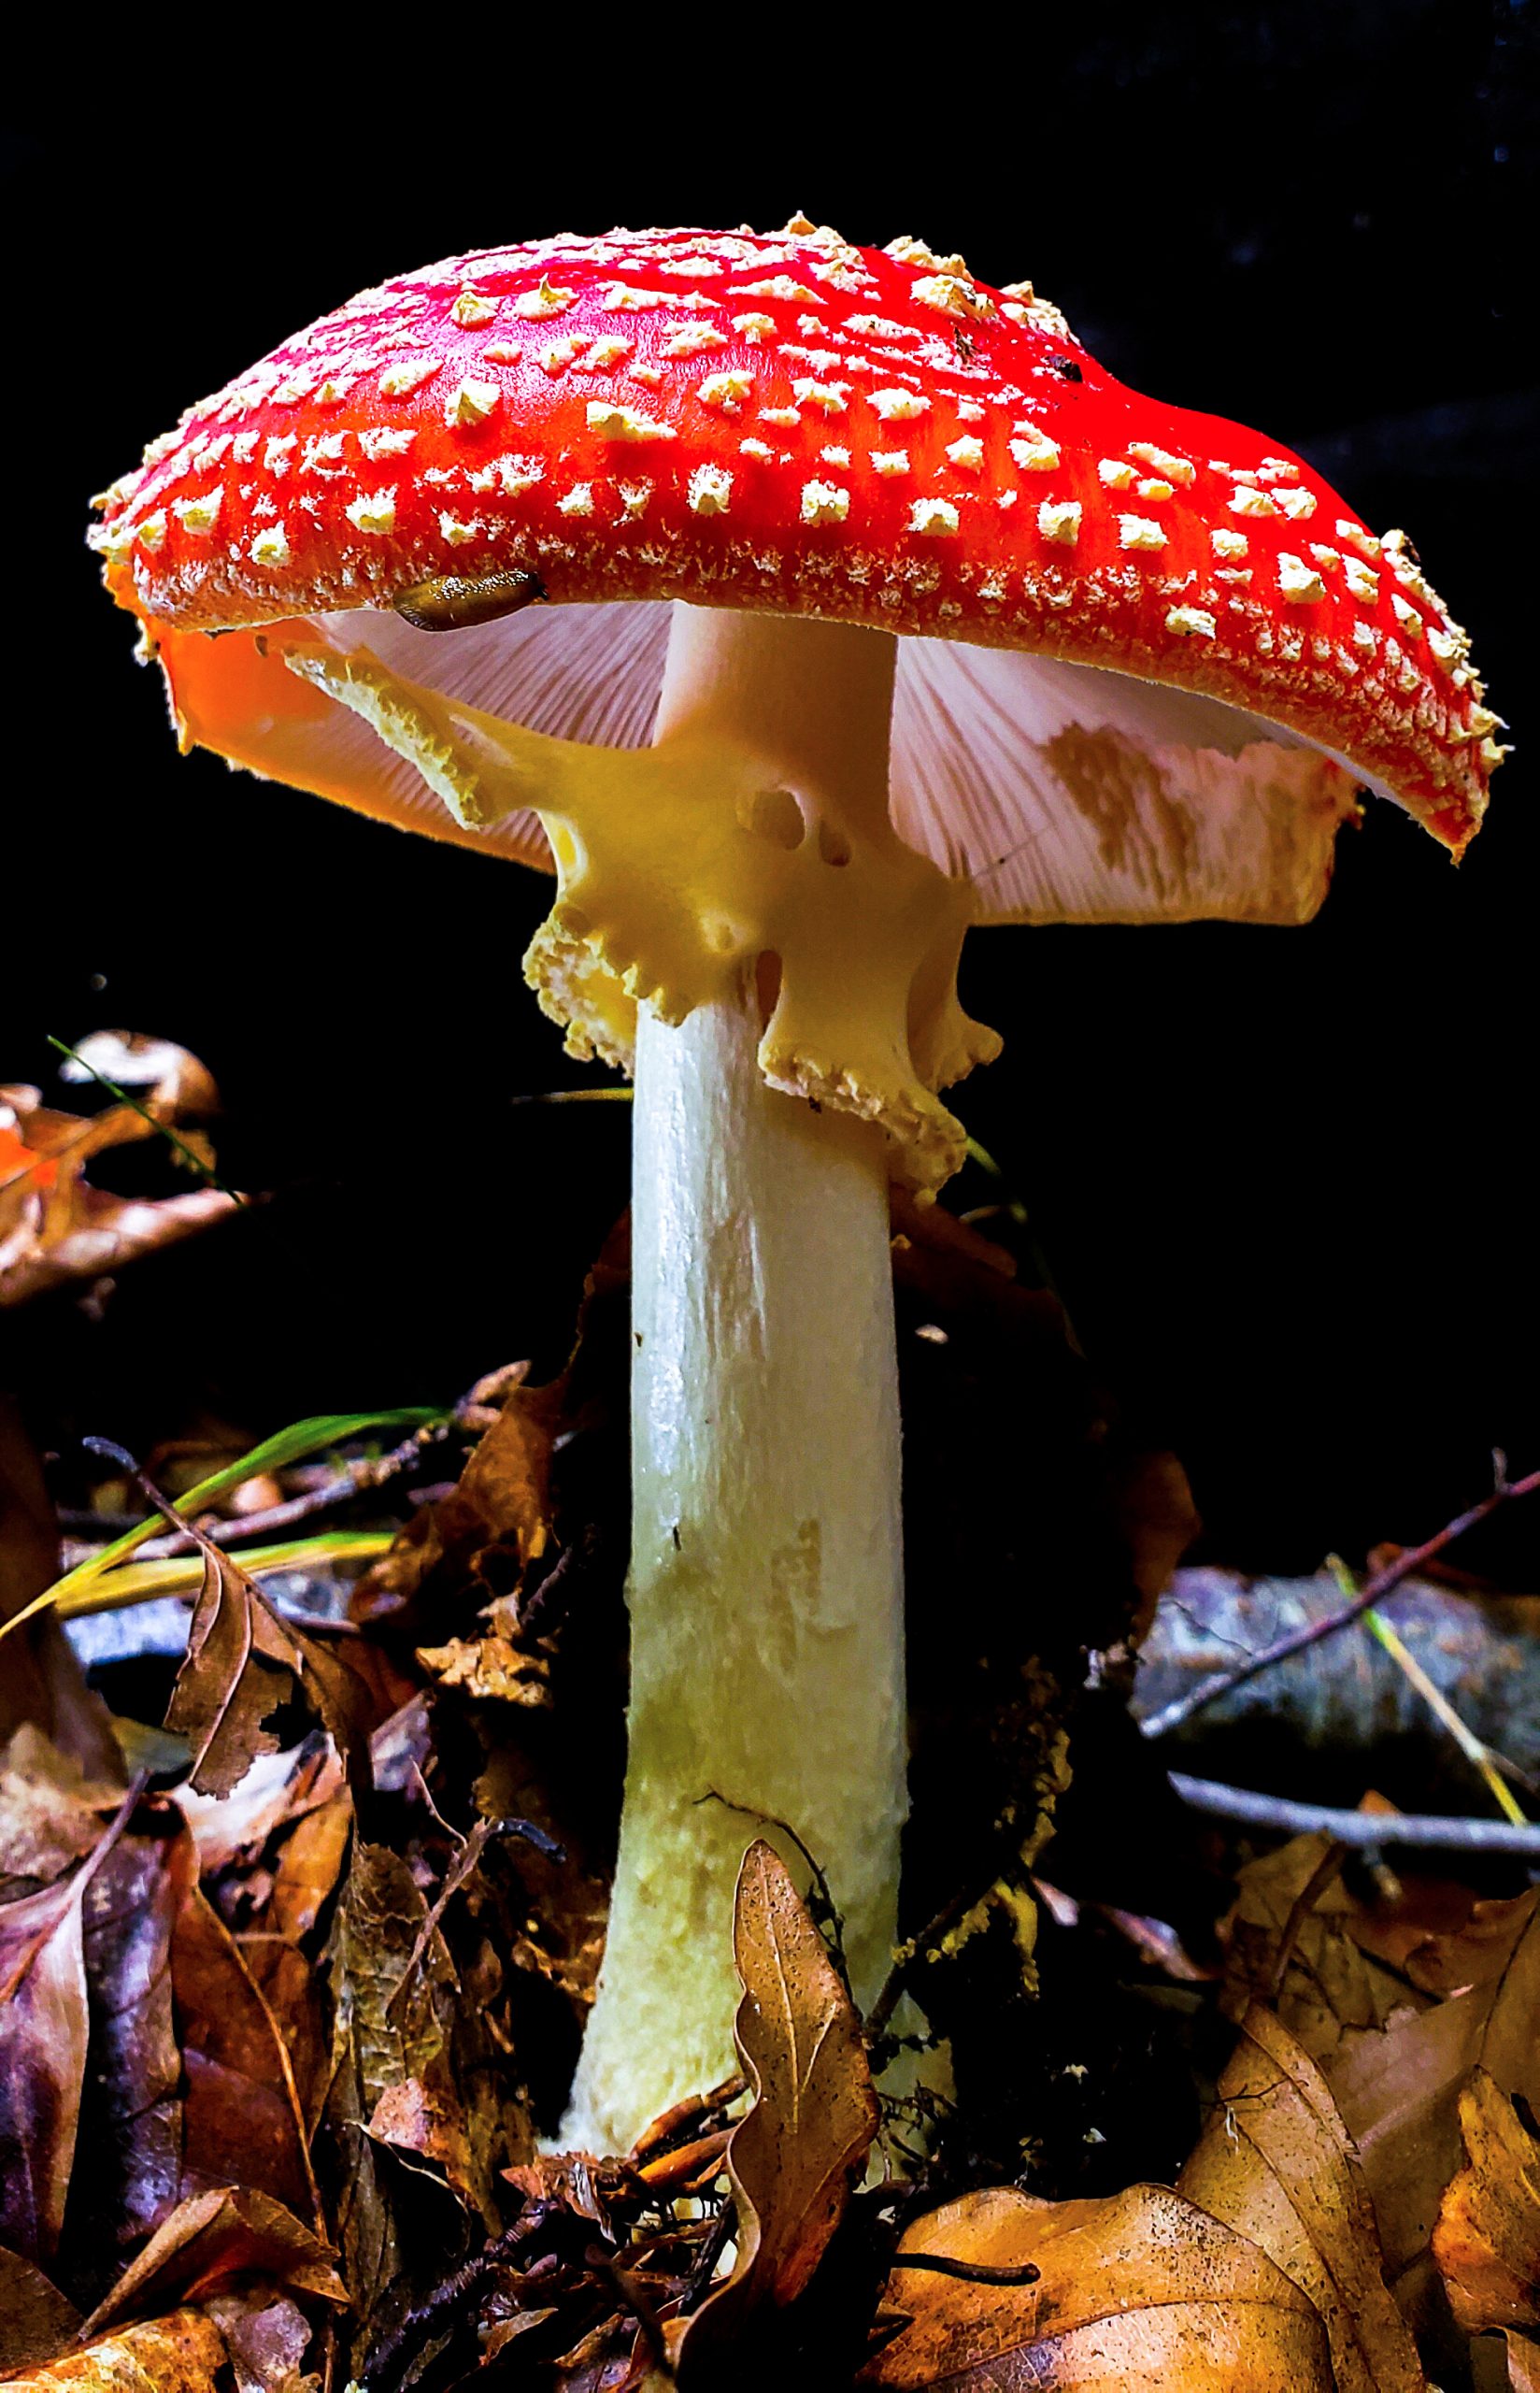
If you want a spectacular shot, you cannot be afraid to get down on the ground. Mushrooms grow at ground level, and to photograph them well you often need to be at their level too. Some of the best shots come from a perspective where both the underside of the cap and the surface are visible simultaneously. To find that angle you may need to get on your belly and position the camera accordingly.
A bean bag is perfect for supporting the camera in very low shots. I use a plastic bag filled with popcorn kernels inside a sock, which costs nothing and works very well. A jacket or a sweatshirt folded up works in a pinch. A tripod with legs that splay wide or a removable centre column is also very useful for getting the camera as close to the ground as possible.
Take a lot of shots
This might seem to contradict the quality-over-quantity point made earlier, but the idea is different. When you have found a good specimen and set up properly, shoot generously. Try different angles, adjust the framing, experiment with the light. In practice, only one shot in twenty or thirty will turn out to be genuinely spectacular. The others will be fine, or slightly off, or just not quite right. That is normal. Being persistent and trying variations within a single session is how you increase the odds of getting the one frame that stands out.
Use a macro lens
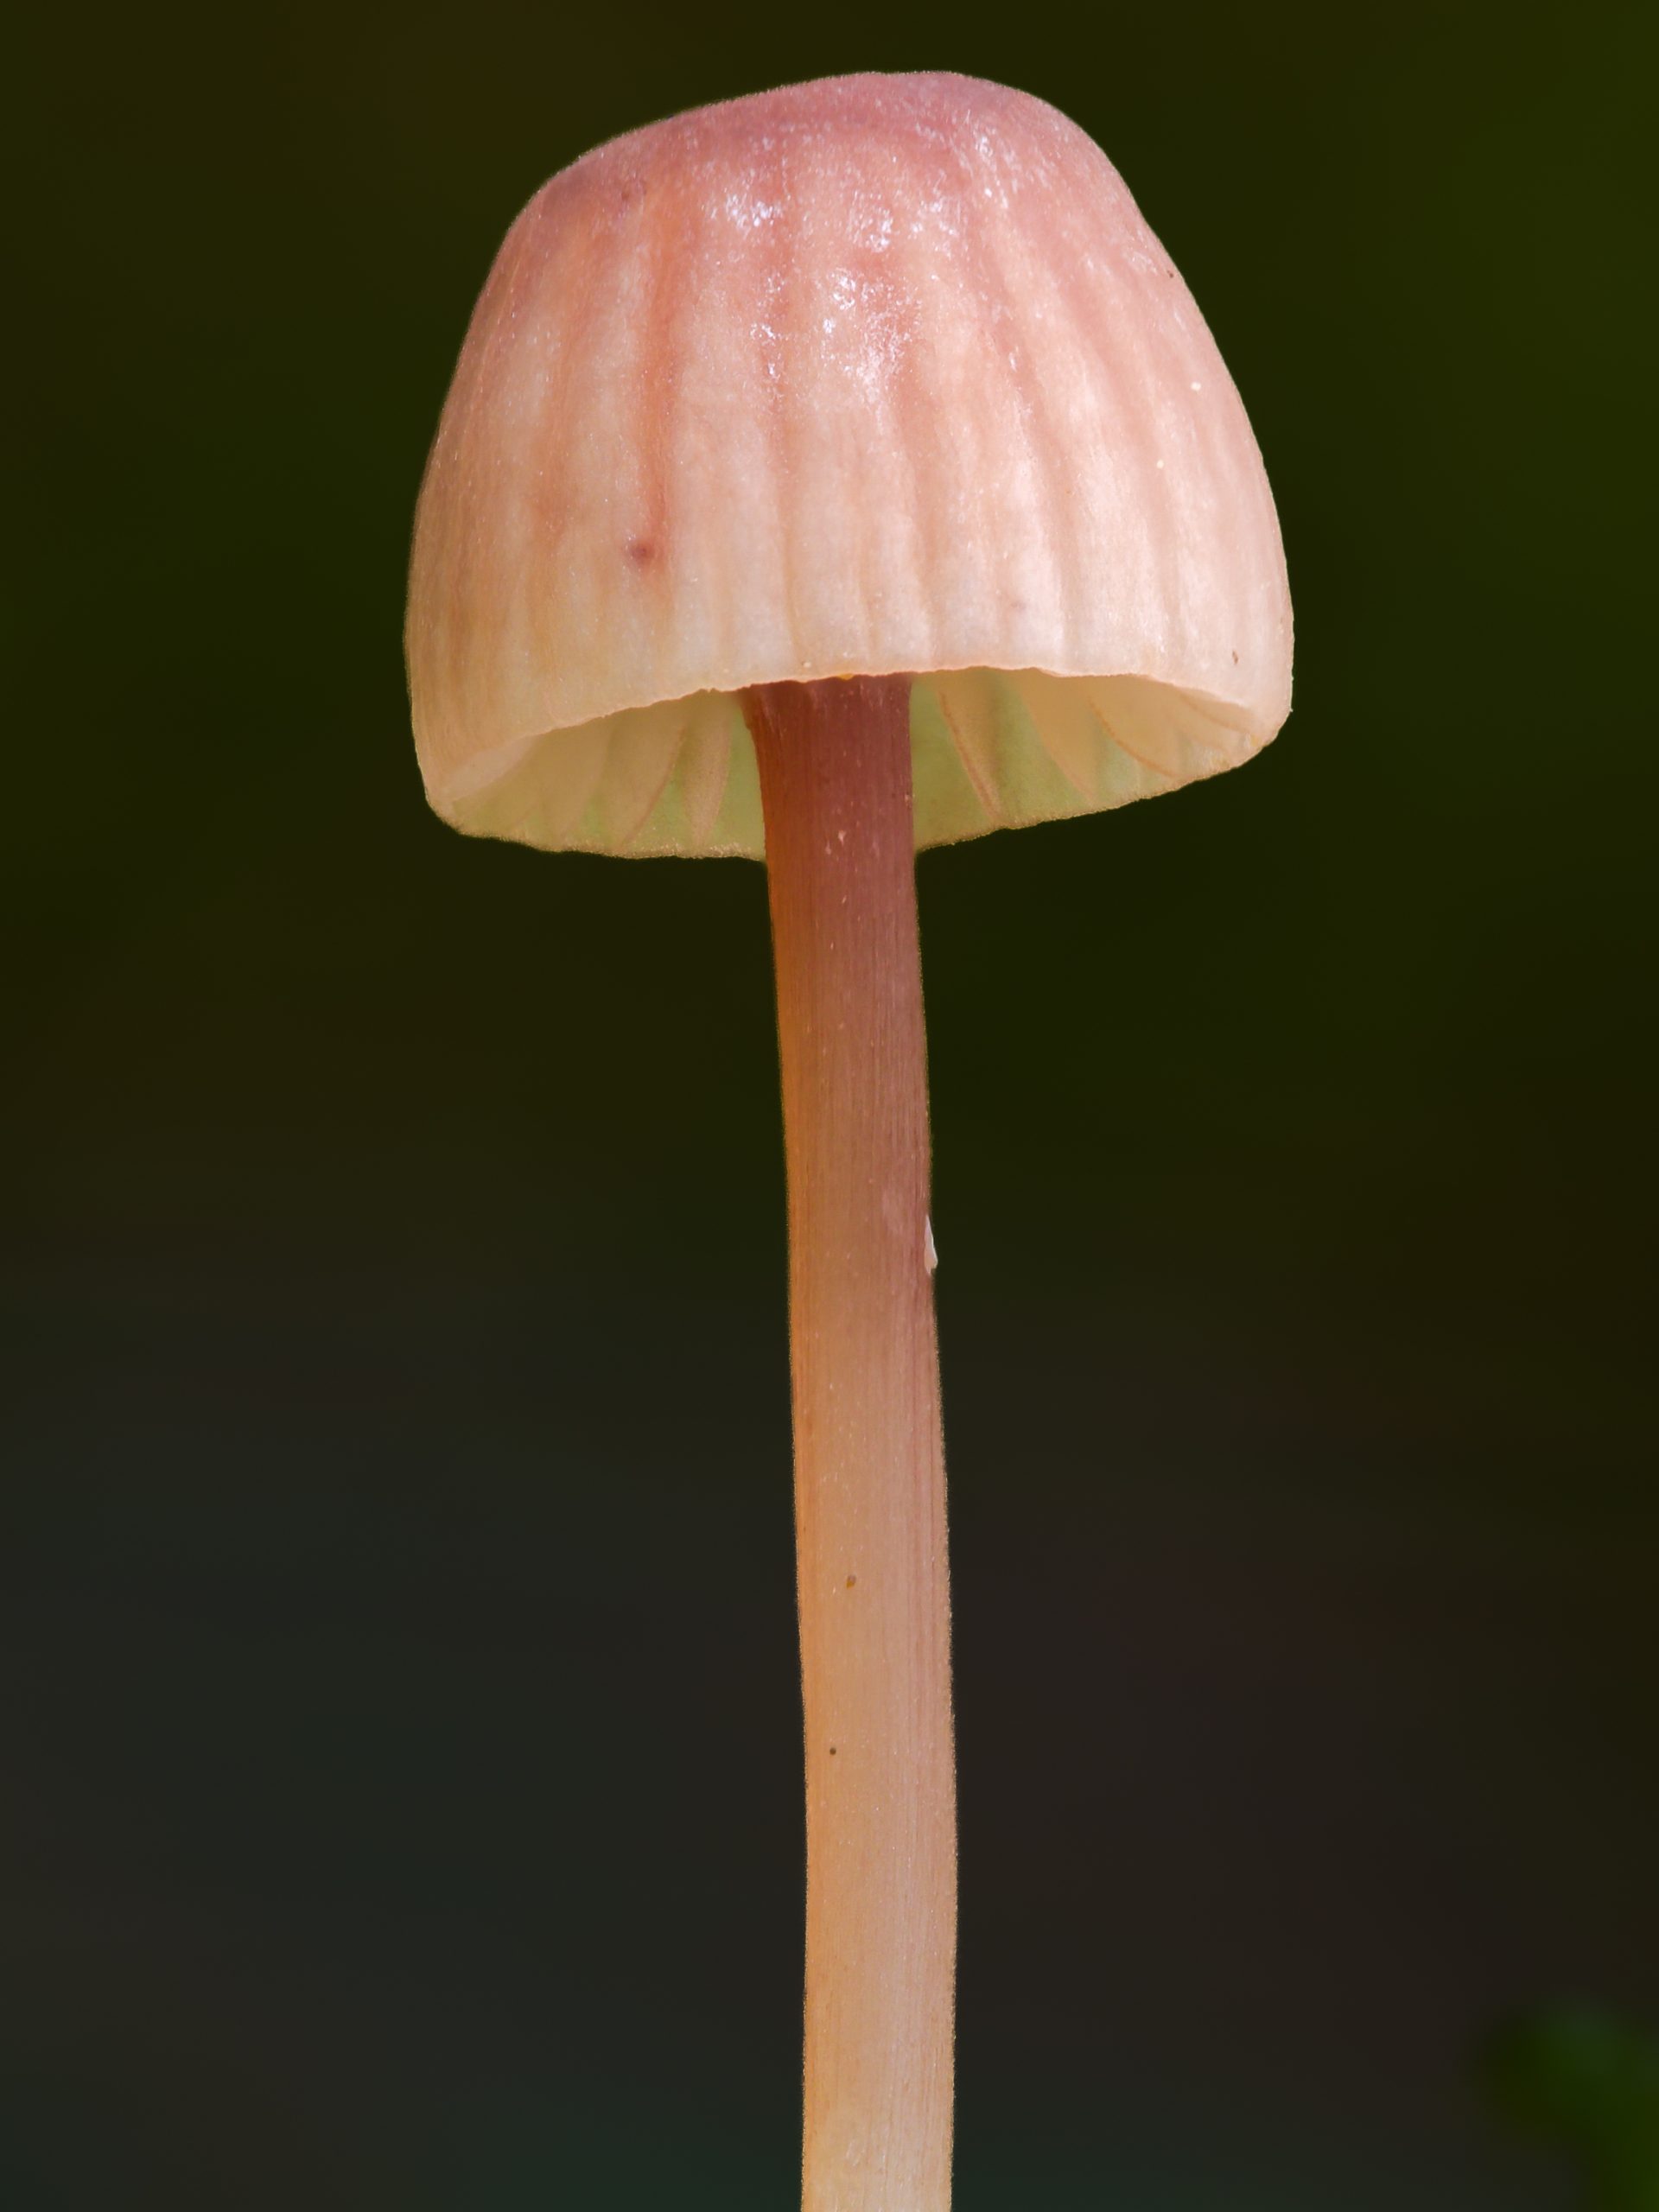
If you are shooting with a mirrorless or DSLR camera, a dedicated macro lens is essential for serious mushroom photography. Without one you are limited to photographing relatively large specimens, and many of the most interesting fungi are small. A phone camera can actually outperform a DSLR with a standard kit lens for close-up work, simply because phone cameras are better optimised for close focusing distances. A dedicated macro lens changes that entirely and opens up a completely different level of detail and magnification.
Lighting
Lighting is fundamental to a good shot. Diffused light, such as the soft even illumination you get on an overcast day, produces the best results. Direct sunlight creates harsh shadows and tends to blow out the highlights on pale caps. On sunny days, look for mushrooms in naturally shaded spots under the canopy, or create shade by blocking the light with your body or having a companion stand in the right position.
One of the most impactful things you can do is add light from below the cap. The gills and stem are almost always in shadow under normal lighting conditions, and getting some light in there, whether from a small LED panel, a reflector, or even a piece of white paper, makes a remarkable difference to the character of the image. It is one of the easiest ways to take a shot from decent to genuinely good.
Understanding focus
Focusing on small subjects can be tricky because the depth of field is very shallow at macro distances. There are two main approaches. The first is to use a high f-stop (small aperture) to increase depth of field in a single frame. This requires a longer exposure, which means a tripod is essential. The second, and more powerful approach for serious macro work, is focus stacking, where you take multiple frames at different focus points and blend them into a single sharp image in post-processing. Focus stacking allows you to use a wider aperture for sharper per-frame quality while still achieving full depth of field across the entire subject. There is a full article on why macro photographers shoot wide open when stacking if you want to understand the reasoning in more detail.
Tidy up your shot
It can help to tidy the scene before you shoot. Brushing dirt off the cap of the mushroom, or adding a small spritz of water, can bring the colours to life and clean up the surface detail. Arranging a background, such as positioning a mossy rock or log behind the subject, can also dramatically improve the composition. Occasionally I will move a mushroom to a spot with better lighting or a cleaner background, but only when absolutely necessary. The natural context of where a fungus is growing is often part of what makes the image interesting, so it is worth preserving when you can.
Post-processing
Editing your shots is important since they will rarely come out perfect straight from the camera. Most of the work involves adjusting the levels of light: contrast, highlights, exposure, and shadows. I tend to avoid manipulating colour directly, as it can quickly produce an artificial look that works against the natural subject matter. Selective masking to improve the lighting in specific areas of the frame, such as brightening the gills or recovering shadow detail in the stem, is a useful technique that keeps the edit looking natural.
Get out in the field
Perfecting any craft takes time and practice, and mushroom photography is no different. While practising technique indoors on everyday objects is a good way to get familiar with a new camera or a specific setup, there is no substitute for time in the field. Every outing teaches you something, whether it is a better way to position a light, a new approach to a difficult angle, or simply a sharper eye for what makes a good specimen worth stopping for.
The gear helps, but it is secondary to practice, patience, and paying attention. If you are still building out your kit, the articles on macro lenses, cameras with focus stacking capability, and tripods cover what matters most. The most important thing is to go out and shoot.
Best of luck out there.
No responses yet