A beginner-friendly explanation of focus stacking: what it is, why it matters for mushroom and macro photography, how it works, and what you need to get started.
Contents
- The problem: depth of field in macro photography
- What is focus stacking?
- Focus bracketing vs focus stacking
- How does it actually work?
- How many photos do you need?
- What do you need to get started?
- In-camera focus stacking
- What kind of results can you expect?
The problem: depth of field in macro photography
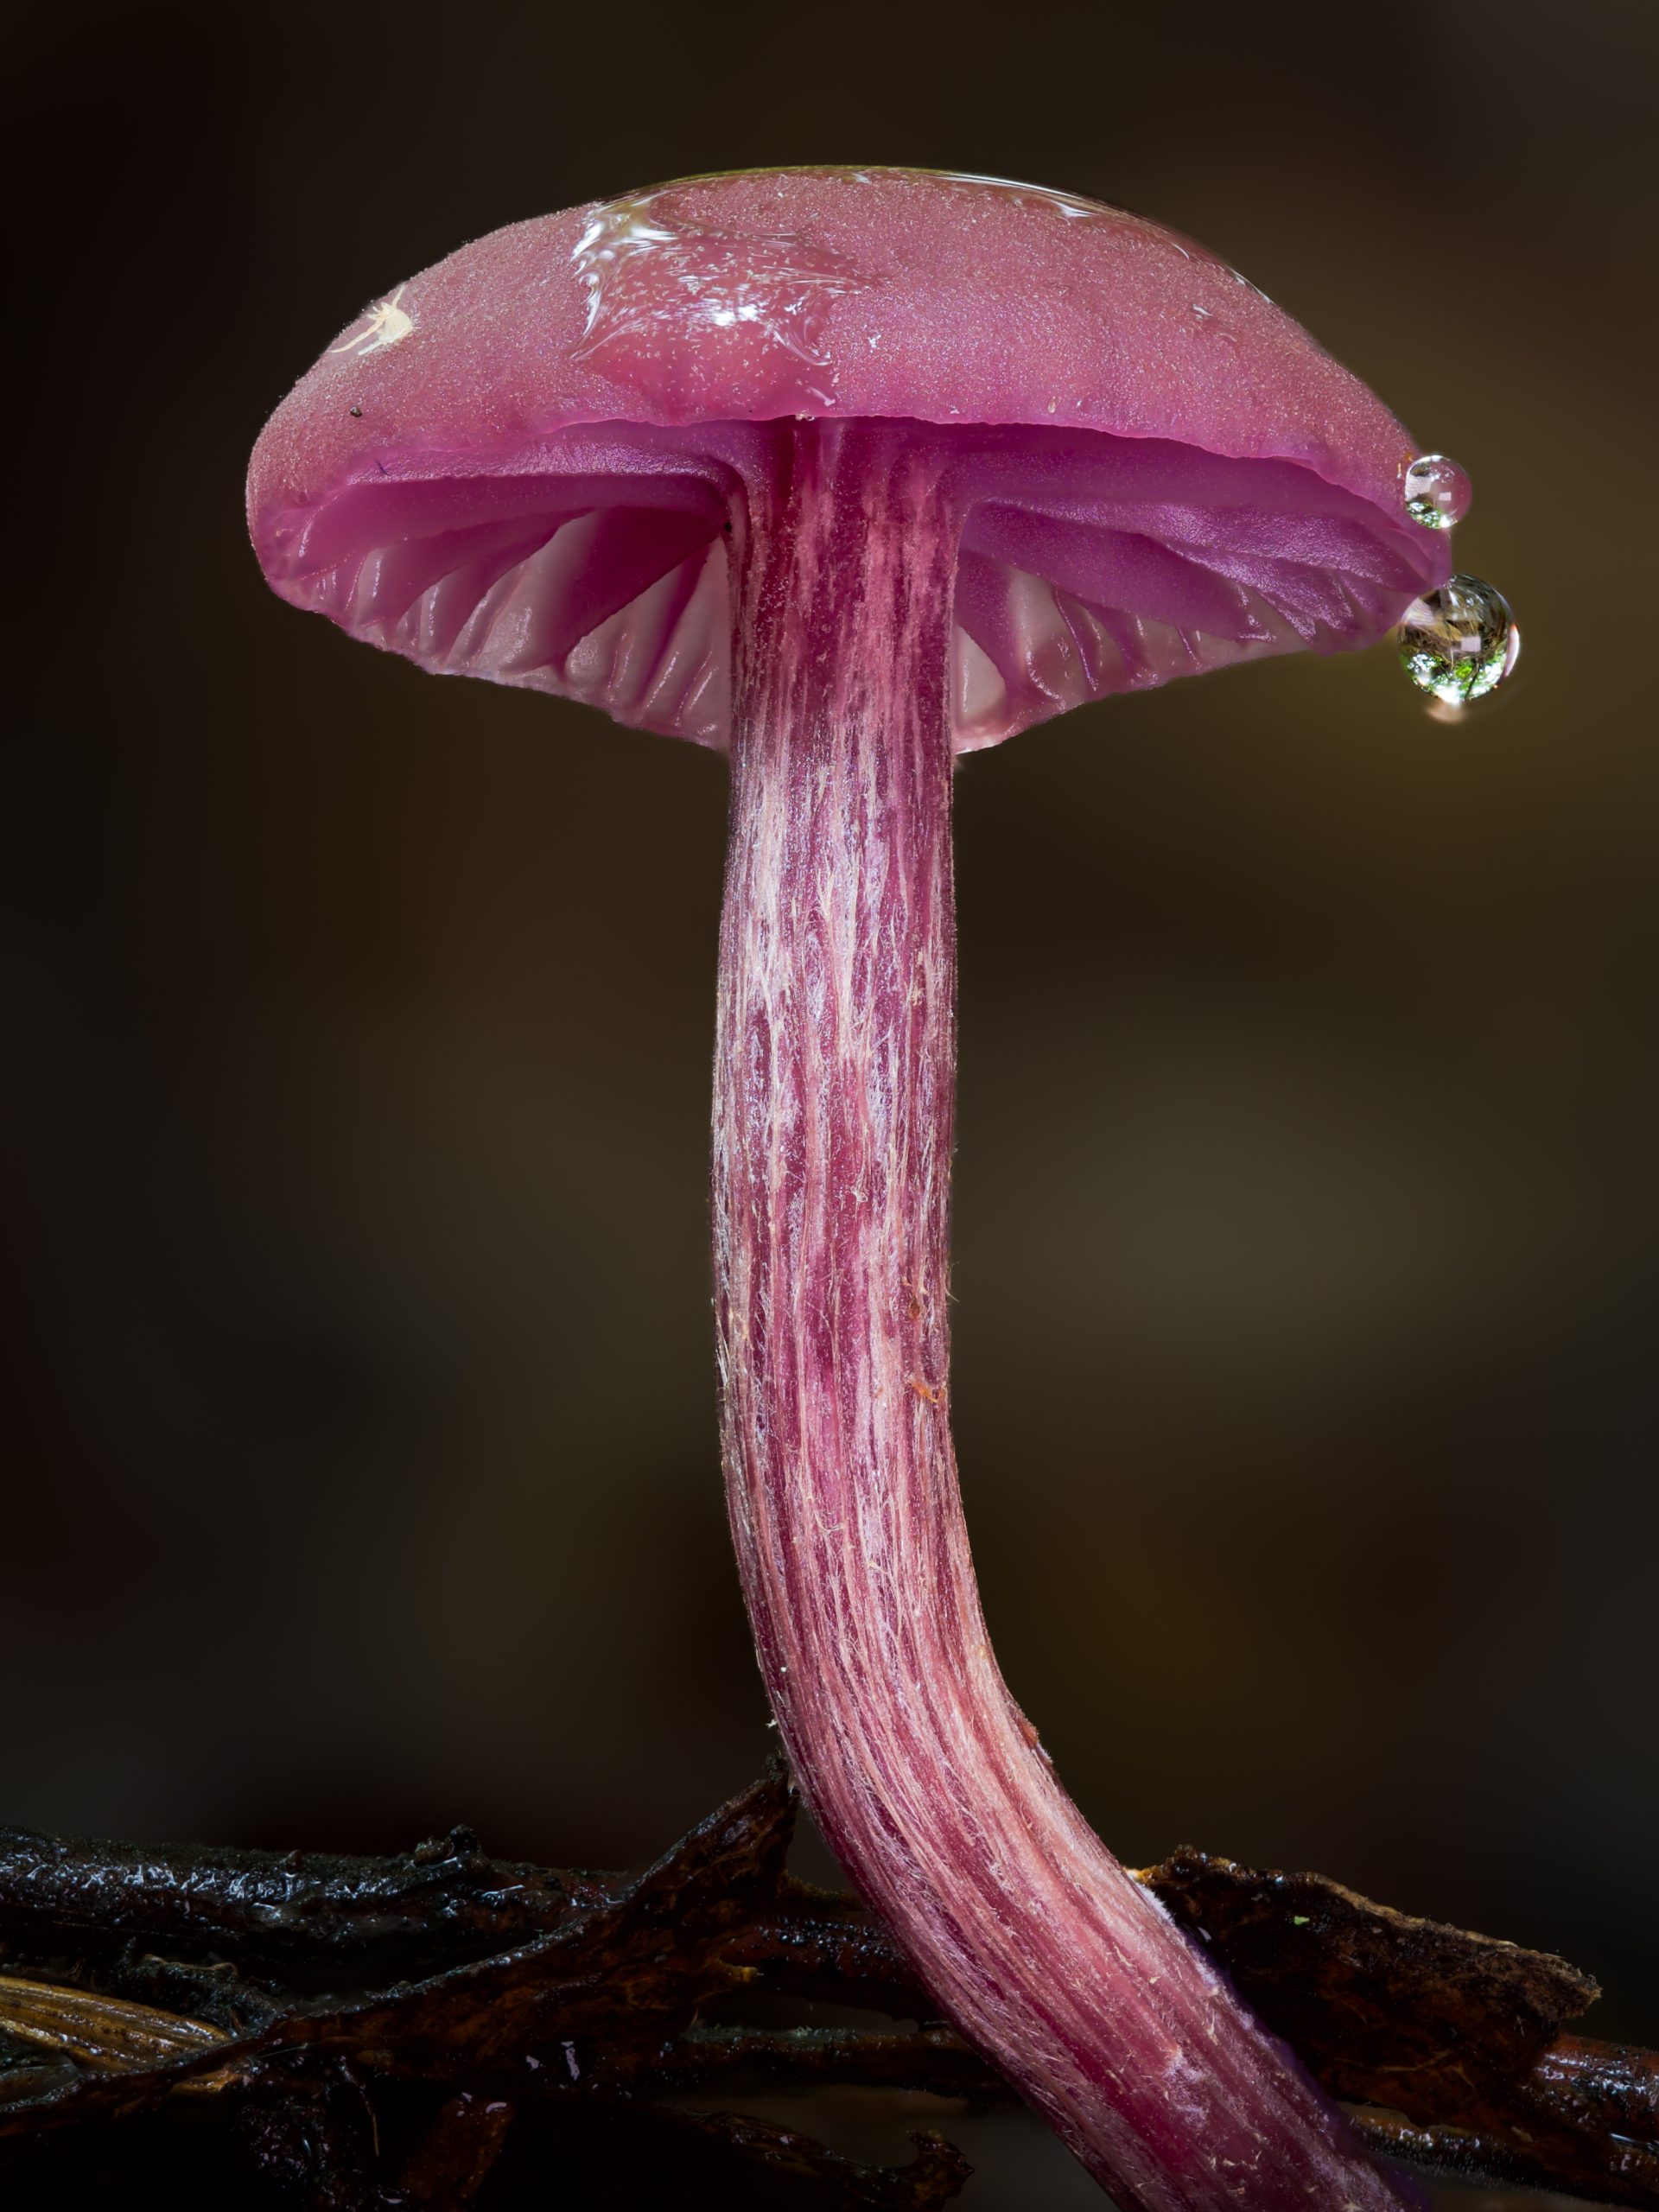
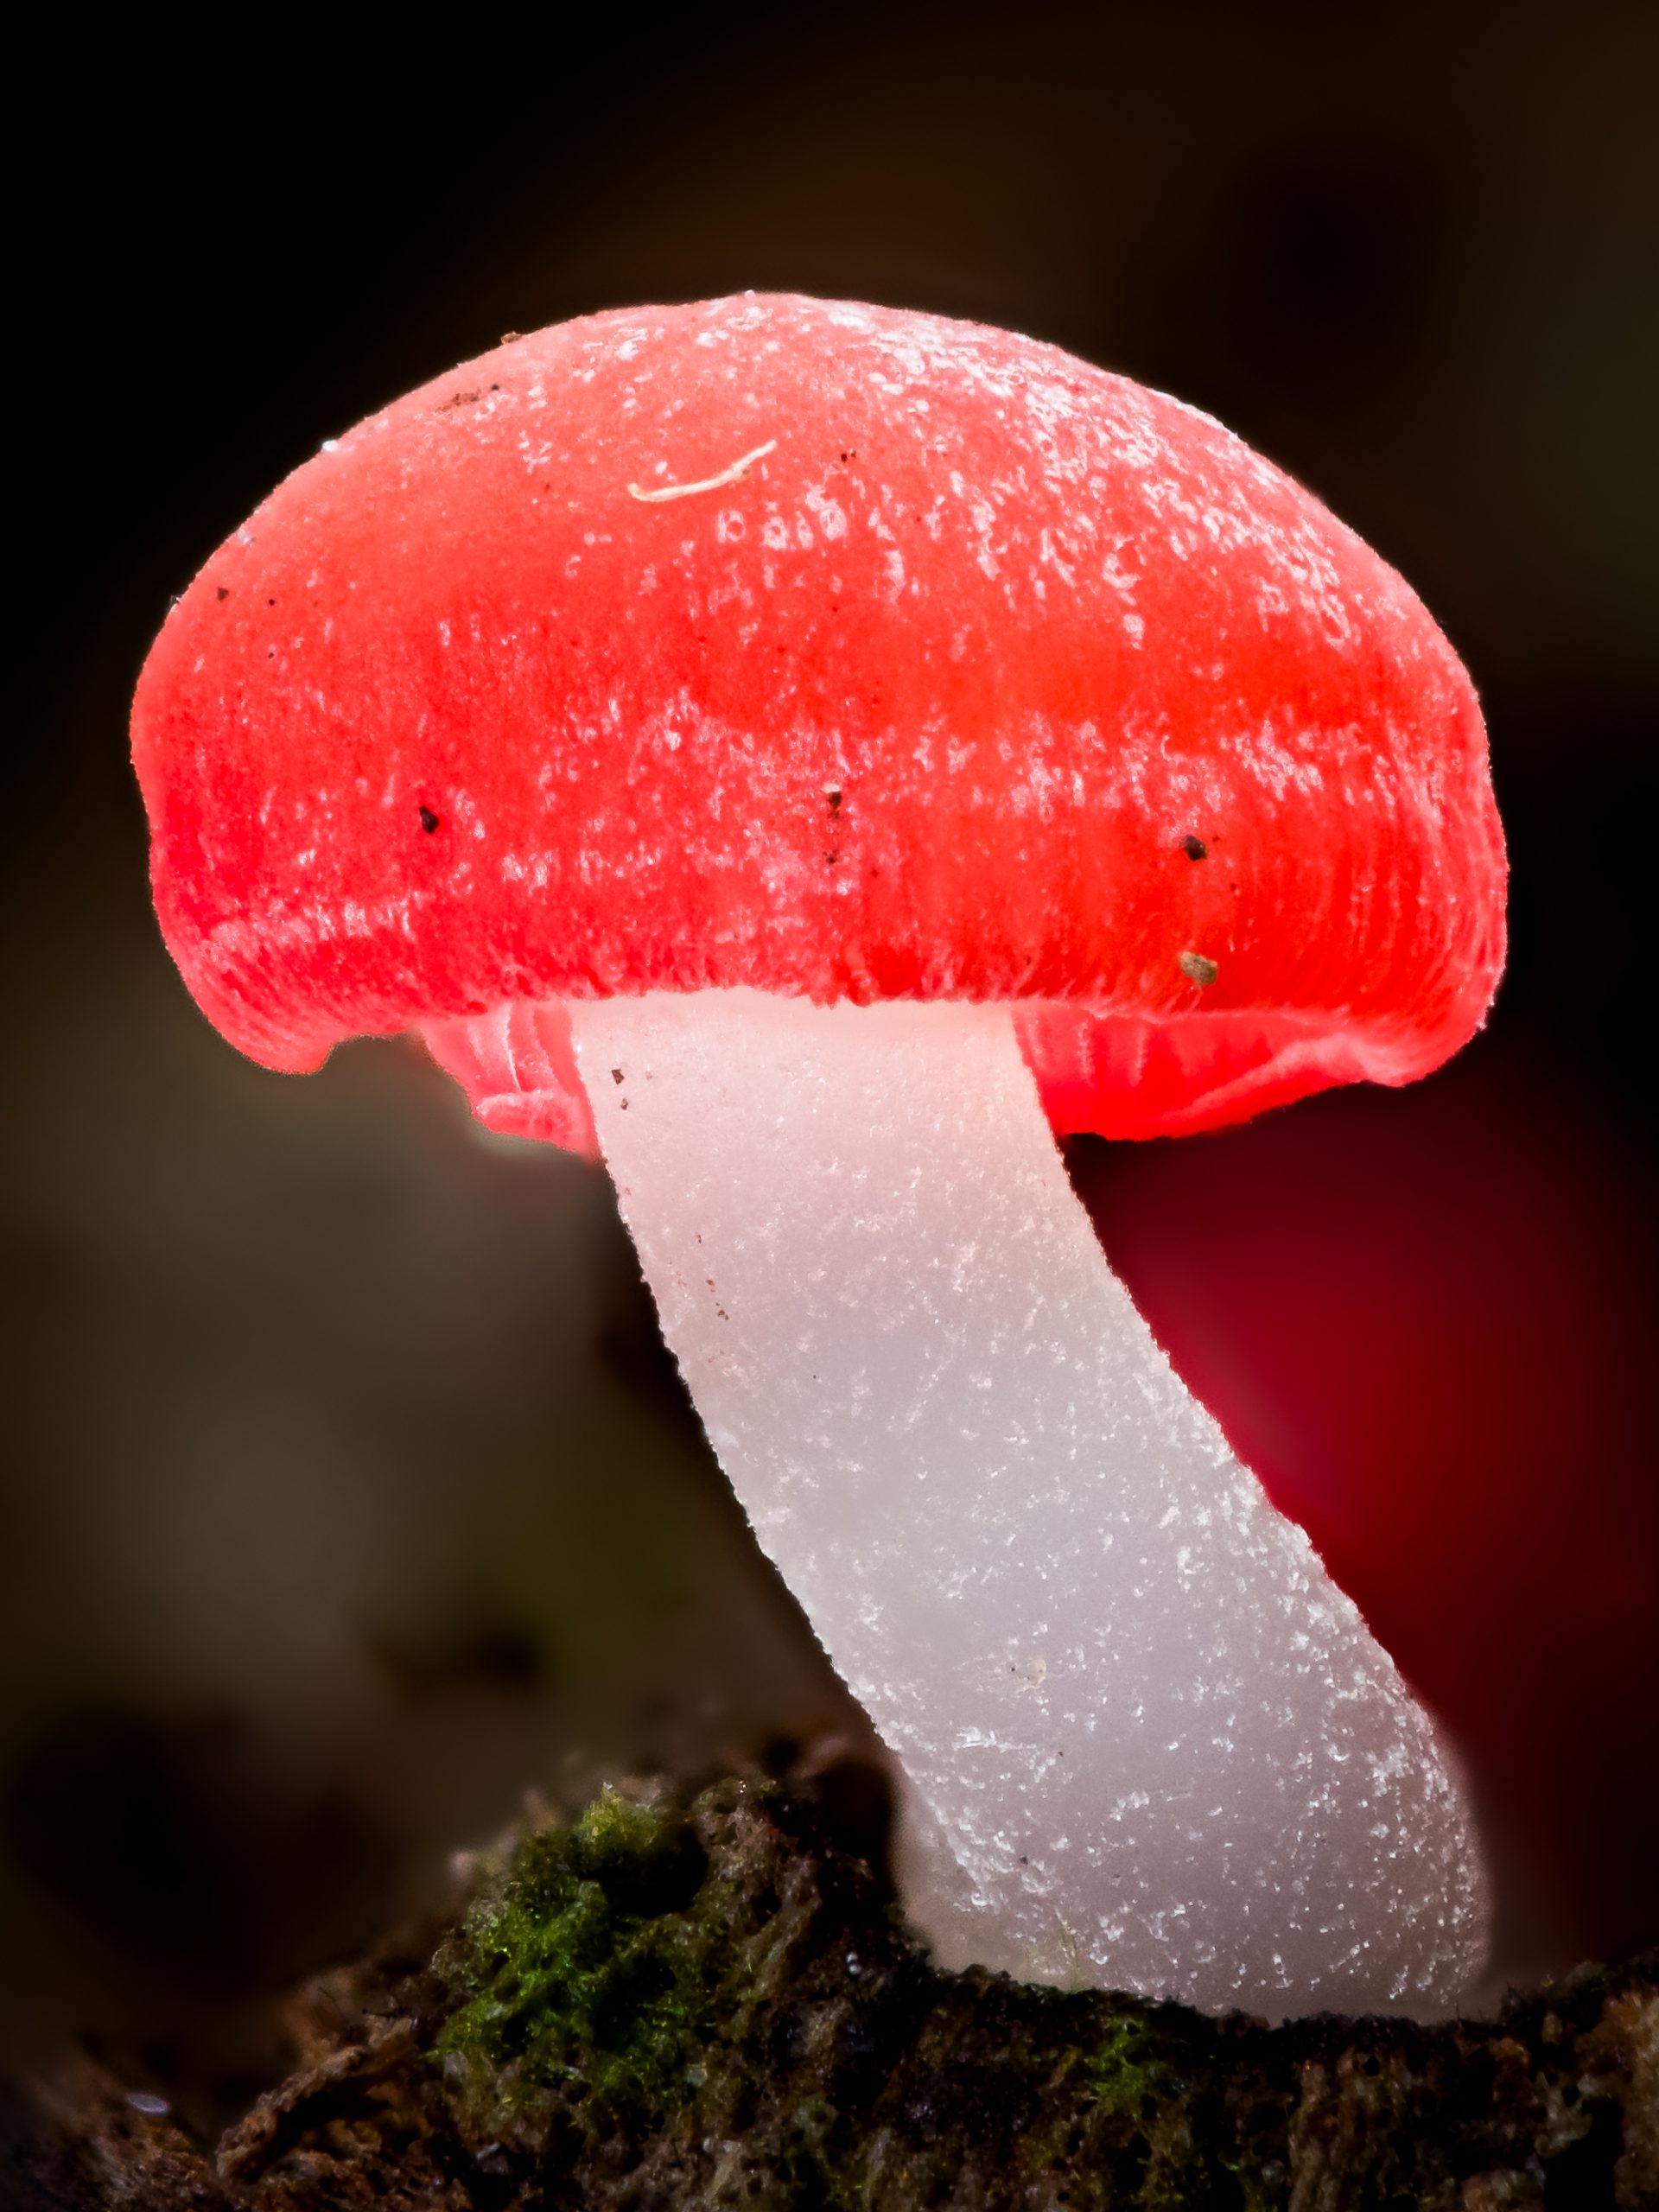
If you have ever tried to photograph a small mushroom and noticed that only a thin sliver of it appears sharp while the rest is blurry, you have encountered the depth of field problem. Depth of field refers to the range of a scene that appears in sharp focus in a photograph. In everyday photography, this is rarely an issue. Take a photo of a landscape and everything from the foreground to the horizon can be sharp at once. But as you move closer to a subject, the depth of field gets shallower and shallower.
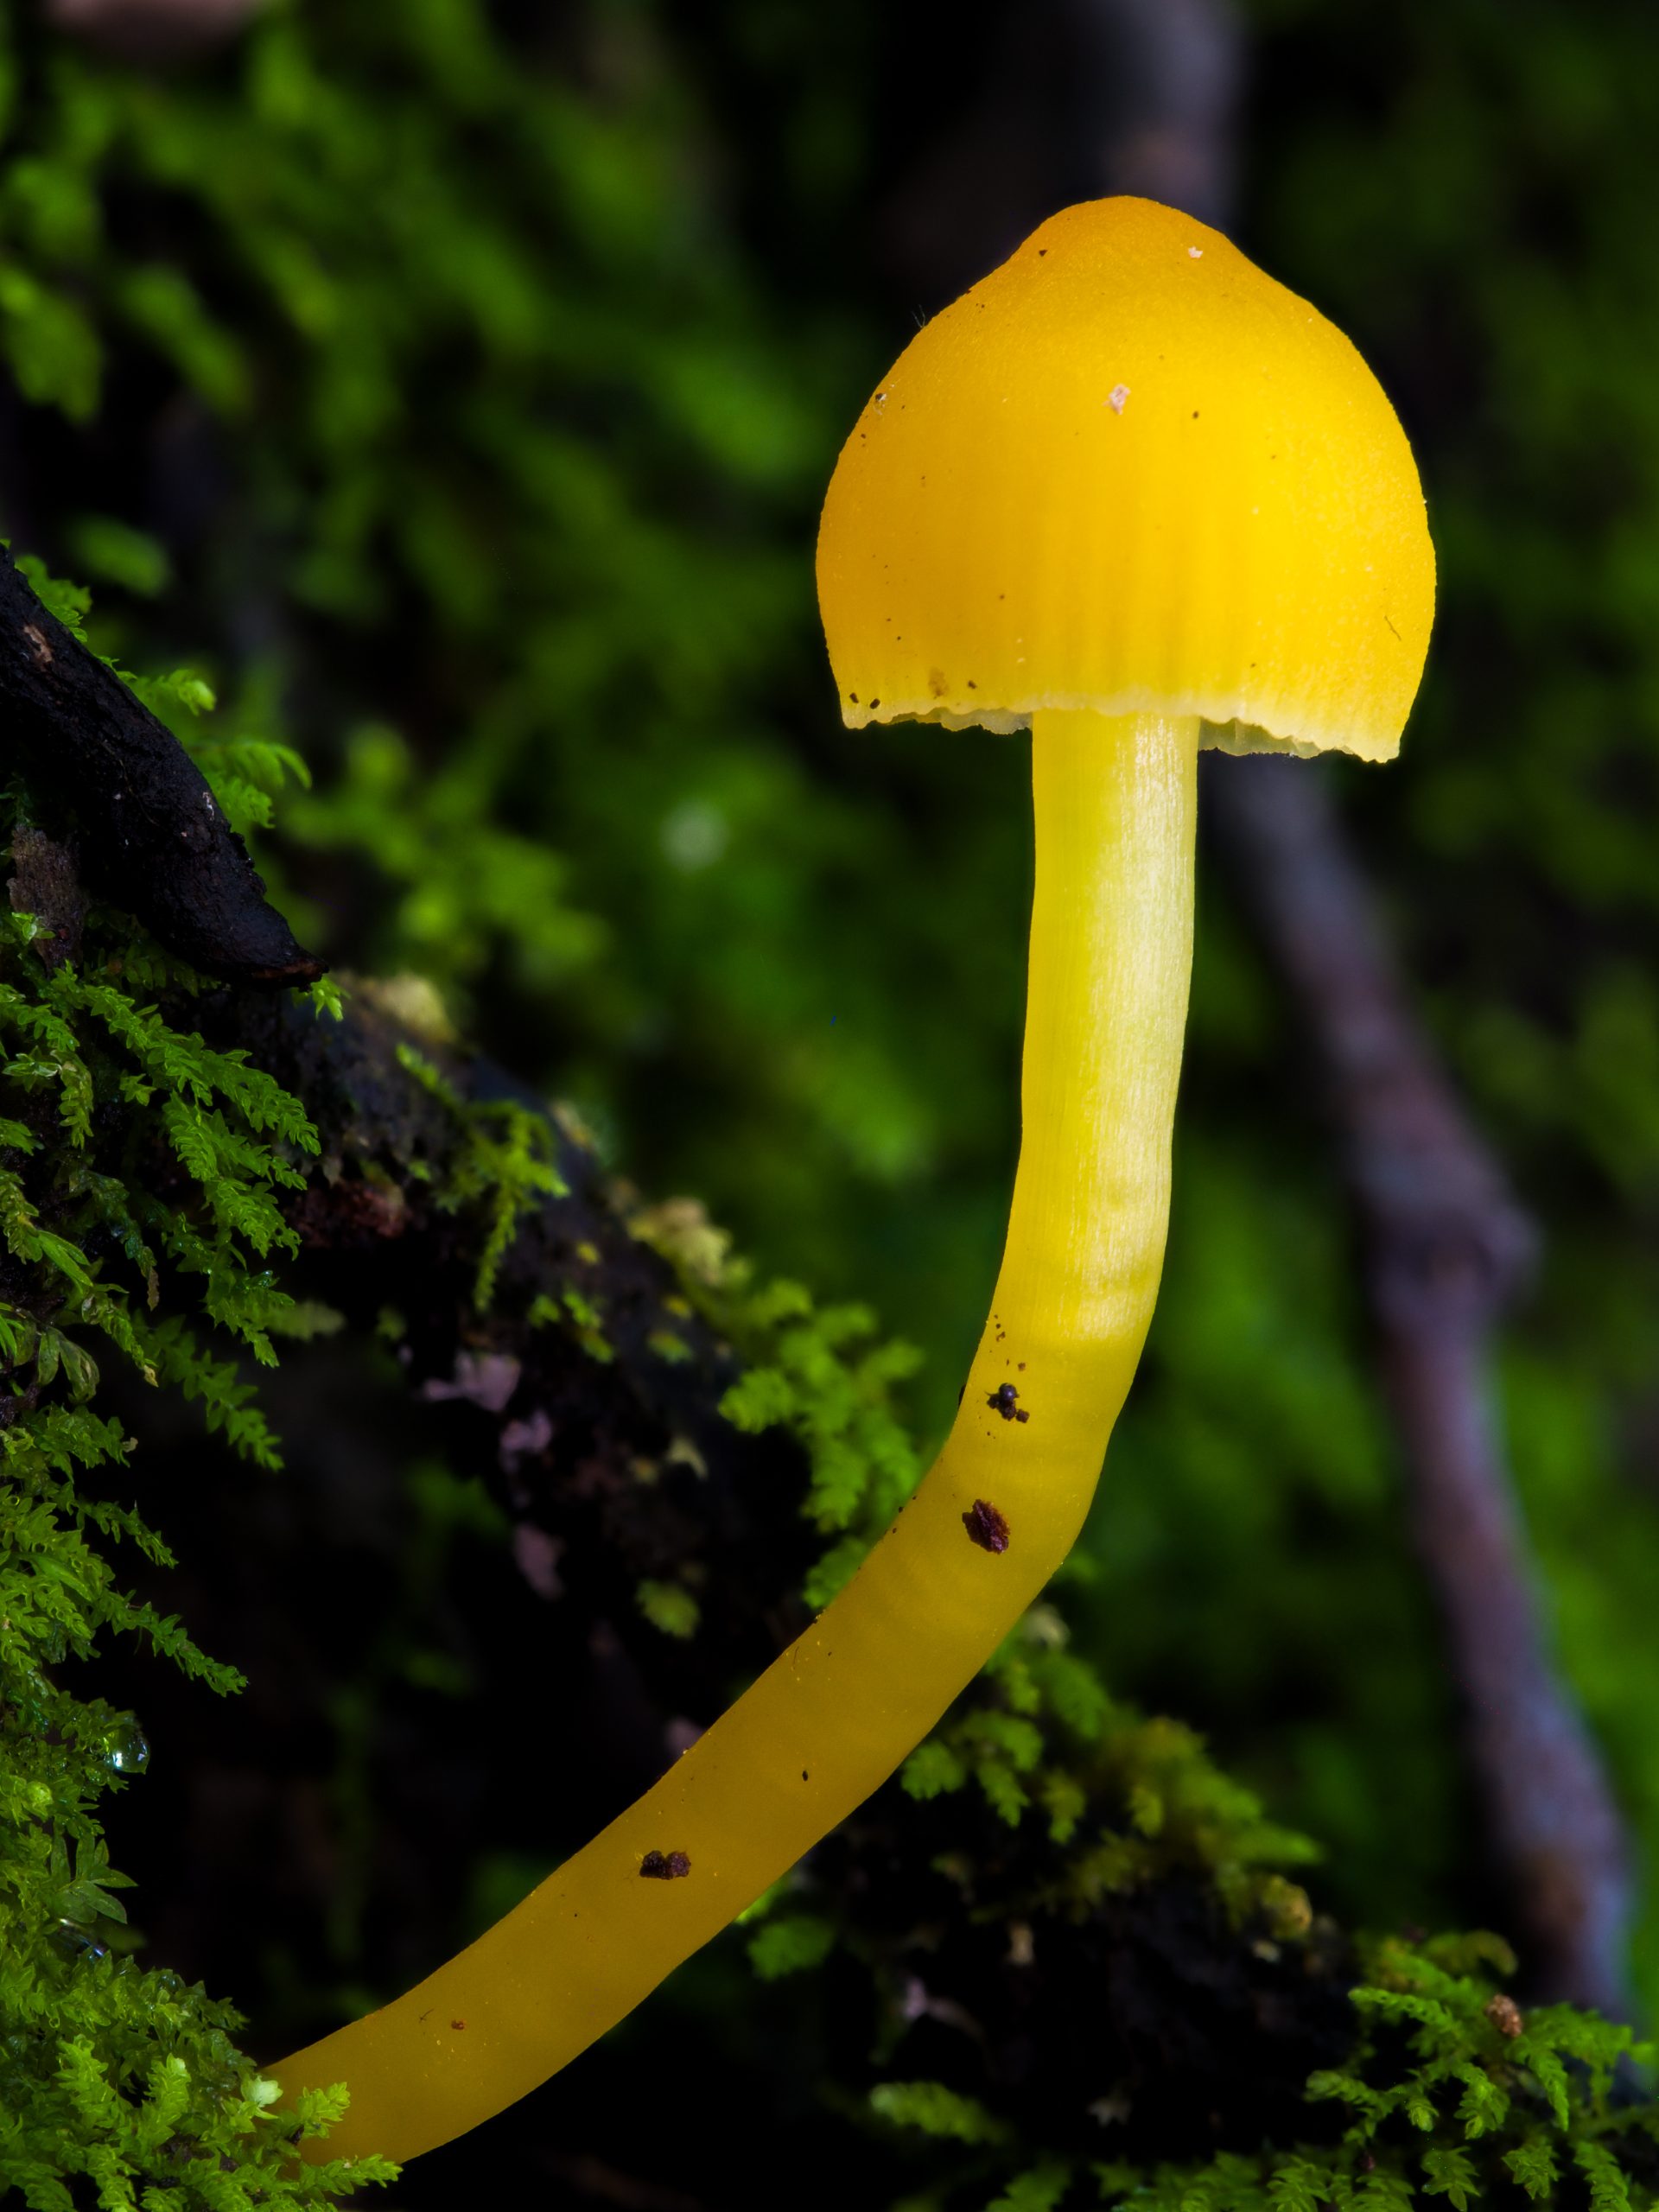
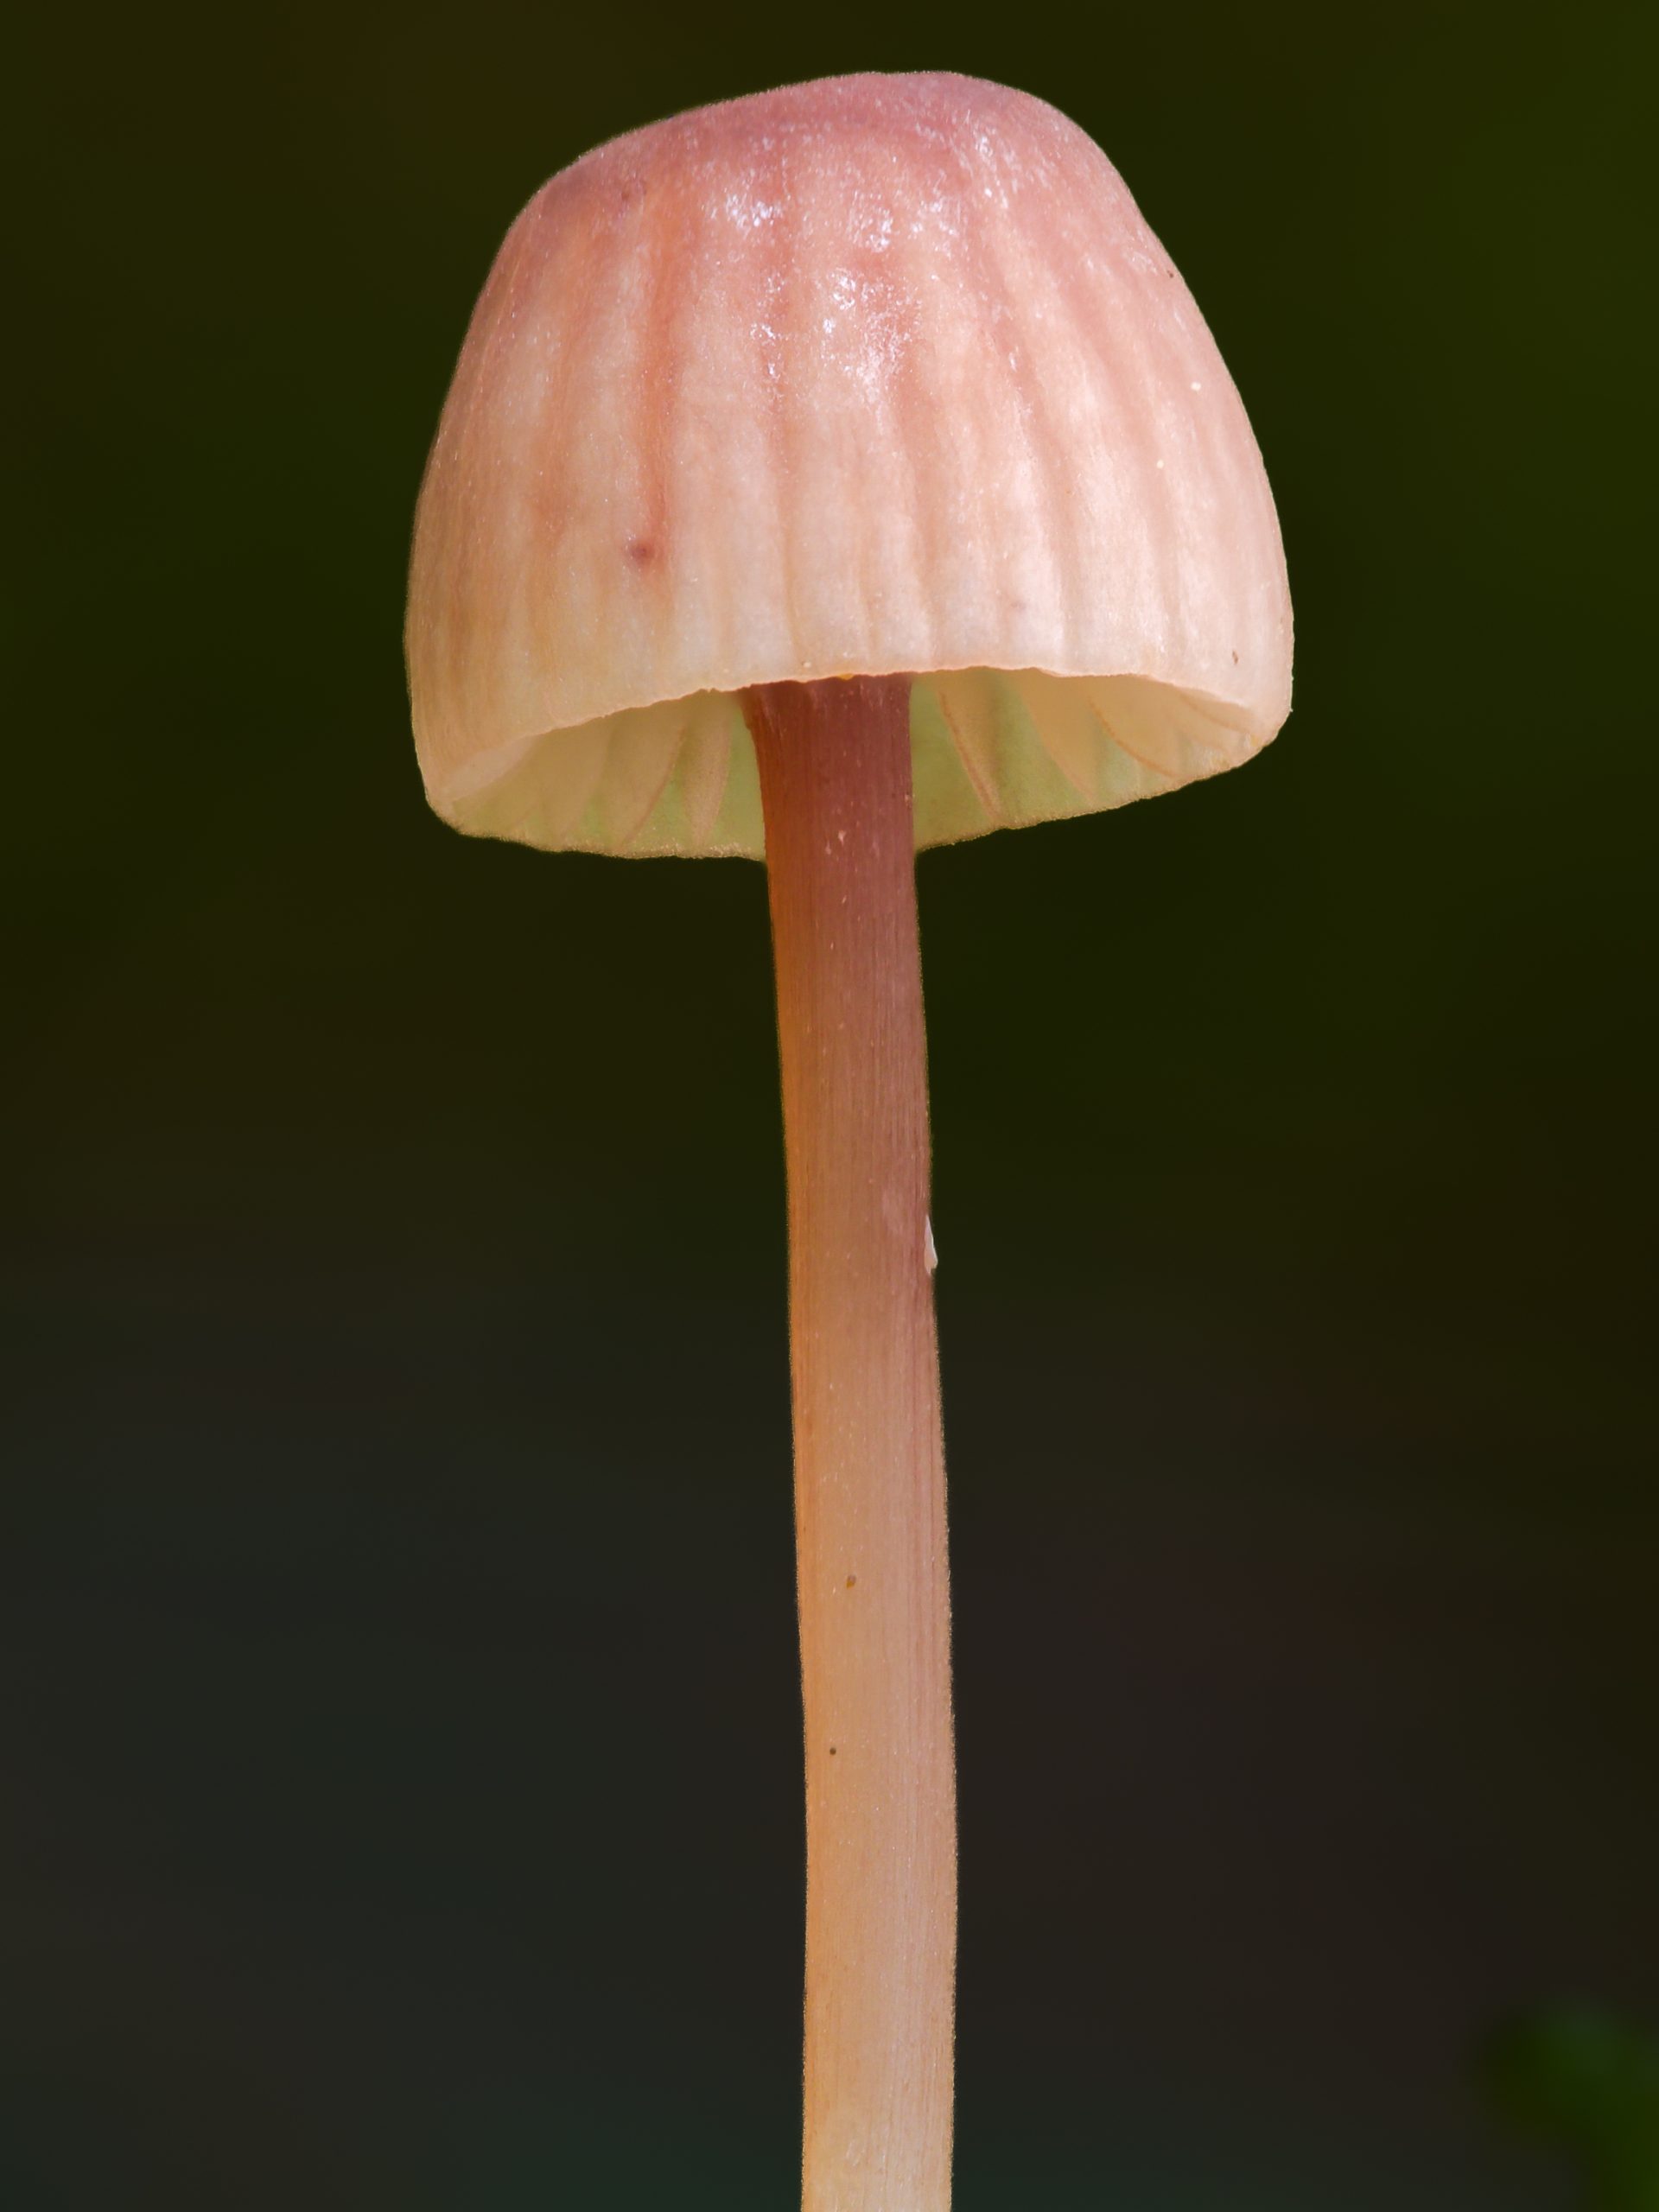
At macro distances, meaning very close up, the depth of field can be just a few millimetres. Sometimes less. On a small mushroom that is one centimetre tall, that means you might get the very tip of the cap sharp while the gills, the stem, and the base are all blurred. On a tiny Mycena that is only a few millimetres tall, even a single millimetre of depth of field means only a fraction of the subject is ever in focus at any one time.
This is not a problem with your camera or your lens. It is a fundamental property of optics. Every lens, regardless of how expensive or well-made, faces this limitation at close range. For a long time, the only solution was to use a very small aperture (a high f-stop number like f/16 or f/22) to squeeze as much depth of field as possible into a single frame. This works, but it comes with trade-offs. Small apertures require longer exposures, making camera shake more likely, and they also introduce a softening effect called diffraction that reduces sharpness across the whole frame. There is a dedicated article on why shooting wide open actually produces sharper results when you are focus stacking, which goes into this in more detail.
Focus stacking is the modern solution to this problem, and it completely changes what is possible in macro photography.
What is focus stacking?
Focus stacking is a technique where you take multiple photographs of the same subject, each one focused at a slightly different point, and then combine them into a single image using software. The software looks at each frame and takes only the sharpest parts, blending them together into one final image where everything is in sharp focus from front to back.
Think of it like this. Imagine you are photographing a mushroom that is two centimetres tall. Your lens can only keep about two millimetres sharp at a time. So you take one photo with the front edge of the cap in focus, then shift focus slightly and take another, then shift again and take another, working all the way through the mushroom from front to back. You might end up with ten or twenty or fifty individual frames, each sharp in a different place. You then load all of those frames into software, and it stitches together one final image where the entire mushroom is sharp, from the very front of the cap to the base of the stem.
The result looks completely natural. Looking at a well-executed focus stack, you would not know it was made from multiple images. It simply looks like a photograph where everything is perfectly in focus, which at macro distances is something a single frame can never achieve.
Focus bracketing vs focus stacking: what is the difference?
These two terms are often used interchangeably but they refer to different parts of the process, and it is worth understanding the distinction.
Focus bracketing is the act of capturing the sequence of images at different focus points. This is the shooting part. You are taking the multiple frames that will later be combined.
Focus stacking is the act of combining those frames into the final image. This is the processing part, done either in software on your computer or, on some cameras, inside the camera itself.
So bracketing happens in the field, stacking happens afterward. To do a focus stack you need to do focus bracketing first. You cannot do it the other way around.
How does it actually work?
There are two ways to capture the bracketed frames. The traditional method is manual focus bracketing, where you physically adjust the focus between each shot. You can do this by turning the focus ring on the lens a small amount between frames, or by using a focusing rail, which moves the entire camera forward in small precise increments while the lens stays at a fixed focus point. Manual bracketing works with any camera and any lens, but it requires patience and a steady hand.
The more modern approach is automated in-camera focus bracketing, sometimes called focus shift shooting. Cameras with this feature use the lens motor to automatically step through a range of focus points and fire the shutter at each one, all without you doing anything other than pressing a button. The camera handles the entire bracketing sequence in a matter of seconds. This is one of the main reasons the Olympus camera system is so popular for mushroom and macro photography specifically, since it has some of the best automated focus bracketing and stacking available in any camera system.
Once you have the sequence of frames, you bring them into software on your computer. Programs like Helicon Focus, Zerene Stacker, or Adobe Photoshop analyse each frame, identify which areas are sharpest, and blend them together. The article on how to use Helicon Focus covers this process in detail. The software is remarkably good at this and the results are usually very clean, though shots with complex overlapping elements or subjects that moved between frames can sometimes require a little manual cleanup.
The process in simple steps: 1. Set up your camera on a tripod in front of your subject
2. Set your focus to the nearest point of the subject
3. Take a series of photos, moving focus progressively toward the back of the subject
4. Import the frames into stacking software
5. Let the software blend them into one sharp final image
How many photos do you need?
This depends entirely on the size of the subject and how much magnification you are using. As a rough guide: a medium-sized mushroom photographed at standard 1:1 macro magnification might need 10 to 30 frames to cover it from front to back. A small Mycena a centimetre tall at high magnification might need 50 to 100 frames. A slime mold sporangium a millimetre tall at extreme magnification could need 200 frames or more. The article on finding and photographing slime molds covers what that level of magnification actually looks like in practice.
The key is that the steps between frames need to be small enough that there is some overlap in the sharp zones between consecutive shots. If your steps are too large you will get gaps in the final image where nothing is sharp. If your steps are too small you will take more frames than necessary, but this is the safer error to make. When in doubt, take more frames rather than fewer.
What do you need to get started?
At minimum you need three things: a camera capable of getting close enough to your subject, a way to keep the camera stable, and software to blend the frames.
For the camera, any mirrorless or DSLR camera can do focus stacking manually. You do not need a camera with automated bracketing to get started. A dedicated macro lens is strongly recommended, as it is designed specifically for close-focus work and will give you significantly better image quality at macro distances than a standard kit lens. If you are shopping secondhand, the guide to buying a used macro lens covers what to check before you buy.
For stability, a tripod is essential. Any movement of the camera between frames, including from breathing or wind, can cause misalignment that the software struggles to correct. The stiller the camera, the cleaner the final stack.
For software, Adobe Photoshop has a basic focus stacking function built in under Edit, then Auto-Blend Layers, which is a reasonable starting point. Helicon Focus and Zerene Stacker are dedicated stacking applications that produce better results, particularly for complex or high frame-count stacks. Both have free trials so you can test them before committing.
Want to try it without any new gear? If you already have a camera and tripod, you can experiment with manual focus stacking right now. Set up in front of any small object, take 10 to 20 frames while turning the focus ring a small amount between each, and import them into Photoshop’s Auto-Blend Layers. It will not be perfect but it will immediately show you what the technique is capable of.
In-camera focus stacking
Some cameras go one step further and offer in-camera focus stacking, where the camera not only takes the bracketed sequence automatically but also blends the frames into a finished image right inside the camera, with no software required. This is convenient and fast, and it is one of the features that makes cameras like the Olympus OM-1 and OM-D E-M1 series so well-regarded for this type of photography. If you are still deciding on a system, the article on what Micro Four Thirds is explains why this system in particular handles in-camera stacking so well.
The trade-off is that in-camera stacking has limitations. The output is usually a JPEG rather than a RAW file, which gives you less flexibility when editing afterward. There is also usually a cap on how many frames the camera can stack in one go. For most field photography these limitations are manageable, but for demanding subjects where you want the maximum quality and control, doing the stacking on a computer gives you better results.
The guide to cameras with focus stacking capability covers which camera systems support automated bracketing and in-camera stacking, and which ones are best suited for mushroom photography specifically.
What kind of results can you expect?
Done well, focus stacking produces images that are simply not possible any other way. A mushroom where every gill is razor sharp, where the texture of the cap is fully resolved, where the stem shows every fine detail from base to apex, all in a single image with a beautifully blurred background. It is the technique behind most of the truly spectacular macro fungi images you see online.
The learning curve is not steep. The concept is simple and the process, once you have done it a few times, becomes straightforward. The main variables to manage are keeping the camera still, managing wind that might move the subject between frames, and choosing the right step size between shots. Those things come with practice.
If you want to go deeper, the articles on aperture and focus stacking, focusing rails, and extension tubes and the Raynox DCR-250 cover the next level of technique once the basics are solid.
Best of luck out there.