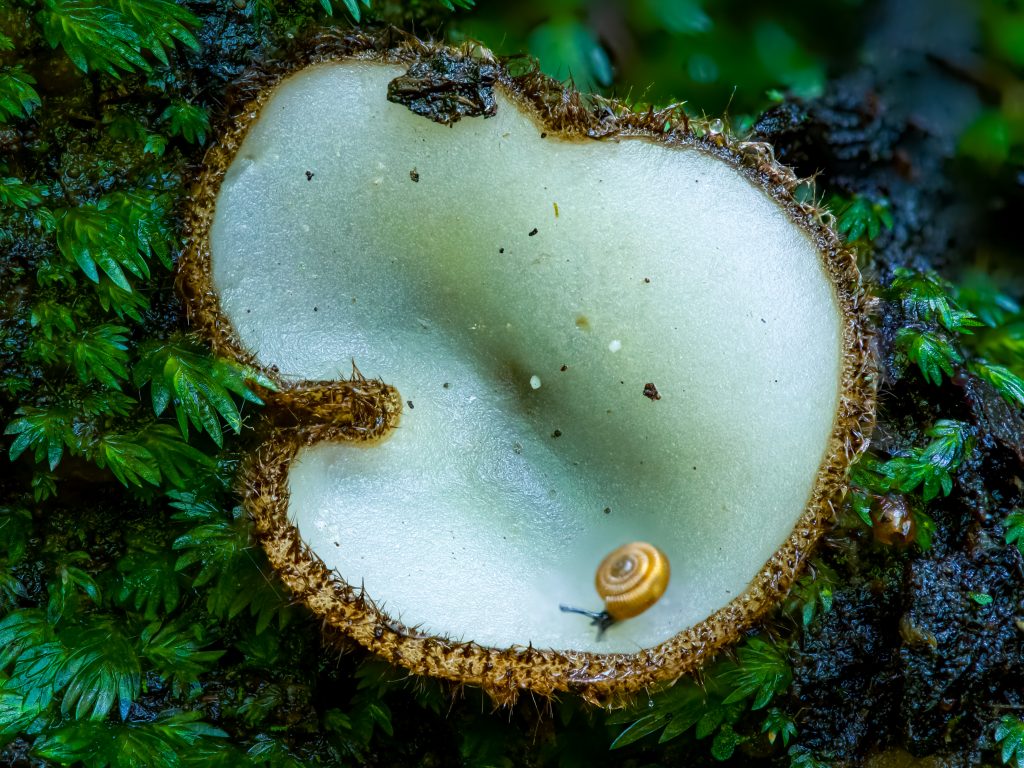
Two different modes: in-camera stacking vs focus bracketing
Olympus and OM System cameras are unique among camera systems in offering two distinct approaches to focus stacking, both accessed through the same bracketing menu. Understanding the difference between them is the first thing to get clear before touching any settings.
In-camera focus stacking
- Camera shoots the sequence AND blends the result automatically
- Outputs a single merged JPEG
- Maximum 8 frames on most models; up to 15 on E-M1X, E-M1 Mark III, and OM-1 series
- Fast and convenient — no computer needed
- Limited for small subjects and high magnification
- No RAW output of the merged result
Focus bracketing (RAW mode)
- Camera shoots the sequence only — you merge on your computer
- Outputs individual RAW files for each frame
- Up to 999 frames
- Full control over the merge in Helicon Focus or Zerene Stacker
- Suitable for any subject at any magnification
- Requires post-processing software
Most serious macro photographers use focus bracketing as their primary workflow — shoot RAW sequences in the field and merge on the computer. In-camera stacking is genuinely useful as a quick check or for casual use, but its frame limit makes it unsuitable for very small subjects where you may need 50, 100, or even more frames to cover the full depth of the subject. More on choosing between them at the end of this guide.
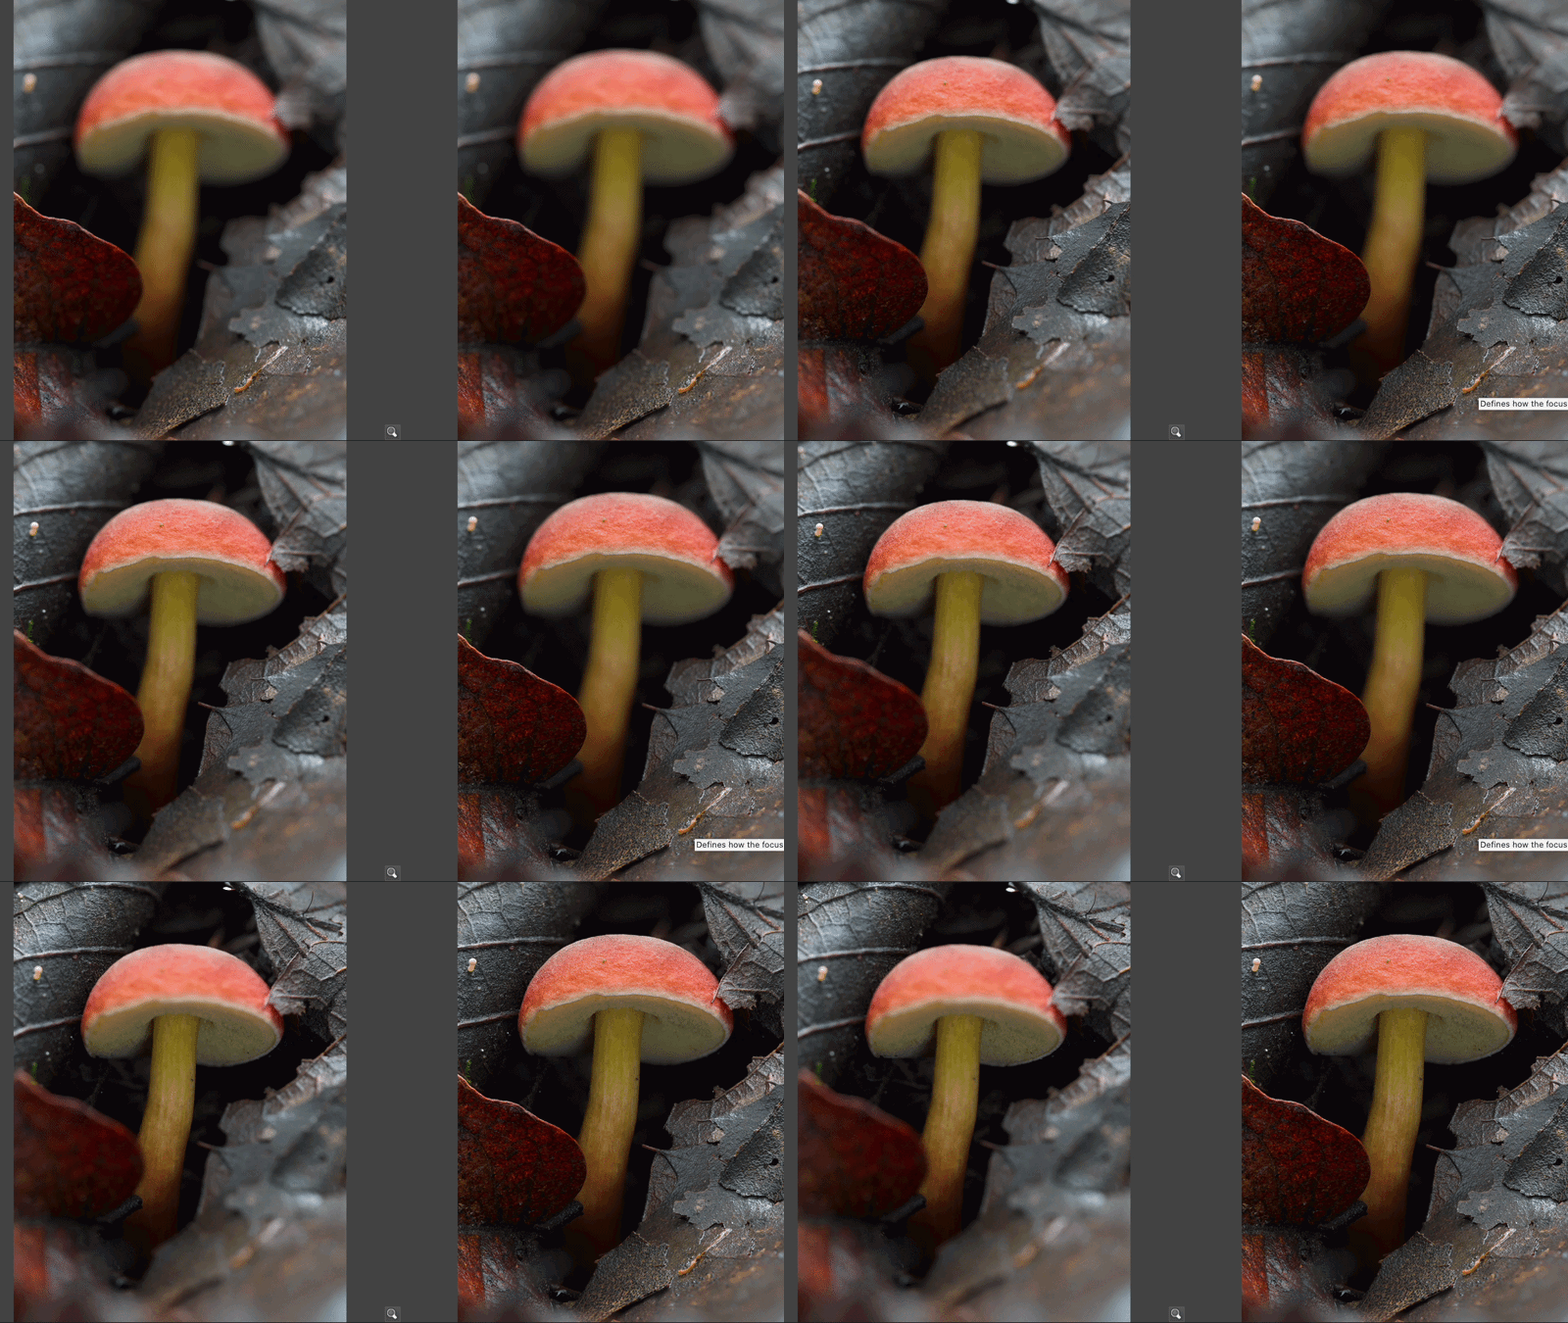
The focus differential is one of the most important settings to understand and one that confuses a lot of people when they first start using this feature. It controls how much the camera shifts focus between each frame in the sequence. On Olympus and OM System cameras it is set on a scale of 1 to 10, where 1 is the smallest step and 10 is the largest.
Think of it this way: a differential of 1 means tiny focus steps, many overlapping frames, and a stack that covers a short distance very thoroughly. A differential of 10 means large focus steps, fewer frames needed for a given subject, but less overlap between frames. For macro photography at high magnification, a low differential is almost always the right choice.
The differential does not represent a fixed physical distance — it is relative to the current magnification and focal length. At 1:1 magnification with the Olympus 60mm macro, a differential of 1 shifts focus by a tiny fraction of a millimetre. The same setting on a wider lens at low magnification would shift focus much more. This is why settings need to be dialled in for your specific setup rather than copied directly from someone else’s workflow.

One important thing to know about how Olympus implements the sequence: when you start a stack, the camera does not begin at your current focus point and move straight forward. Instead, it steps back approximately two increments toward the camera first, then moves through the full sequence outward. This means your initial focus point ends up in the middle of the sequence rather than at the start. For insects and subjects where the eyes matter, the official Olympus advice is to focus on the eyes first before starting the sequence, so that the critical area falls roughly in the centre of the bracketing range.
Setting up in-camera focus stacking
Press Menu and go to Camera 2 (the second camera icon tab). Select Computational Modes then Focus Stacking.
On the OM-1 and OM-1 Mark II you can set between 3 and 15 frames. Start with 15 to give yourself the widest coverage, then reduce if you find the sequence is covering more depth than the subject needs.
Scale of 1 to 10. For macro at 1:1 with the 60mm, start at 2 or 3. Press OK to confirm.
Focus on the nearest point of the subject — or on the eyes if photographing an insect. Half-press the shutter to confirm focus, then press fully. The camera fires the full sequence and produces a merged JPEG automatically. The stacked result appears at the front of the sequence in your image review.
Press Menu and go to Shooting Menu 2 (camera icon, page 2). Select Bracketing and press right to set it to On. Then scroll down and select Focus BKT, press right, and scroll to On.
Within the Focus BKT options you will see Focus Stacking. Set this to On. This is what tells the camera to merge the frames in-camera rather than just saving them individually.
On the E-M1X and E-M1 Mark III: 3 to 15 frames. On most other models including the E-M5 Mark II: fixed at 8 frames. If your model shows 8 and no option to change it, that is the maximum for in-camera stacking on that body.
1 to 10. Start at 2 or 3 for 1:1 macro work. Press OK repeatedly to exit the menu — you should see a BKT indicator on the display confirming the mode is active.
Focus on the nearest point of interest and press the shutter. The camera fires the sequence and saves a merged JPEG. The individual RAW frames are also saved alongside it.
Setting up focus bracketing (RAW mode)
Focus bracketing mode shoots the full sequence as individual RAW files without any in-camera merging. You get up to 999 frames, full RAW quality, and complete control over the merge in software afterward. This is the recommended workflow for serious macro work.
Go to Camera 2 > Bracketing. Select Focus BKT and set to On. Make sure Focus Stacking within that menu is set to Off — this tells the camera to save individual RAW files rather than merging in-camera.
You can go up to 999. In practice, set a high number (100 or more) and stop the sequence manually when the camera has passed the furthest point of your subject. Press the shutter button again to stop the sequence early.
Same scale of 1 to 10. For RAW bracketing at macro distances, start at 1 or 2. You have more frames to work with so smaller steps and more overlap is fine — it means more frames to process but a higher quality final merge.
Focus on the nearest point of the subject. Press the shutter — the camera begins firing the sequence continuously. Watch the subject and press the shutter again to stop once the sequence has passed the furthest point you want in focus. The individual ORF (Olympus RAW) files are saved to the card ready for processing.
The setup is identical to the in-camera stacking instructions above, with one key difference: in the Focus BKT sub-menu, set Focus Stacking to Off. This saves the individual frames as RAW files instead of merging them. Set the number of shots high (100 or more) and stop the sequence manually when it has covered the subject.
Recommended settings for macro photography
For the reasoning behind shooting at wider apertures rather than stopping down, the aperture and diffraction guide explains exactly why f/5.6 to f/8 produces sharper focus stacks than f/16 or smaller.
Processing bracketed RAW files afterward
Your focus bracketing sequence produces a folder of ORF files numbered sequentially. The workflow from here is covered in full in the Helicon Focus guide, but in brief:
Open Helicon Focus and drag in your ORF files in order. Select Method C (weighted average) as a starting point — this is the method most Olympus macro photographers use as a default and handles most subjects well. Run the stack, review the result, and re-render with Method A or B if needed for difficult areas. Save as TIFF for maximum quality or JPEG for sharing.
If you prefer to apply Lightroom corrections before stacking, import the ORFs into Lightroom, apply your corrections, sync them across all frames, then export as TIFF and open in Helicon Focus.
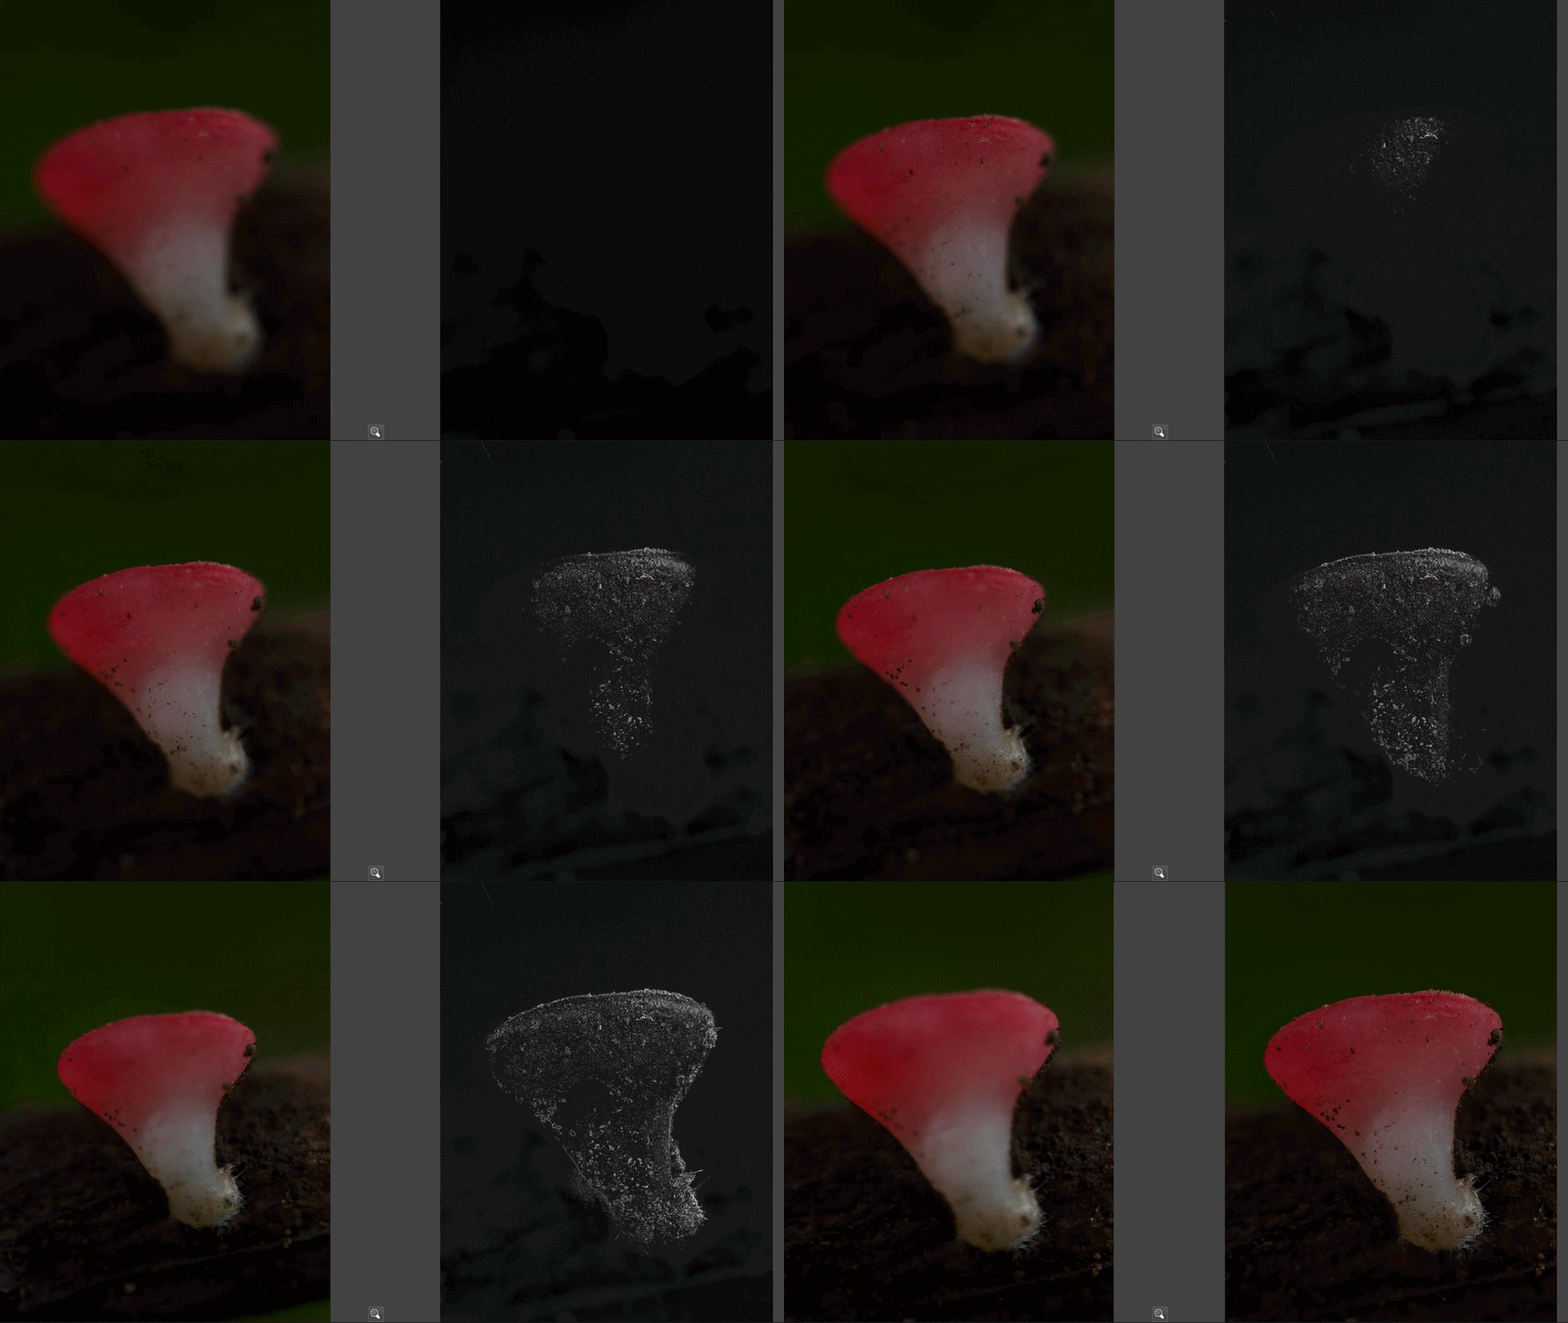

Which mode should you use?
Use in-camera focus stacking when: you want a quick result in the field without any post-processing, your subject is large enough that 8 to 15 frames covers it adequately, or you want an immediate on-camera preview of whether the stack worked before committing to a full RAW sequence.
Use focus bracketing (RAW mode) when: your subject is small and needs more than 15 frames to cover fully, you want full RAW quality and control over the merge, you are photographing anything at higher than 1:1 magnification using extension tubes or the Raynox, or you want to process in Helicon Focus for the best possible result. This is the workflow I use for the vast majority of my own photography.
The in-camera stacking JPEG is good enough for most uses – sharing online, identification purposes, and casual documentation. But the RAW workflow consistently produces better results for subjects where fine detail matters, simply because 8 to 15 frames is often not enough to cover the full depth of a small subject and because JPEG compression removes some of the fine detail that makes a focus-stacked macro shot compelling.
For the full picture on what cameras support each of these modes and how they compare to other systems, the complete cameras with focus stacking guide covers every confirmed model across all brands.
Troubleshooting
The merged in-camera JPEG has gaps — areas that are not sharp
The focus differential is too large — the overlap between frames is insufficient for the stacking algorithm. Reduce the differential by one step and reshoot. Also check whether the subject moved between frames.
The sequence stops after only a few frames
The camera has reached the furthest focus point of the lens before completing the set number of frames. This is normal — it means the subject was covered fully before the count was reached. Check the in-camera result or your RAW files.
The in-camera JPEG looks sharp but the edges of the subject are blurry
With only 8 to 15 frames, the edges of the depth range may not be covered if the differential is too small and the subject is too deep. Try increasing the differential slightly, or switch to RAW bracketing mode for more frames.
BKT is showing in the display but the camera is not stacking
Make sure Focus Stacking is set to On within the Focus BKT sub-menu. If it is set to Off the camera will bracket but not merge.
The sequence fires too fast and I cannot stop it in time
On the OM-1 series the bracketing fires at very high speed. Set a lower maximum frame count (20-30) rather than 999 so the camera stops automatically when the sequence ends. You can always reshoot with more frames if needed.
Best of luck out there.