Slime molds are among the strangest organisms you can find in a forest, and finding them is a skill in itself. This guide covers what they actually are, where to look, what conditions matter, and how to photograph them once you find one.
Contents
- What is a slime mold, actually?
- The life cycle
- Where to look
- How to actually find one
- Timing and conditions
- Photographing slime molds
- Bringing them home
What is a slime mold, actually?
Slime molds are some of the strangest organisms you will ever encounter in the field, and the first surprising thing about them is that they are not actually fungi at all, despite often being grouped with them and found in the same habitats. Slime molds, more precisely called myxomycetes, are far more closely related to amoebas. They belong to a completely different branch of life, classified within a group called Amoebozoa rather than the fungal kingdom.
This matters because it explains why they behave so differently from anything else you will find on a forest floor. For part of their life they exist as a single connected mass that can actually move, slowly flowing across a log or through leaf litter in search of food. No mushroom does that. It is one of the reasons myxomycetes have fascinated scientists for centuries and still get described as one of nature’s strangest life forms.
The life cycle
The myxomycete life cycle is genuinely unlike anything else you will encounter in nature photography, and understanding it helps explain what you are actually looking for in the field.
Spore stage: It begins with a microscopic spore, dispersed by wind, that lands somewhere damp and suitable.
Amoeboid stage: The spore germinates and releases a single-celled amoeba-like organism. These tiny cells move around independently, feeding on bacteria and other microorganisms in the environment.
Plasmodium stage: When conditions are right, these individual cells merge together into a single connected mass called a plasmodium. This is the stage most people picture when they think of slime molds: a yellow, white, or brightly coloured mass that visibly flows and spreads across a log or through debris, hunting for food. Some plasmodia can grow to cover a surprisingly large area.
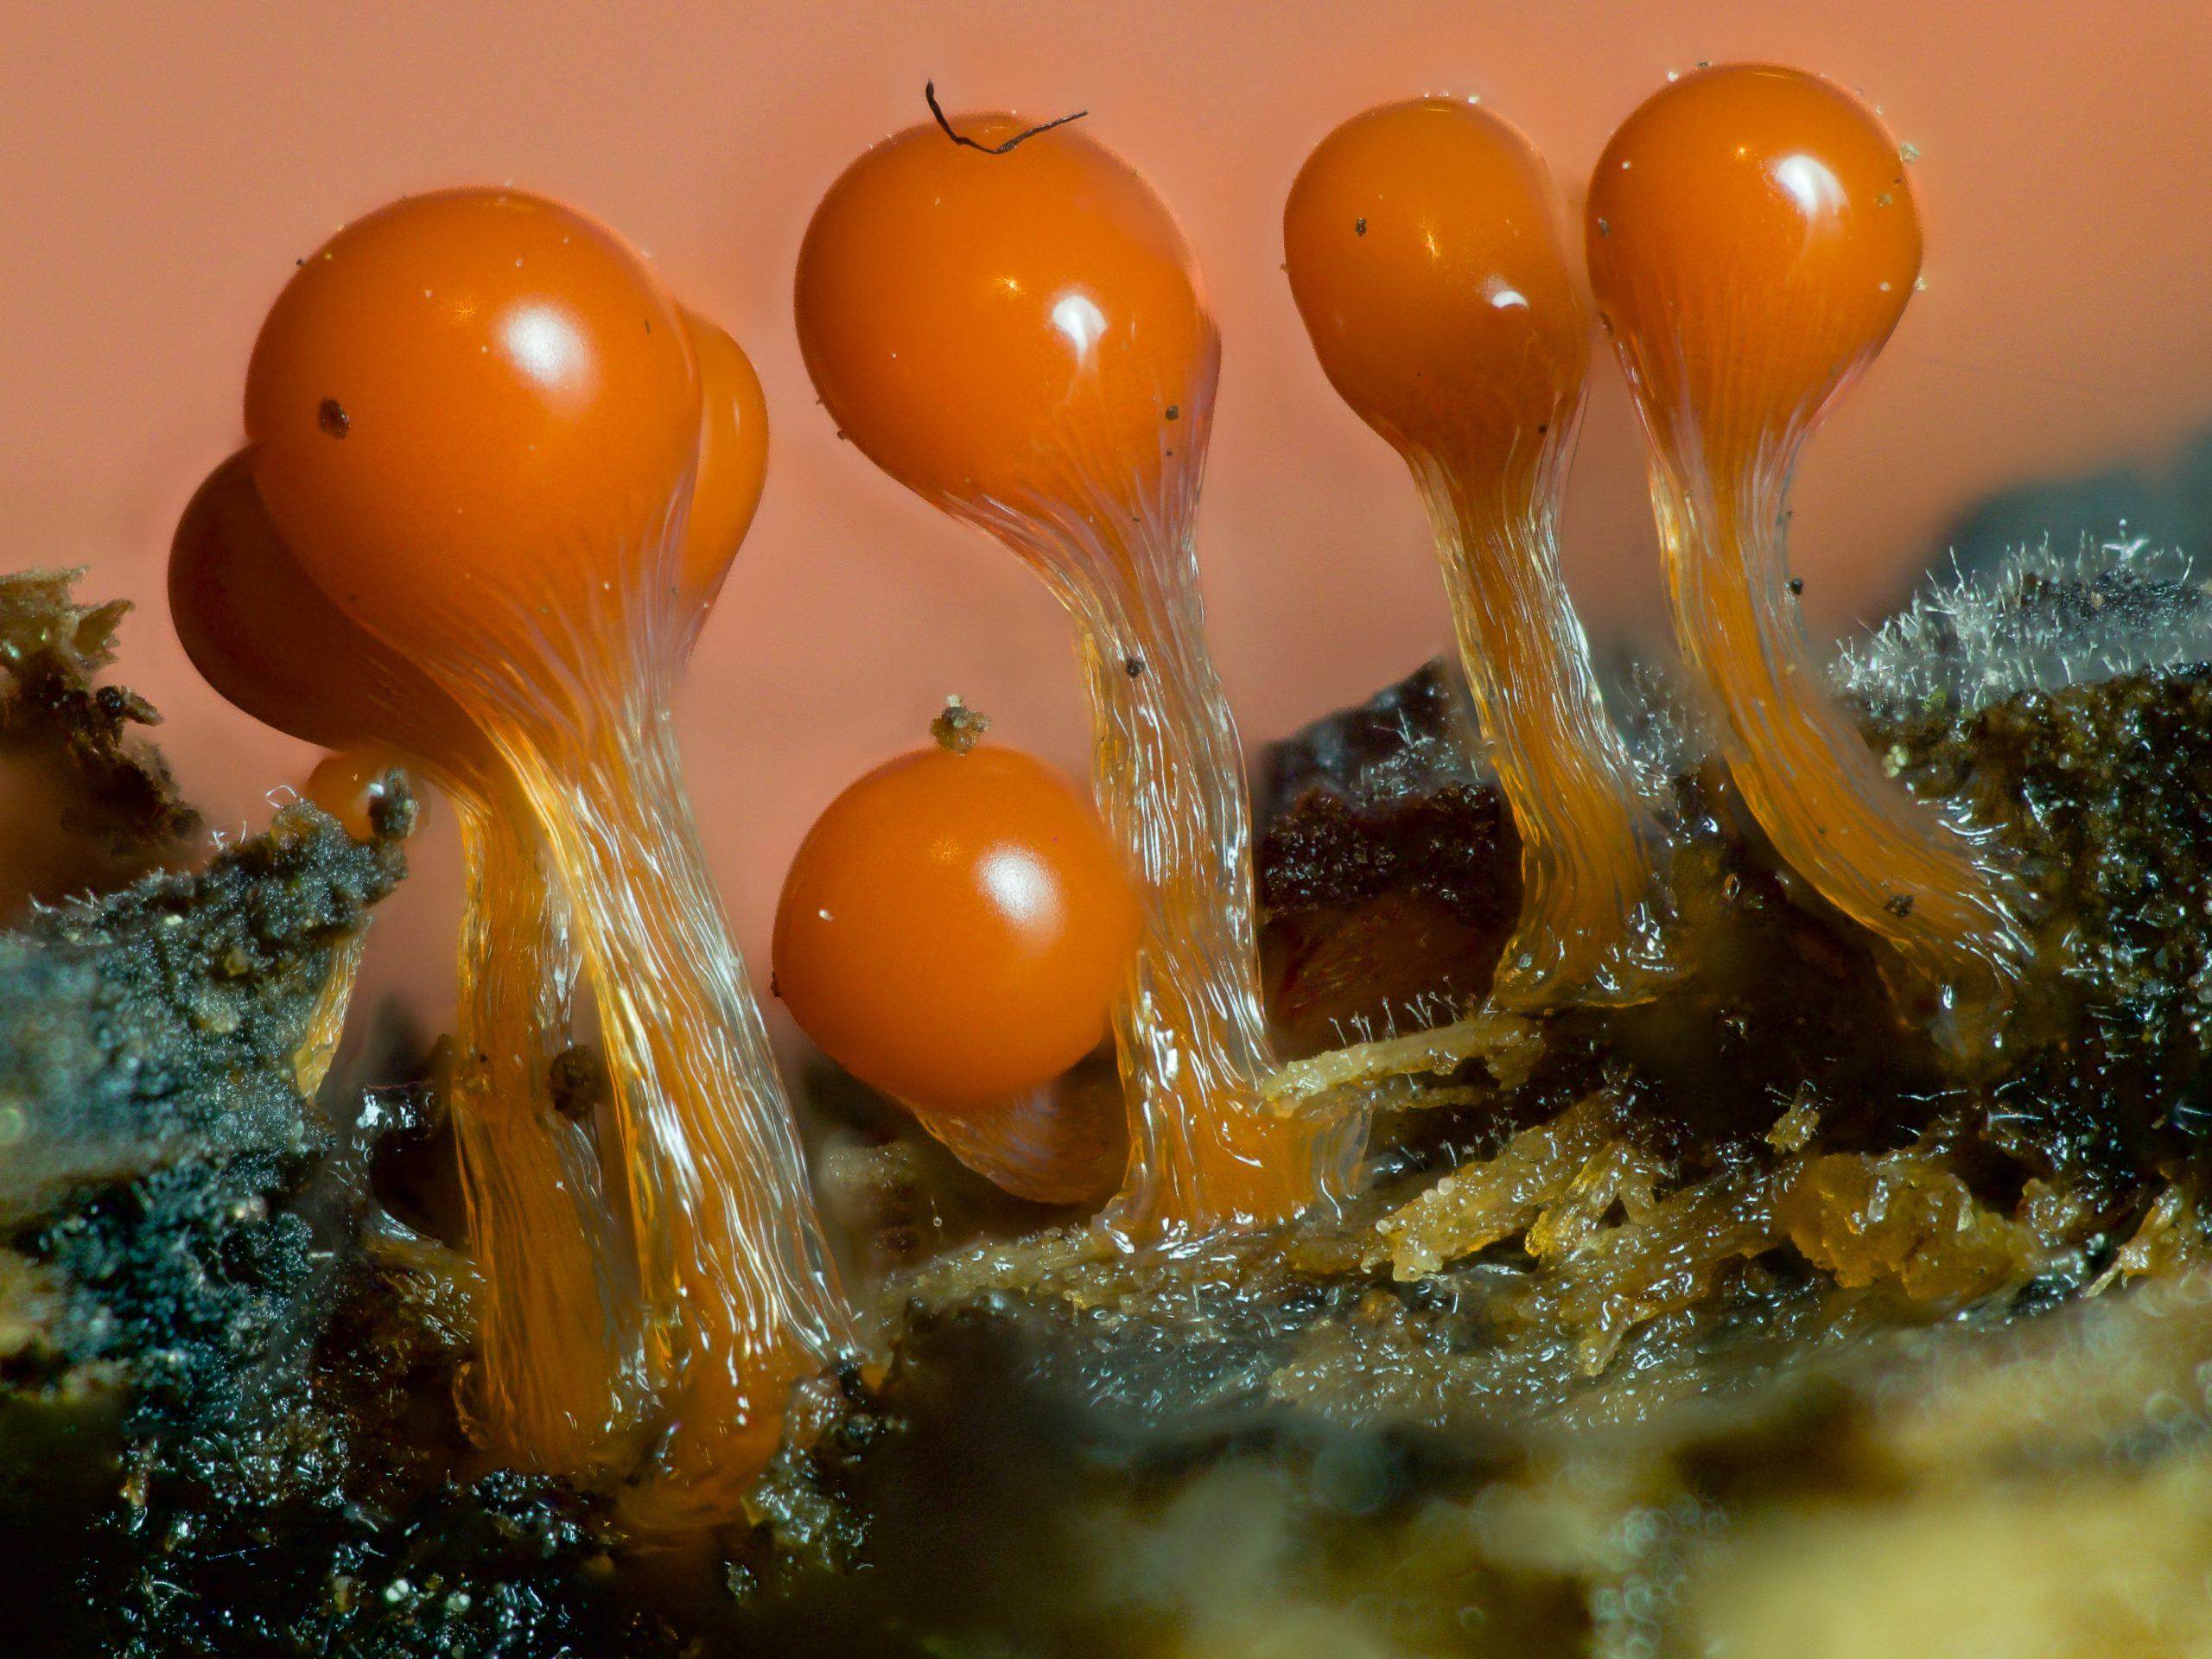
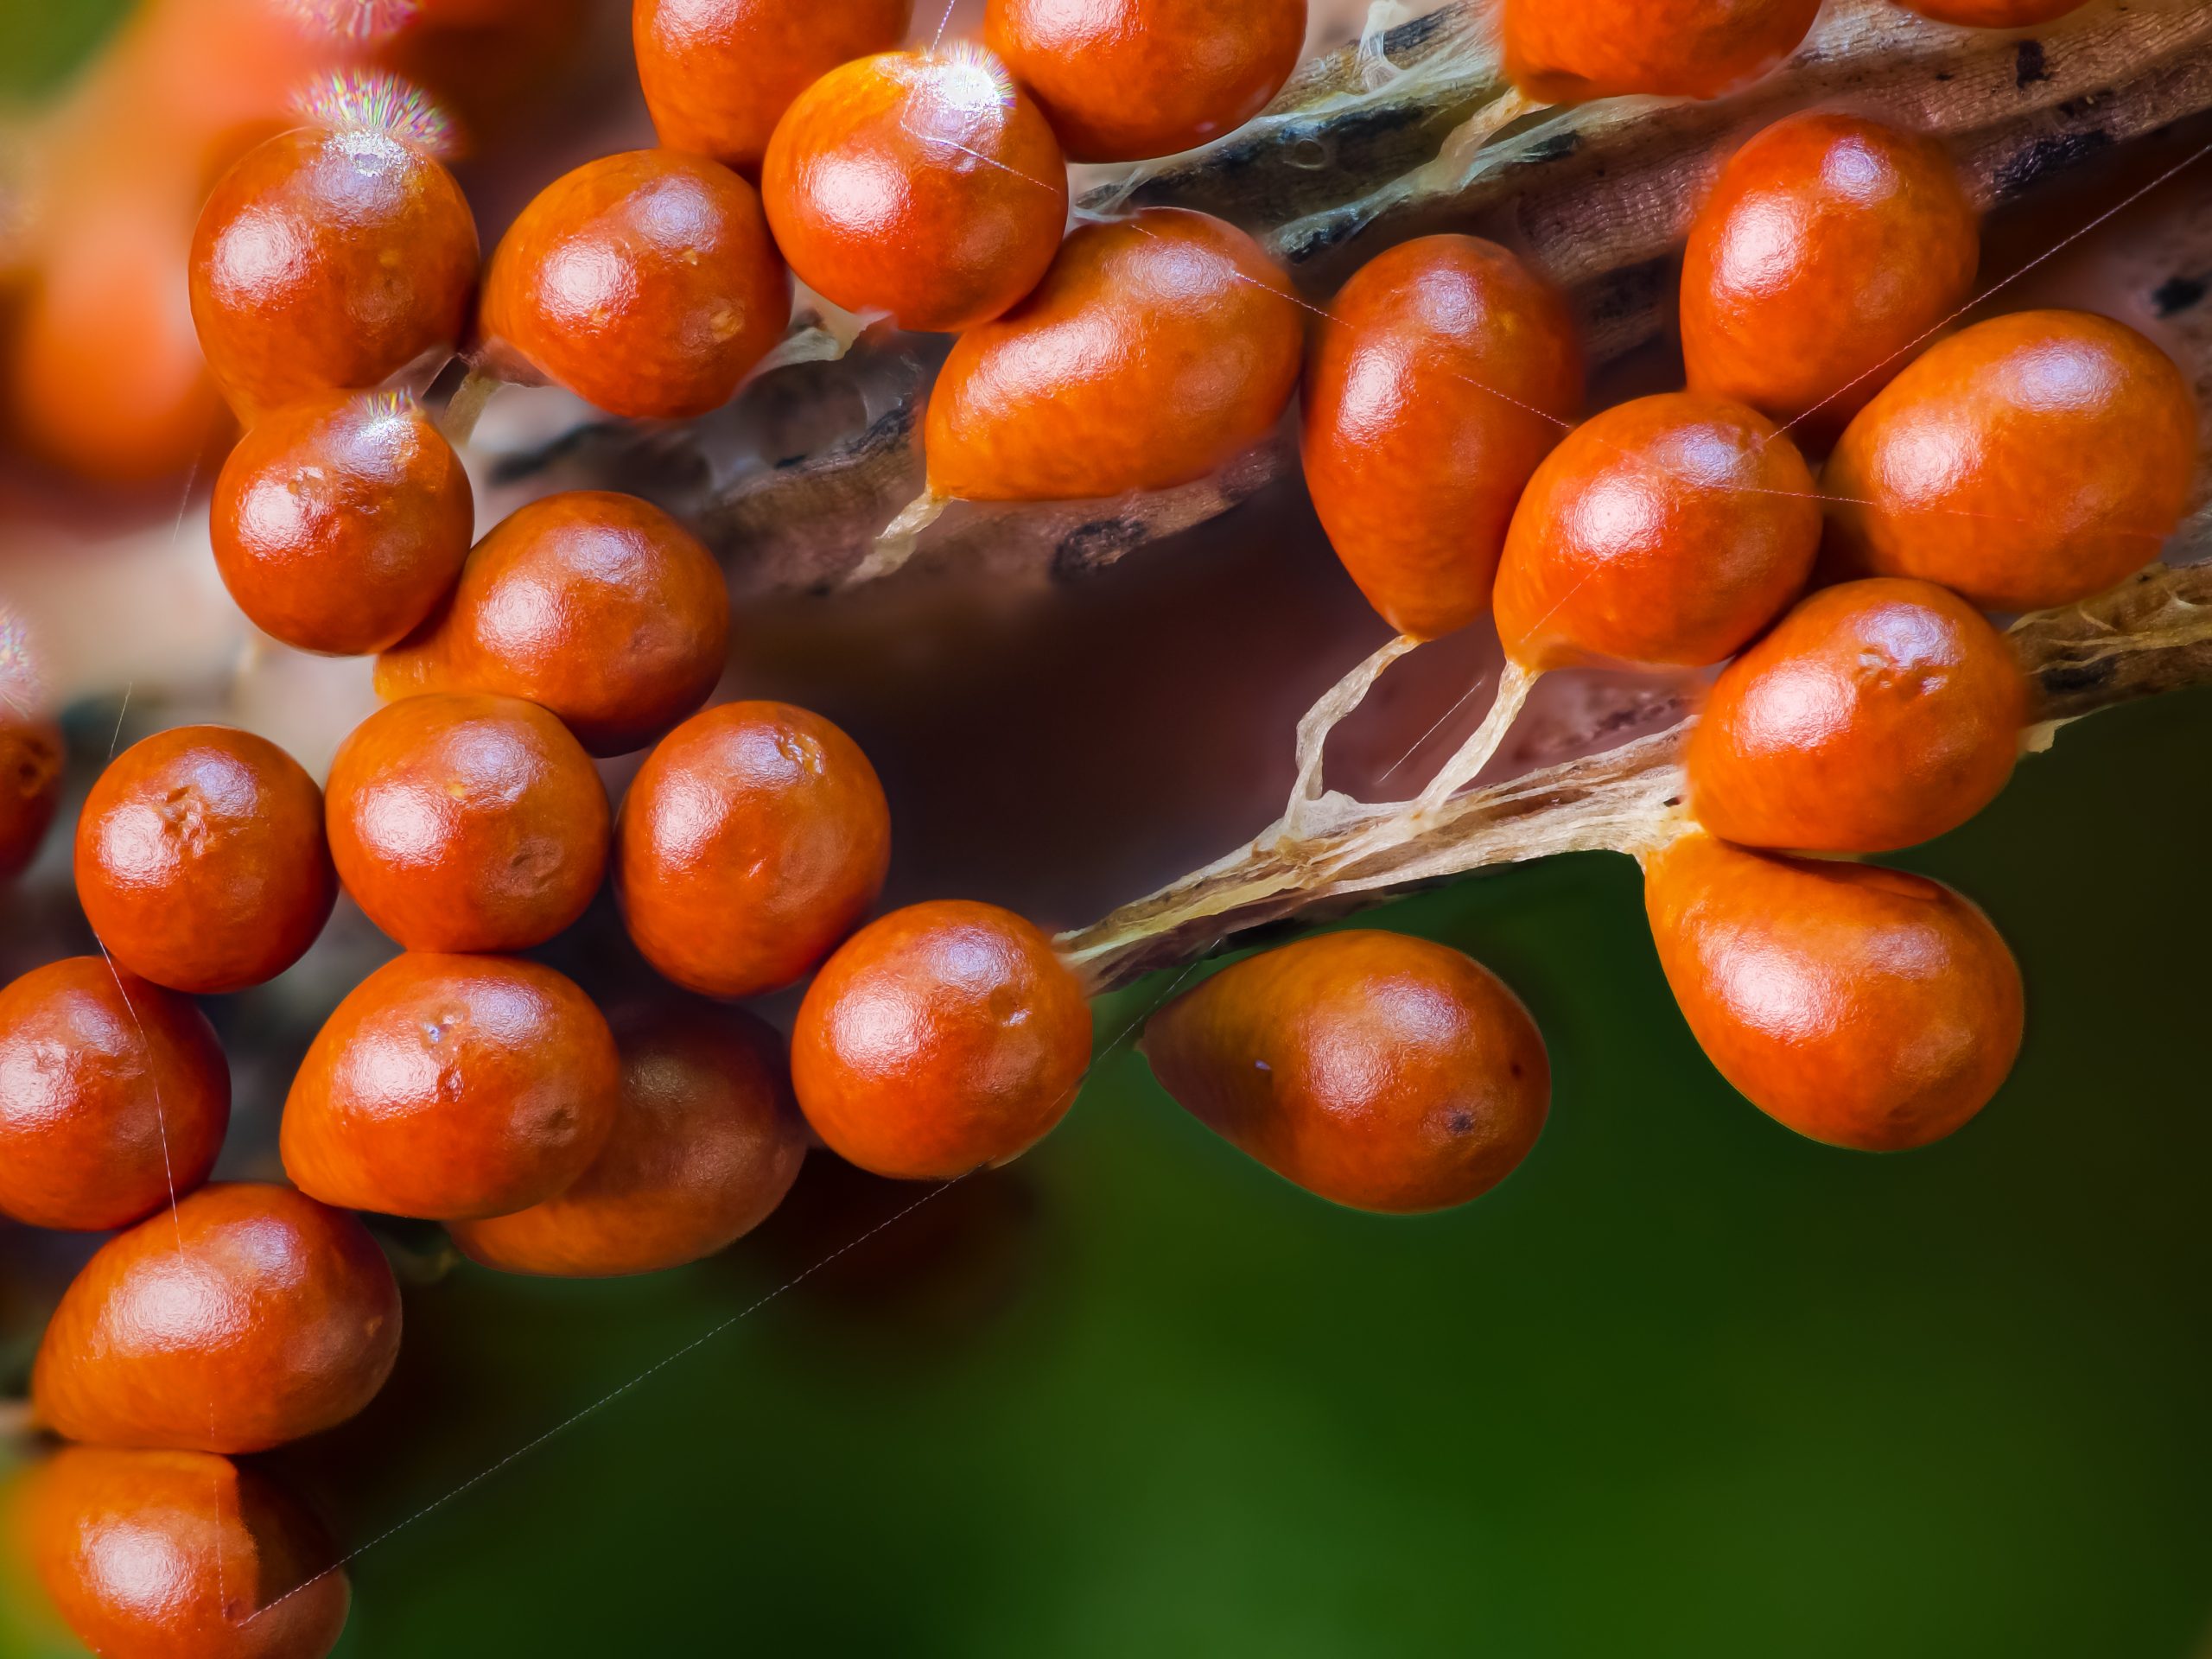
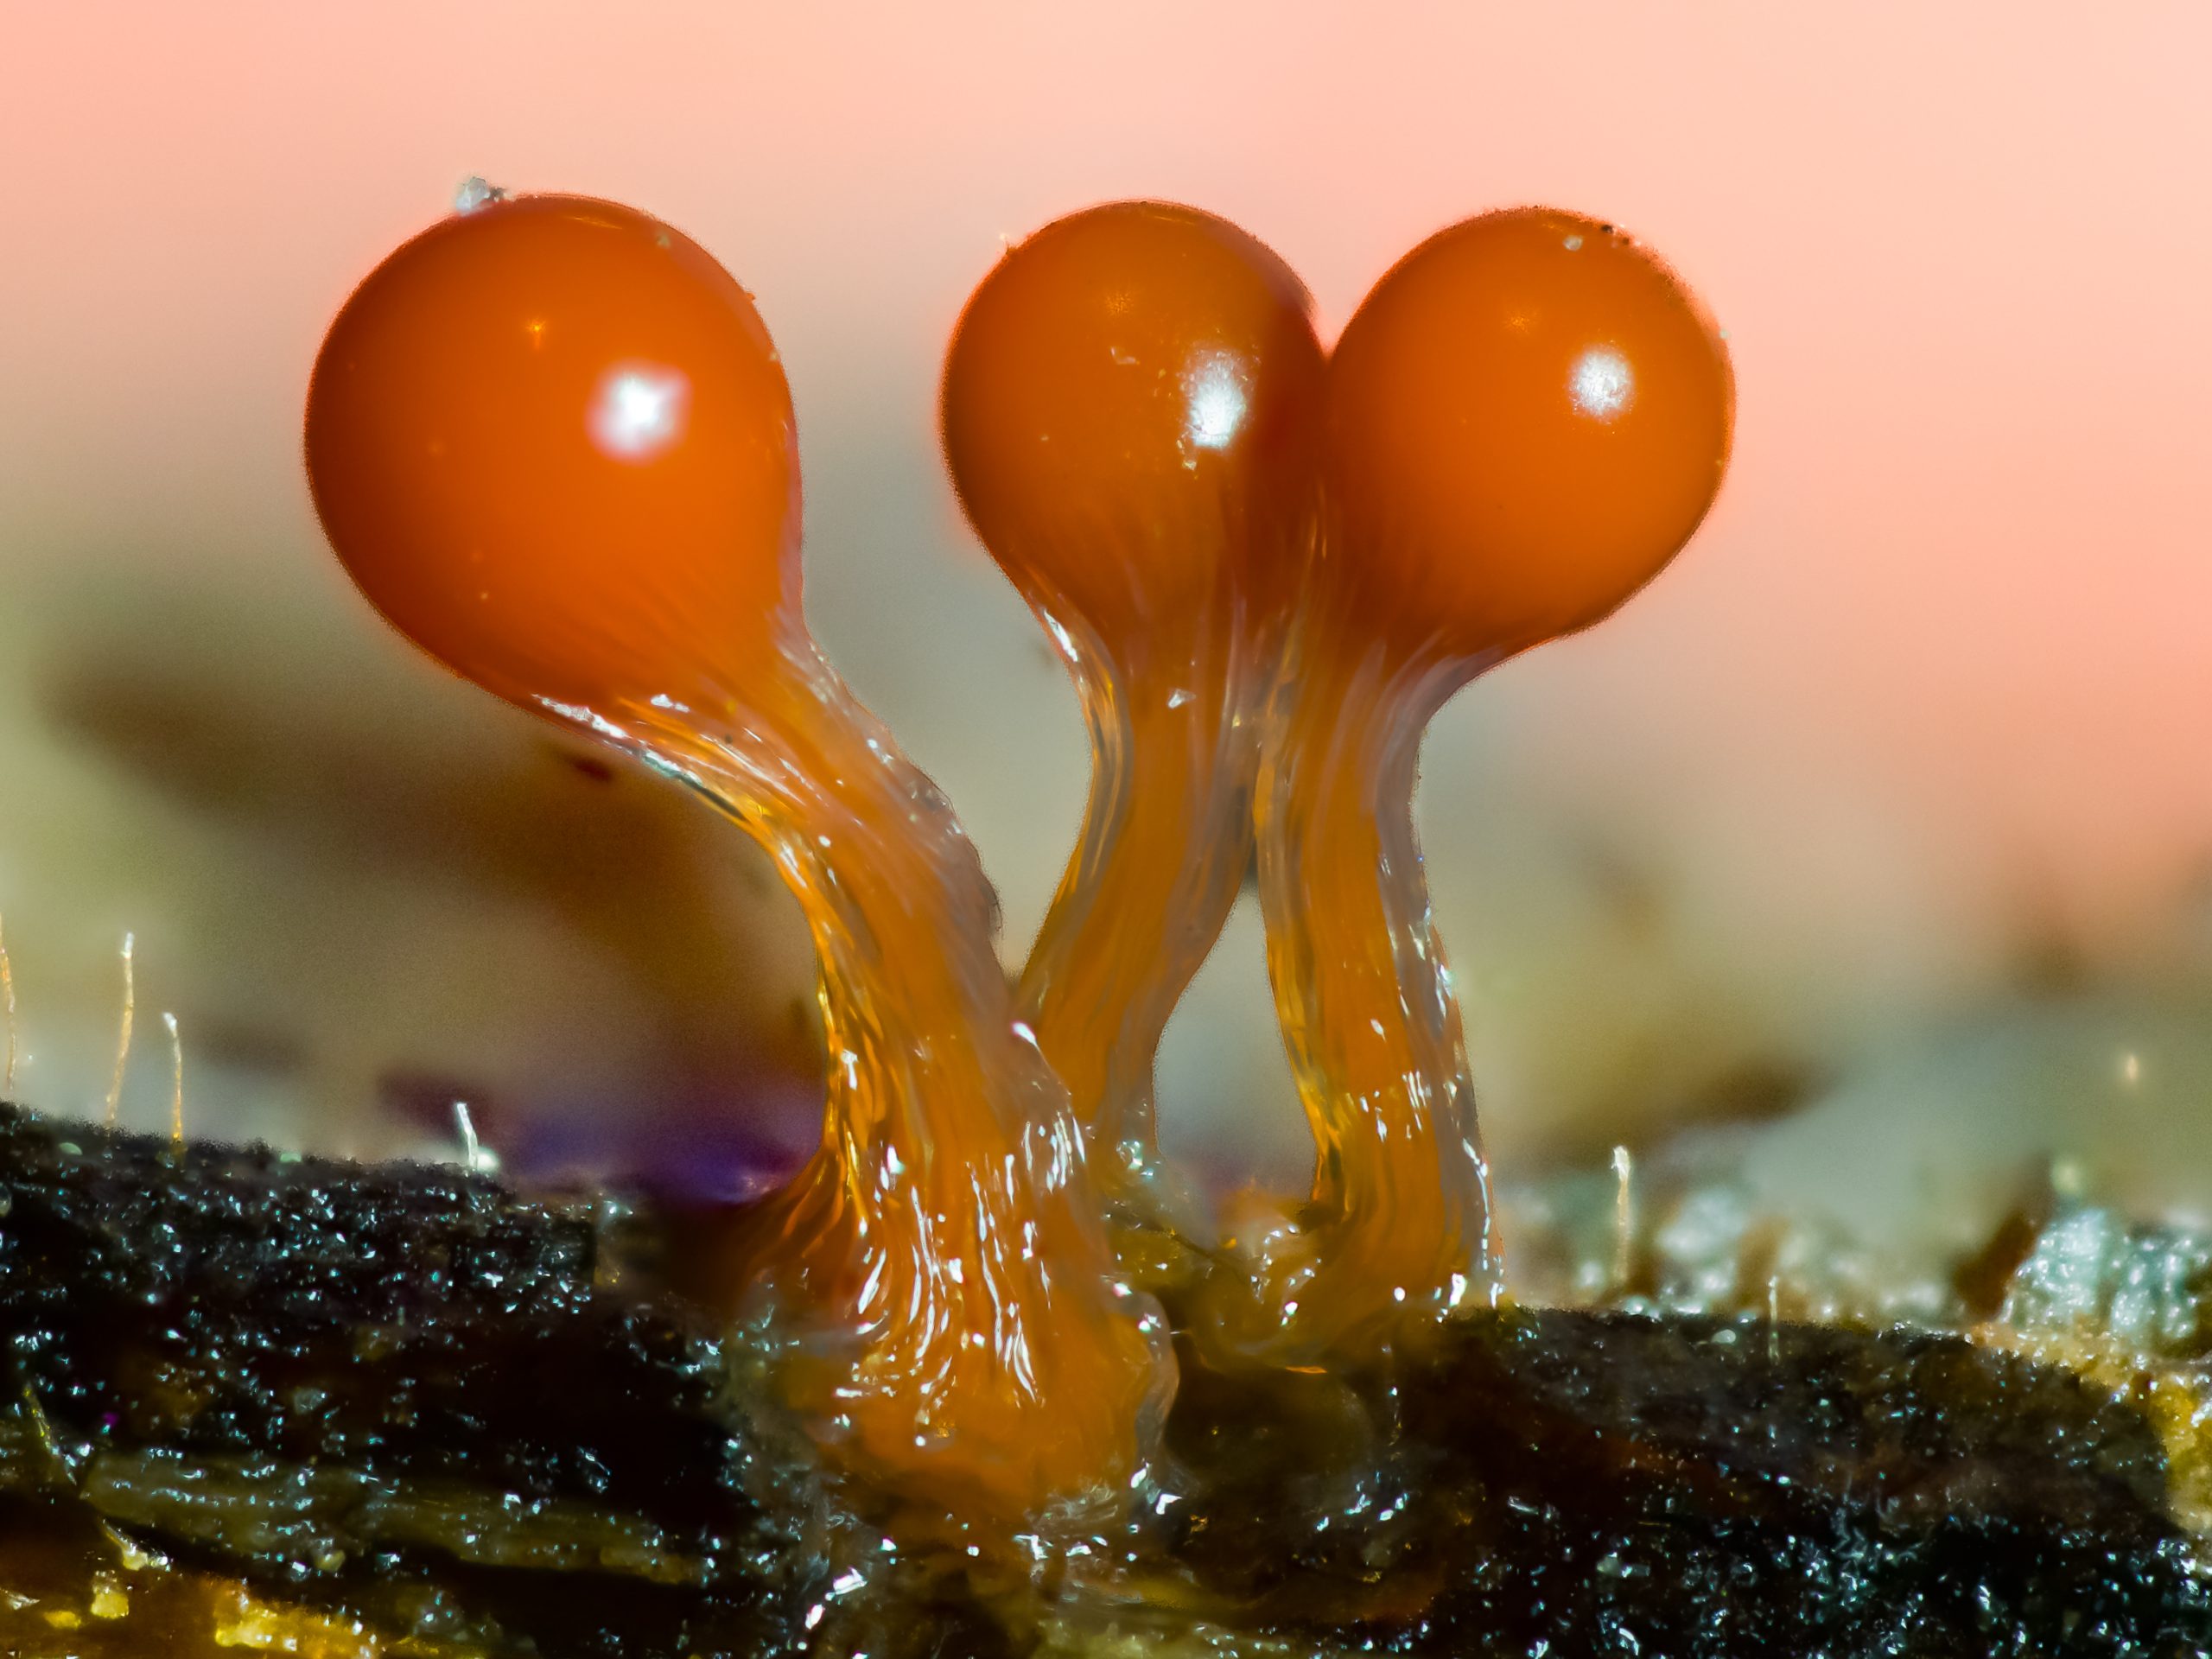
Fruiting stage: When food becomes scarce or conditions change, the plasmodium transforms into fruiting bodies called sporangia. This is the stage almost everyone photographs. Sporangia are usually tiny, often under a few millimetres tall, and come in an extraordinary range of shapes and colours depending on the species.
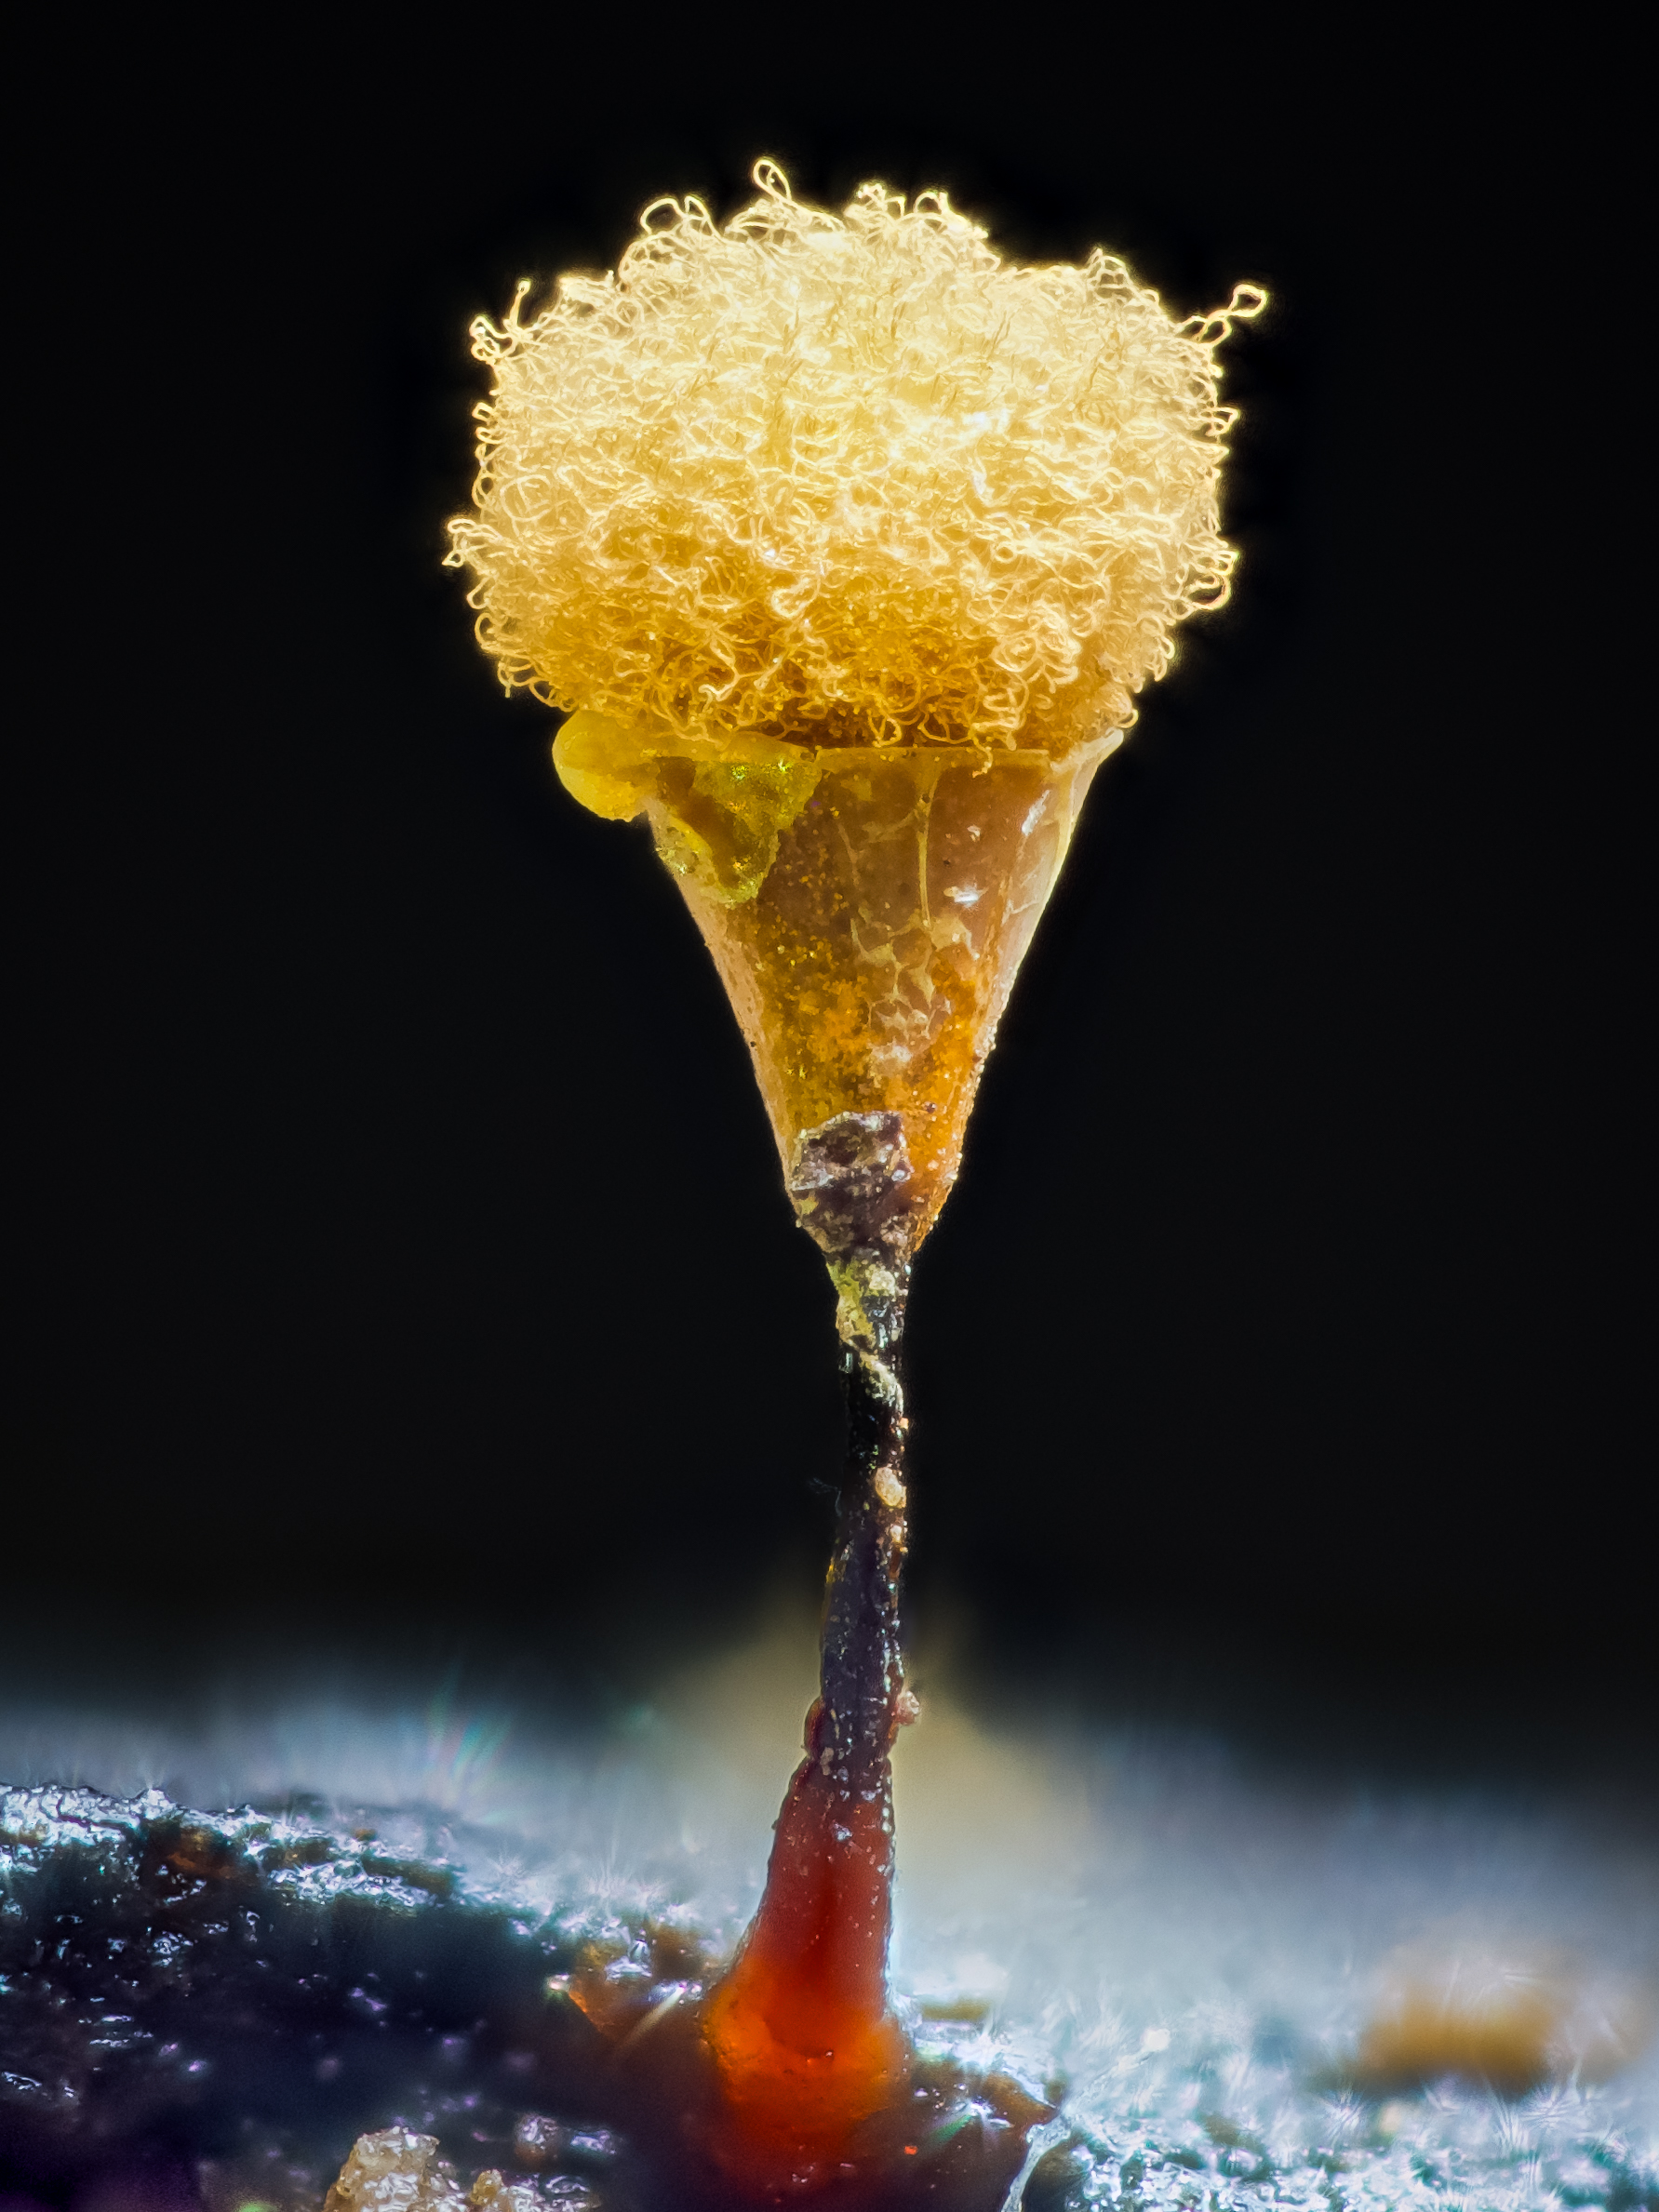
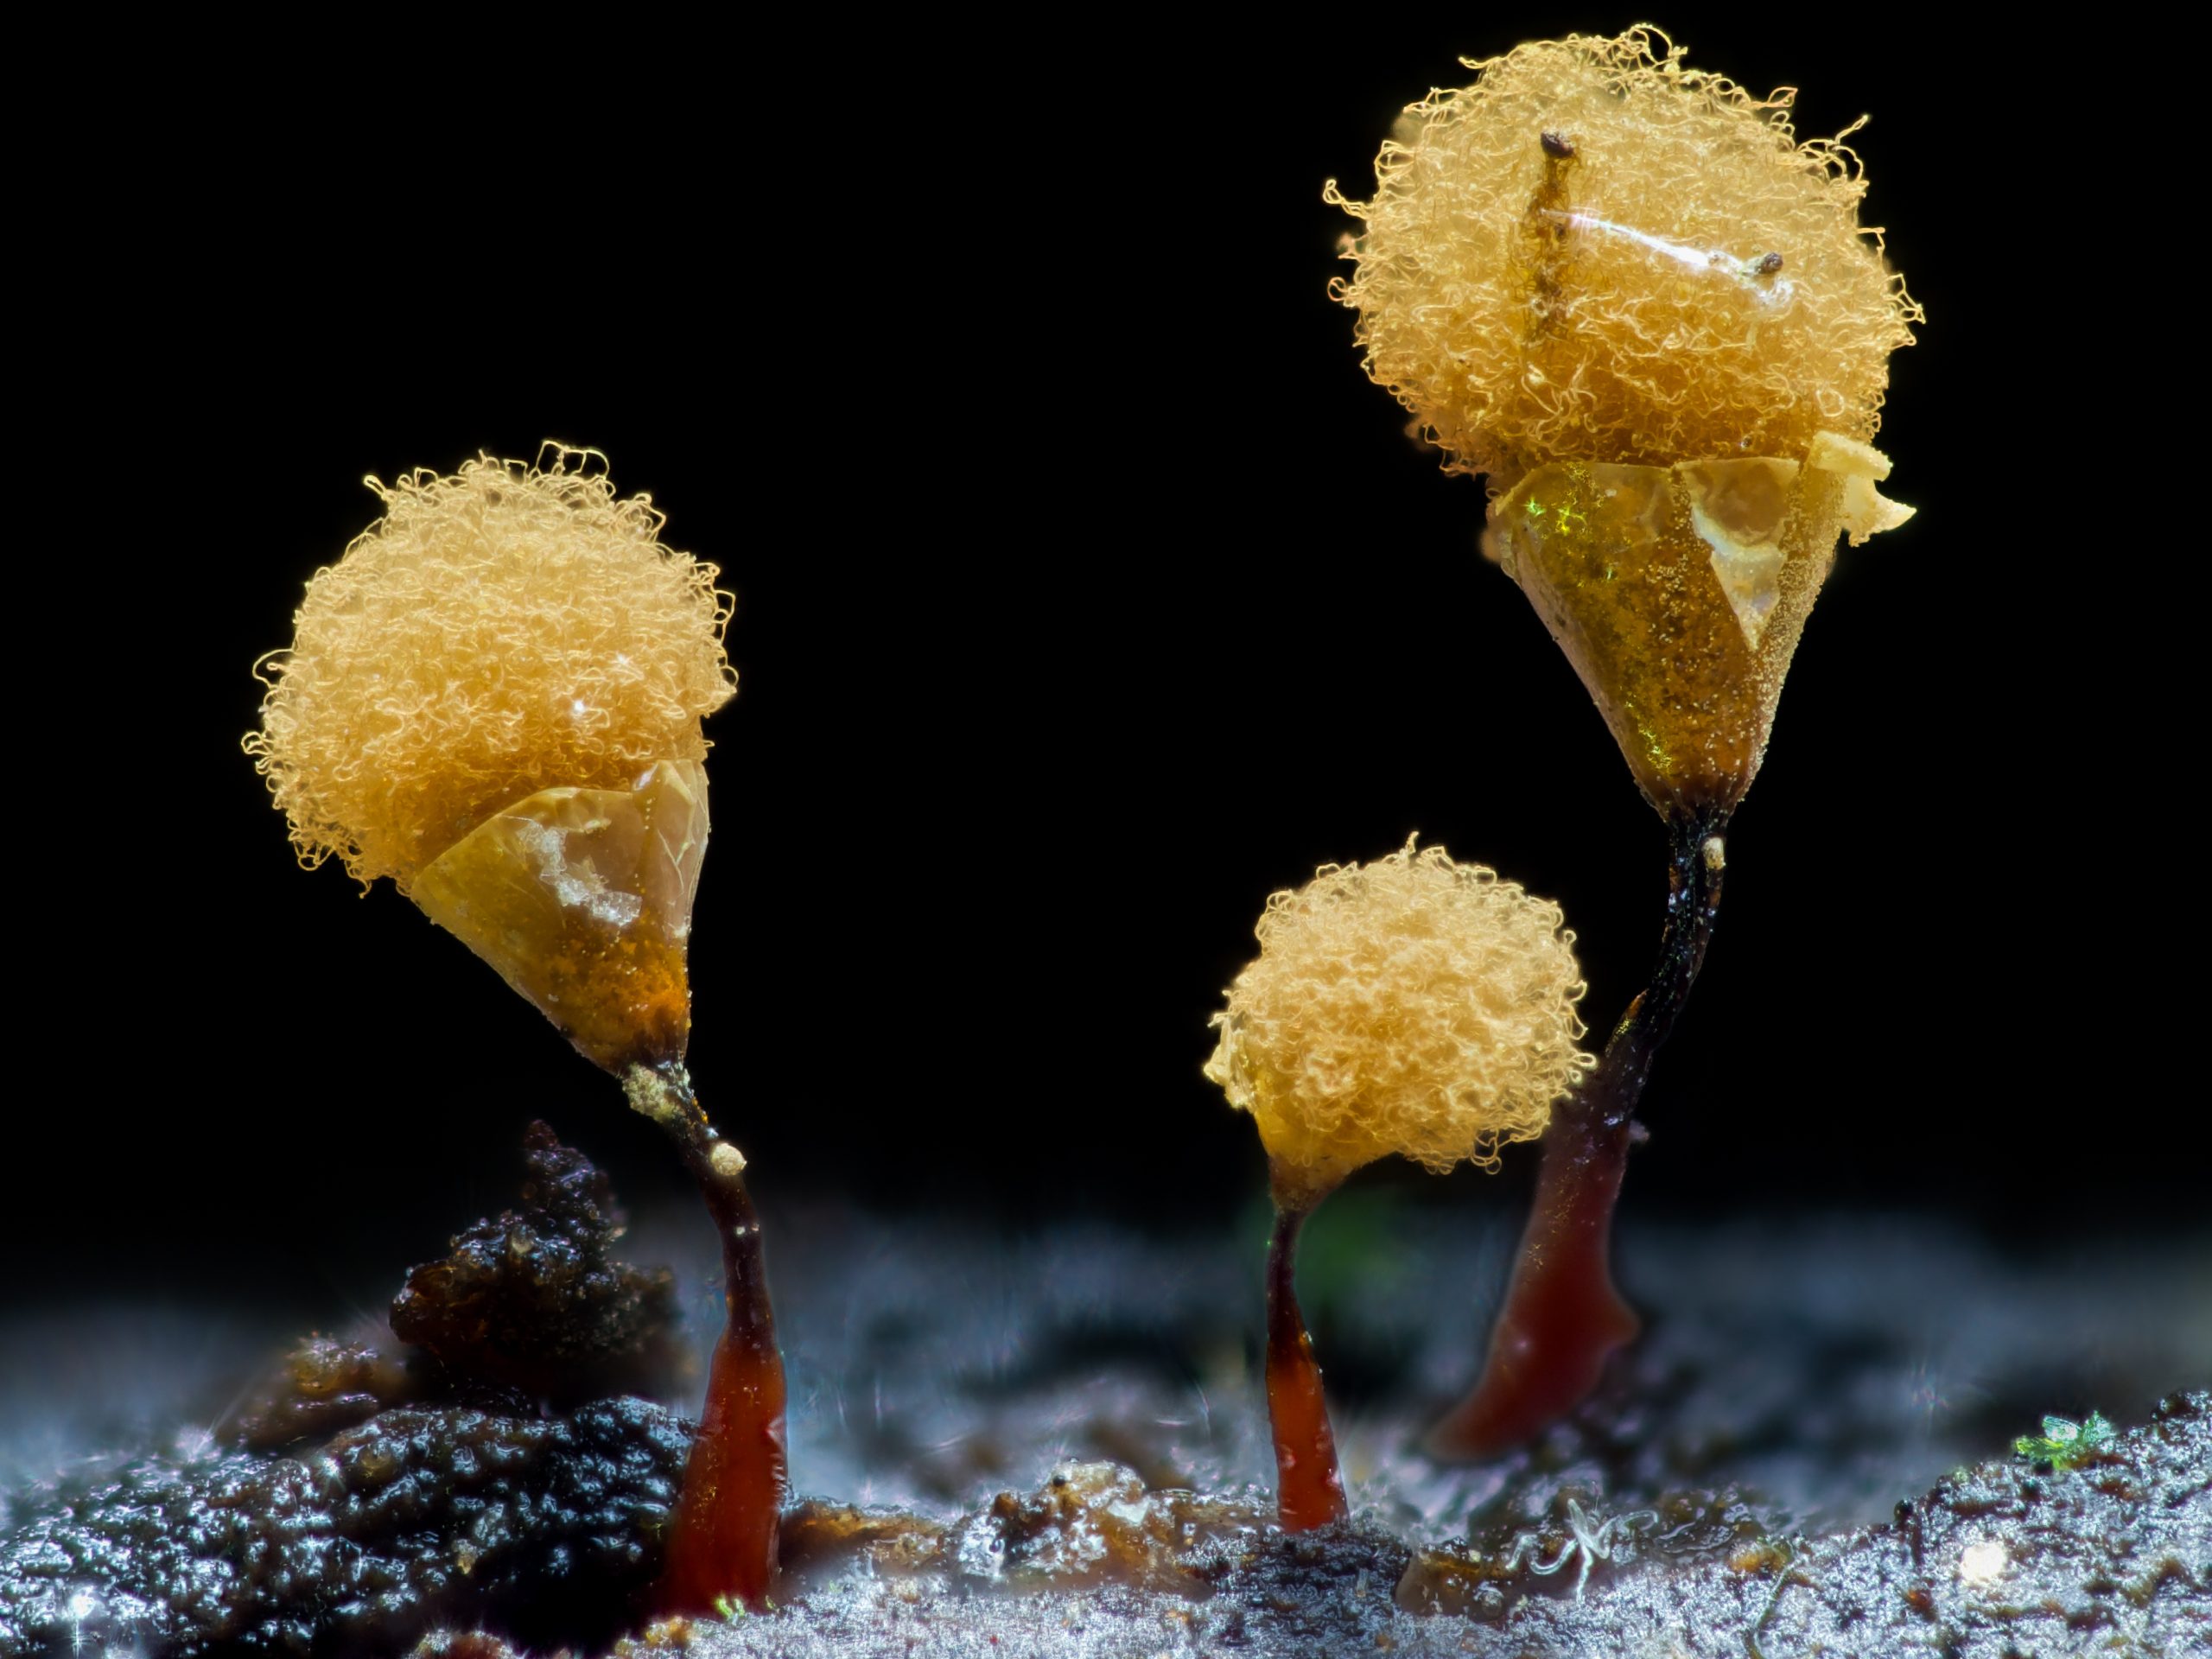
Spore release: The mature sporangia eventually split open and release a new generation of spores, completing the cycle.
This is not a process you are likely to capture in full on a single outing, since the transformation from plasmodium to mature sporangia can happen surprisingly quickly, sometimes within hours. This is exactly why slime molds make such excellent subjects for time-lapse photography, even though that is a different topic from what this article covers. Their relatively fast movement and transformation, visible over a timescale of hours rather than weeks, is part of what makes them so captivating to watch and document.
Where to look
Slime molds are remarkably diverse in where they can turn up. They can grow on inert surfaces like concrete or stone, and some species sprawl across living vegetation. But the substrate you are most likely to find them on, by a wide margin, is woody debris.
Wood chips, fallen logs, branches of almost any size, and decaying bark are excellent habitats for slime molds. Many species are actually pathogenic on other fungi, meaning they feed on fungal material within the wood, which is part of why woody debris that already has some fungal activity tends to be particularly productive ground to search.
Start with wood: If you only have time to check one type of habitat, prioritise woody debris over anything else. Logs, branches, and wood chips are where the large majority of slime mold finds happen.
How to actually find one
Finding slime molds is fundamentally about patience and close attention rather than covering distance. Look for an area with moist woody debris and then slow down considerably. Because slime molds and their fruiting bodies are so small, they are genuinely difficult to spot from a normal walking pace. Scanning a single log methodically, inch by inch, is a far more effective strategy than walking past dozens of logs at a glance.
Pay particular attention to the shady undersides of logs and branches. Slime molds need moisture to fruit and remain in good condition, and shaded surfaces retain moisture for much longer than surfaces exposed to direct sun. Flipping over smaller pieces of debris, where it is safe and appropriate to do so, often reveals fruiting bodies that would be completely invisible from above.
This kind of close, deliberate searching pairs naturally with the broader mindset described in the article on top tips for mushroom photography, where taking your time in the field is one of the most important habits for finding anything worth photographing.
Timing and conditions
Looking for slime molds in the wrong conditions is largely a waste of time. The single most important factor is moisture. A fruiting slime mold in good condition needs damp conditions, so searching during or just after a period of rain is far more productive than searching during a dry spell.
Unlike many mushrooms which are strongly tied to particular seasons, slime molds can be found at almost any time of year provided there is sufficient moisture. Some species are specifically associated with snowmelt and can be found at the edges of melting snow in early spring, fruiting in conditions that would seem far too cold for most other fungi or fungus-like organisms. This makes slime molds a genuinely year-round pursuit in a way that mushroom hunting often is not.
Photographing slime molds
Once you find one, photographing it well requires pushing your macro setup further than standard mushroom photography typically demands. Most sporangia are only one or two millimetres tall, which is well beyond what a standard macro lens at 1:1 magnification can resolve in real detail.
The recommended approach is to use extension tubes combined with the Raynox DCR-250. This combination pushes your effective magnification well beyond what a standard macro lens achieves on its own, and it is genuinely one of the most practical ways to get serious detail on subjects this small without investing in microscope objectives.
A focusing rail is also worth attaching for more precise control over focus at this magnification, where even a fraction of a millimetre of movement changes what is sharp. That said, a rail can be a bit cumbersome in practice. It adds bulk to the setup and can make it harder to align the camera with the subject quickly, particularly in tight or awkward positions on a log. It is a genuine trade-off between precision and convenience, and worth experimenting with to see what works for your own style.
Given the scale involved, a tripod is essential rather than optional. There is no way to get usable results at this magnification handheld. Good lighting also matters enormously, since at high magnification very little ambient light reaches the subject and a dedicated light source becomes necessary to see what you are even focusing on, let alone expose properly.
Once you have your frames, the same focus stacking principles used for mushroom photography apply here, just with far more frames per stack given the shallow depth of field at this magnification. Stacks of 100 or more images are common for slime mold subjects. The guide on how to use Helicon Focus covers the software side of putting a stack like this together, including which rendering method tends to handle this kind of fine, complex detail best.
Be gentle: Slime mold fruiting bodies are extremely delicate, often more fragile than the smallest mushrooms. A light brush of a finger or even a strong breath can damage or dislodge them. Work carefully and avoid touching the sporangia directly.
Bringing them home
One option worth knowing about is carefully transporting a piece of substrate with slime mold plasmodium back to a home studio setup. You can sometimes encourage the plasmodium to mature further by keeping the wood in a humid environment, or even partially submerged in water, which helps maintain the moisture levels the organism needs to continue developing toward fruiting.
A home studio setup has real benefits: controlled lighting, no wind to worry about, and the ability to work at your own pace without time pressure. That said, slime molds are very often in their absolute prime condition right where you find them in the field, and the act of moving them can sometimes interrupt their natural development or cause stress that affects how they mature. There is a trade-off here worth weighing depending on the specimen and how rare or fragile it appears to be.
Best of luck out there. Slime molds reward patience more than almost anything else you will photograph, and the first time you find a really striking one, the effort feels completely worth it.