Contents
- The importance of lighting in mushroom photography
- Natural vs artificial light
- Reflectors
- Artificial lights
- Tips for the field
The importance of lighting in mushroom photography
Beyond your camera, your gear, and your technique, the most important thing to get a spectacular photo is the shot itself. A beautiful mushroom, good composition, and proper lighting. Lighting in particular is what turns a mediocre photo into a breathtaking one, and it is something often overlooked by beginners. A well-lit shot on a mediocre camera will always look better than a poorly lit shot on the best camera.
A few things to keep in mind:
- Overcast days provide perfect diffused light. They prevent high contrast that can blow out bright areas or create excessive darkness elsewhere in the frame.
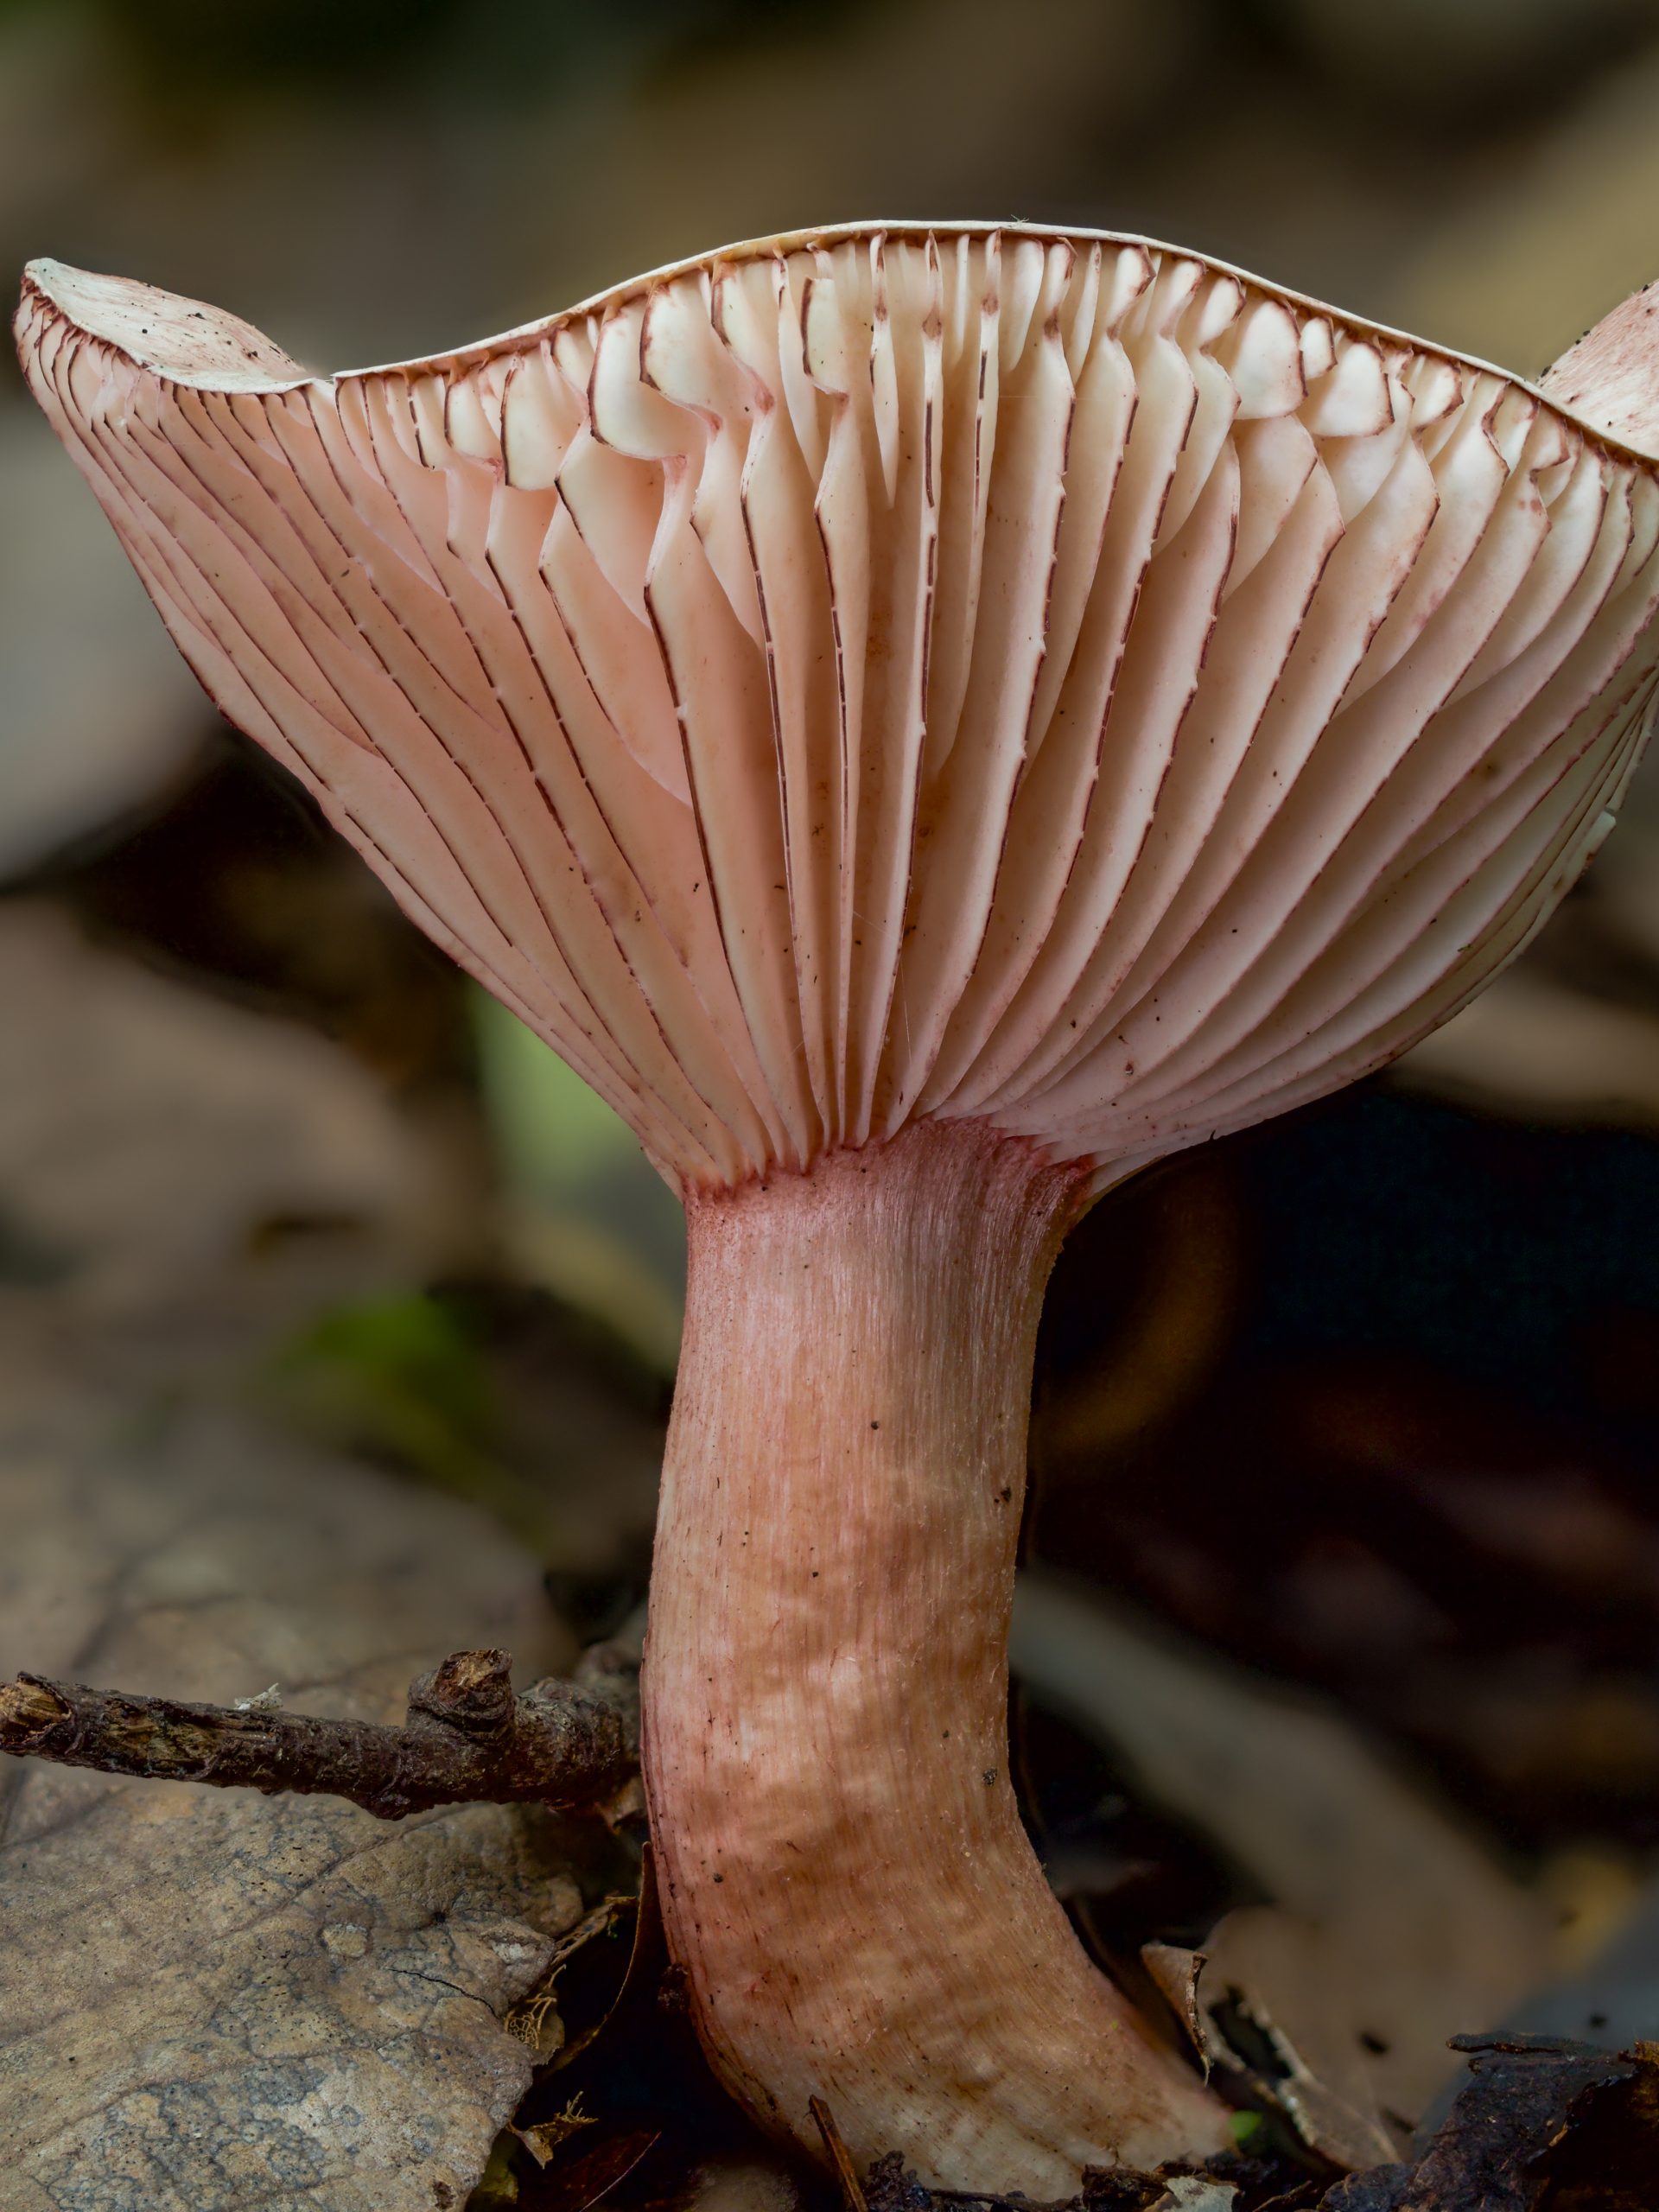
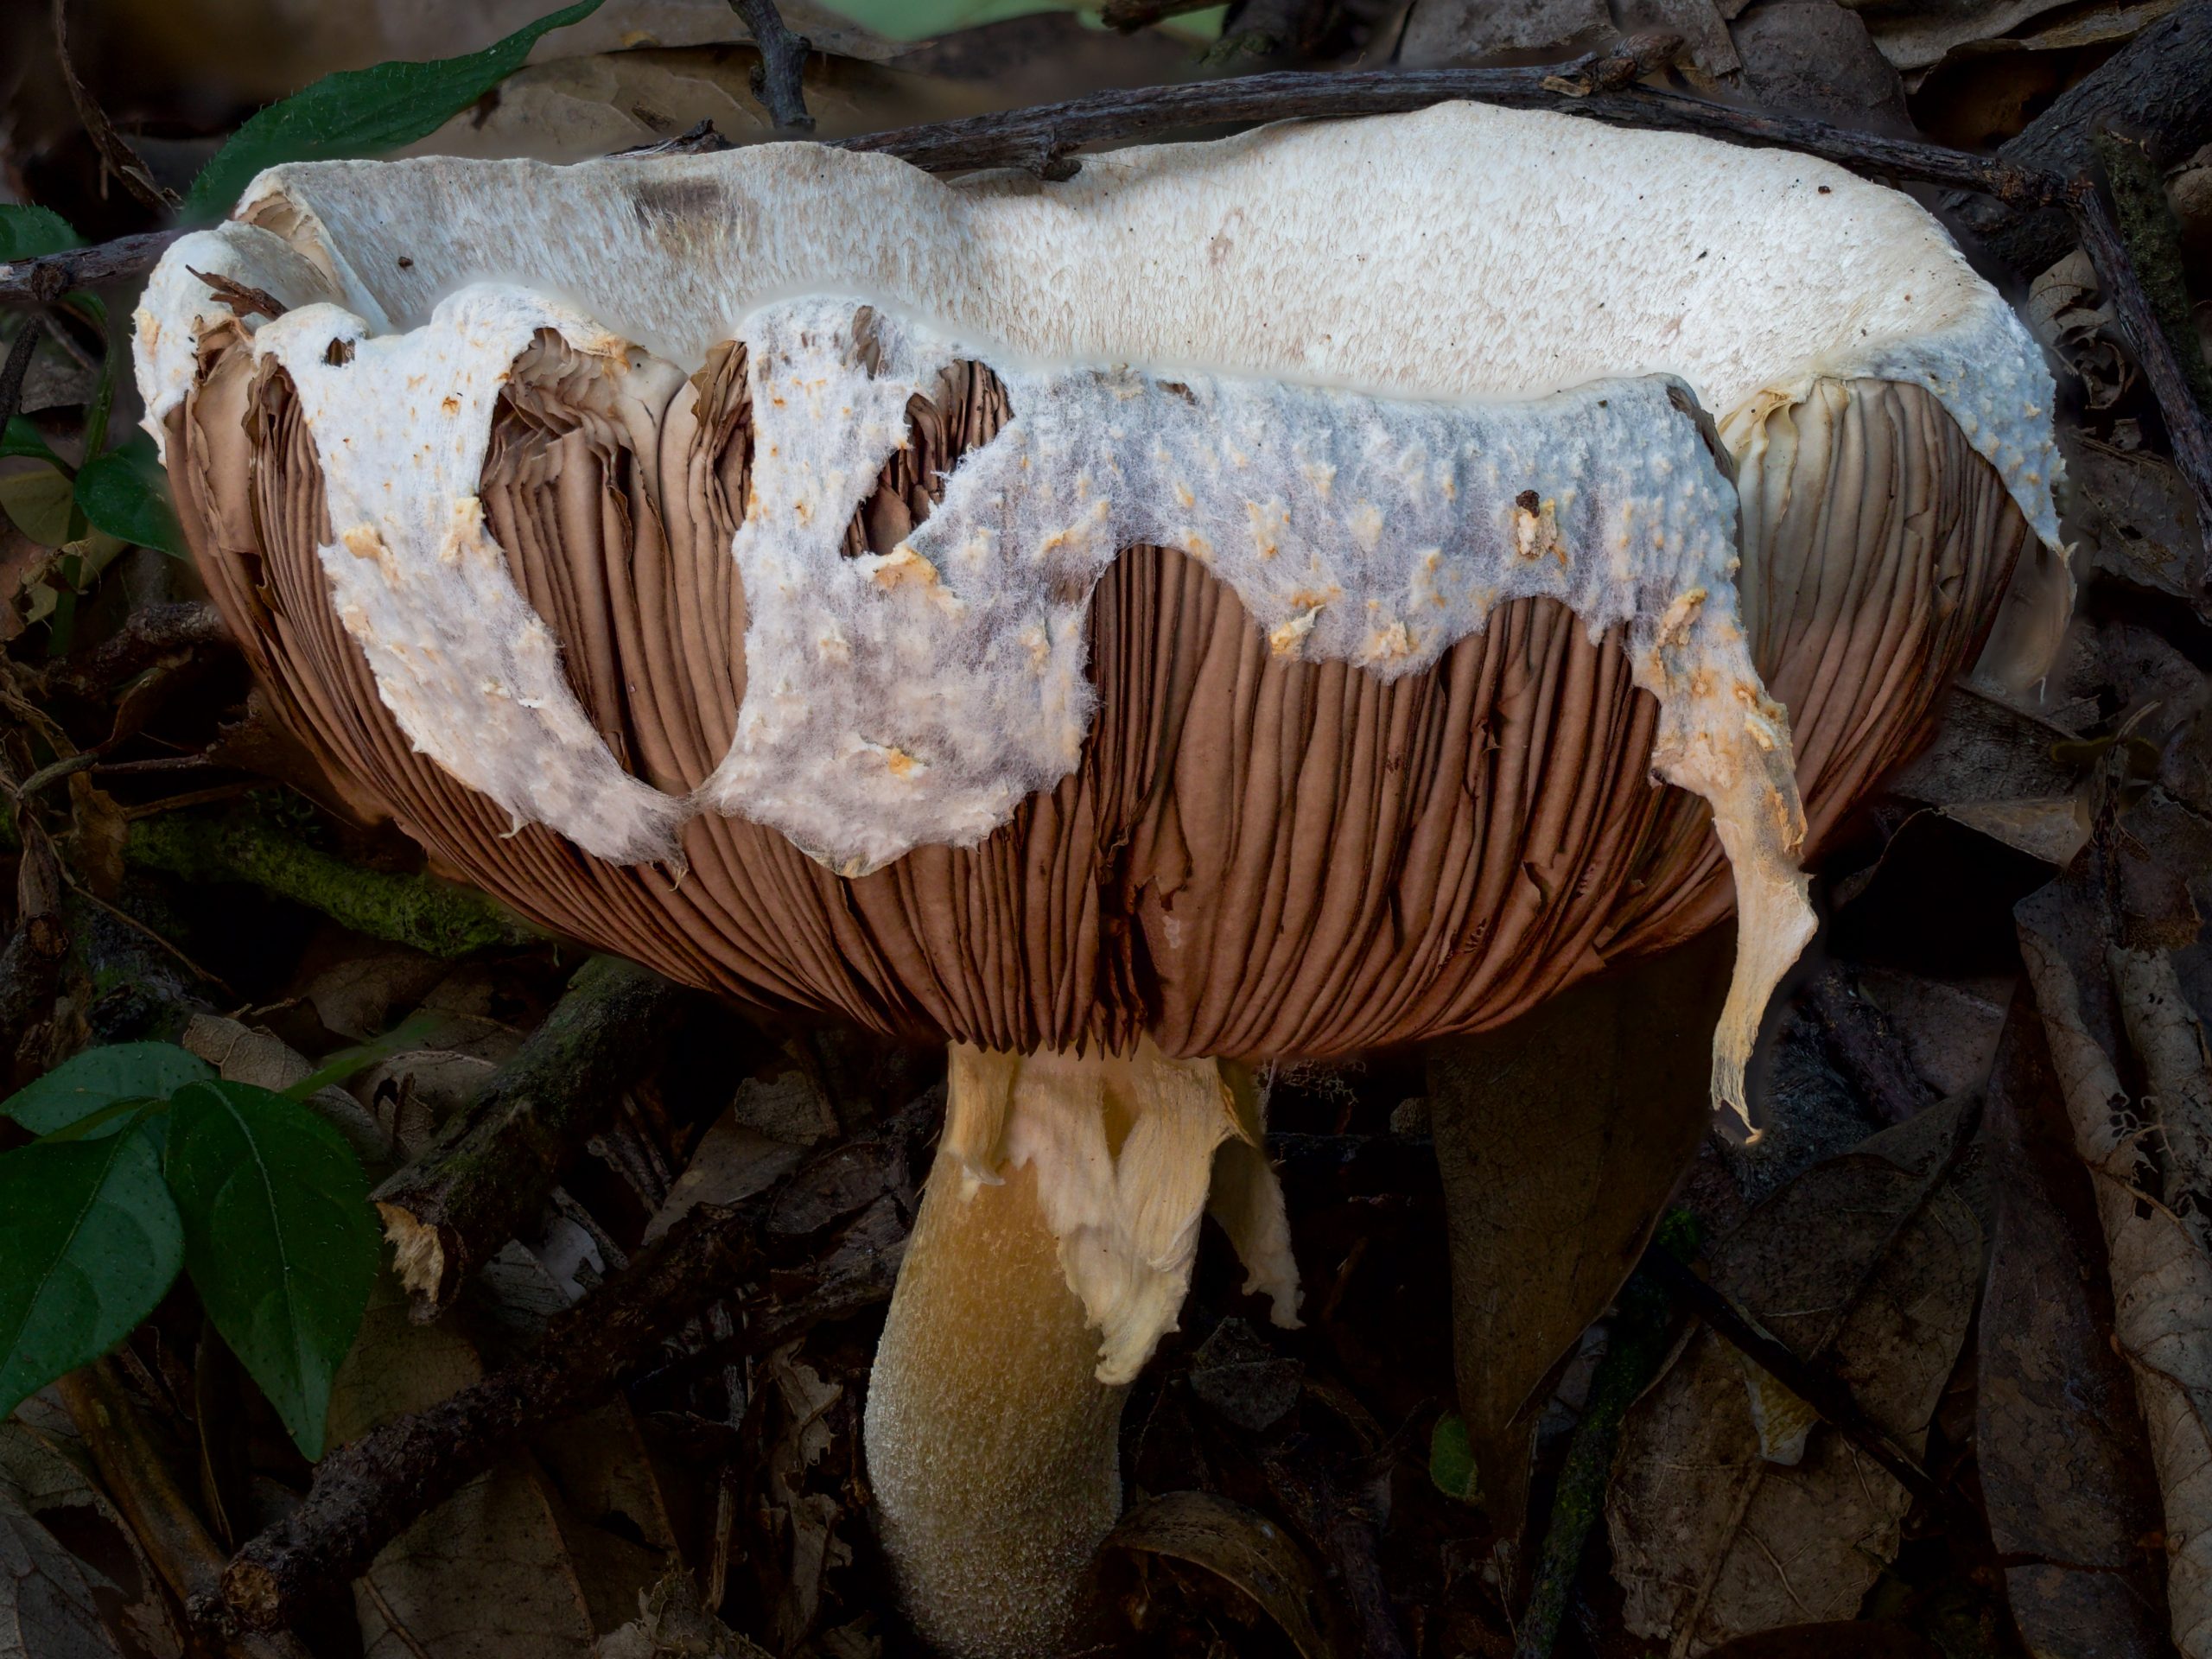
- Lighting in mushroom photography is most often needed from below. The stem and underside of the cap are usually poorly lit by ambient light, and getting illumination in there makes a dramatic difference.
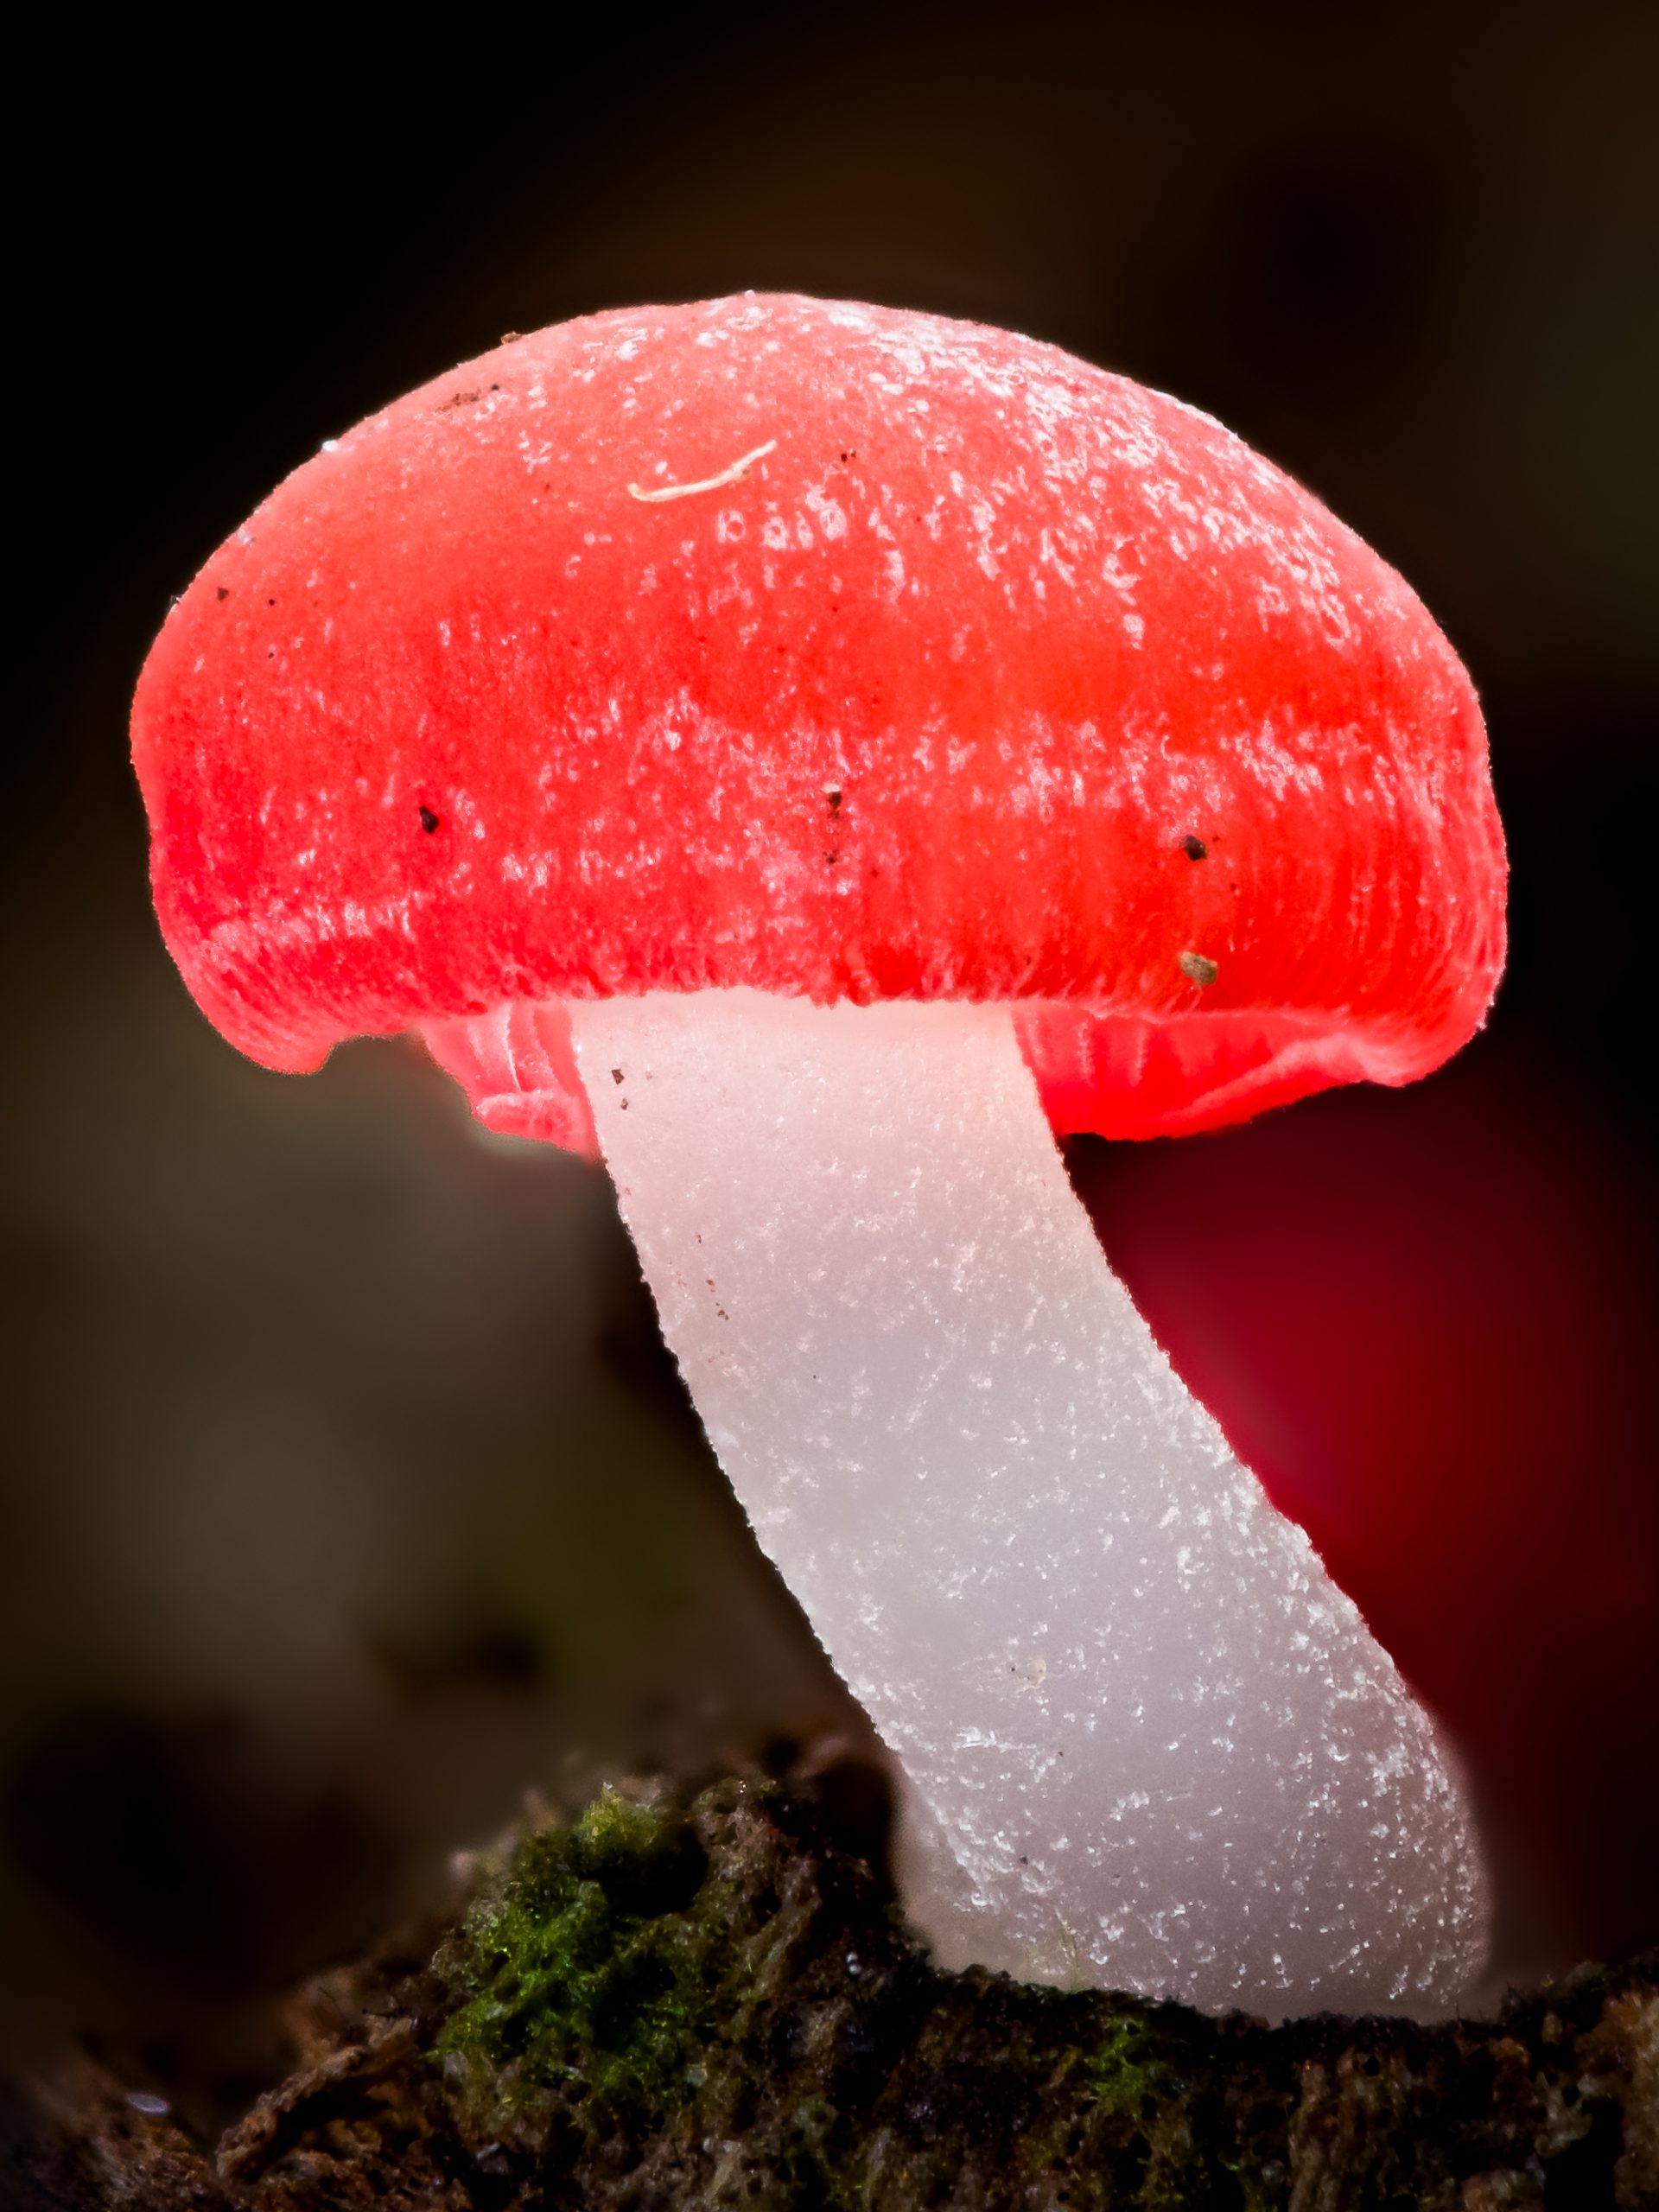
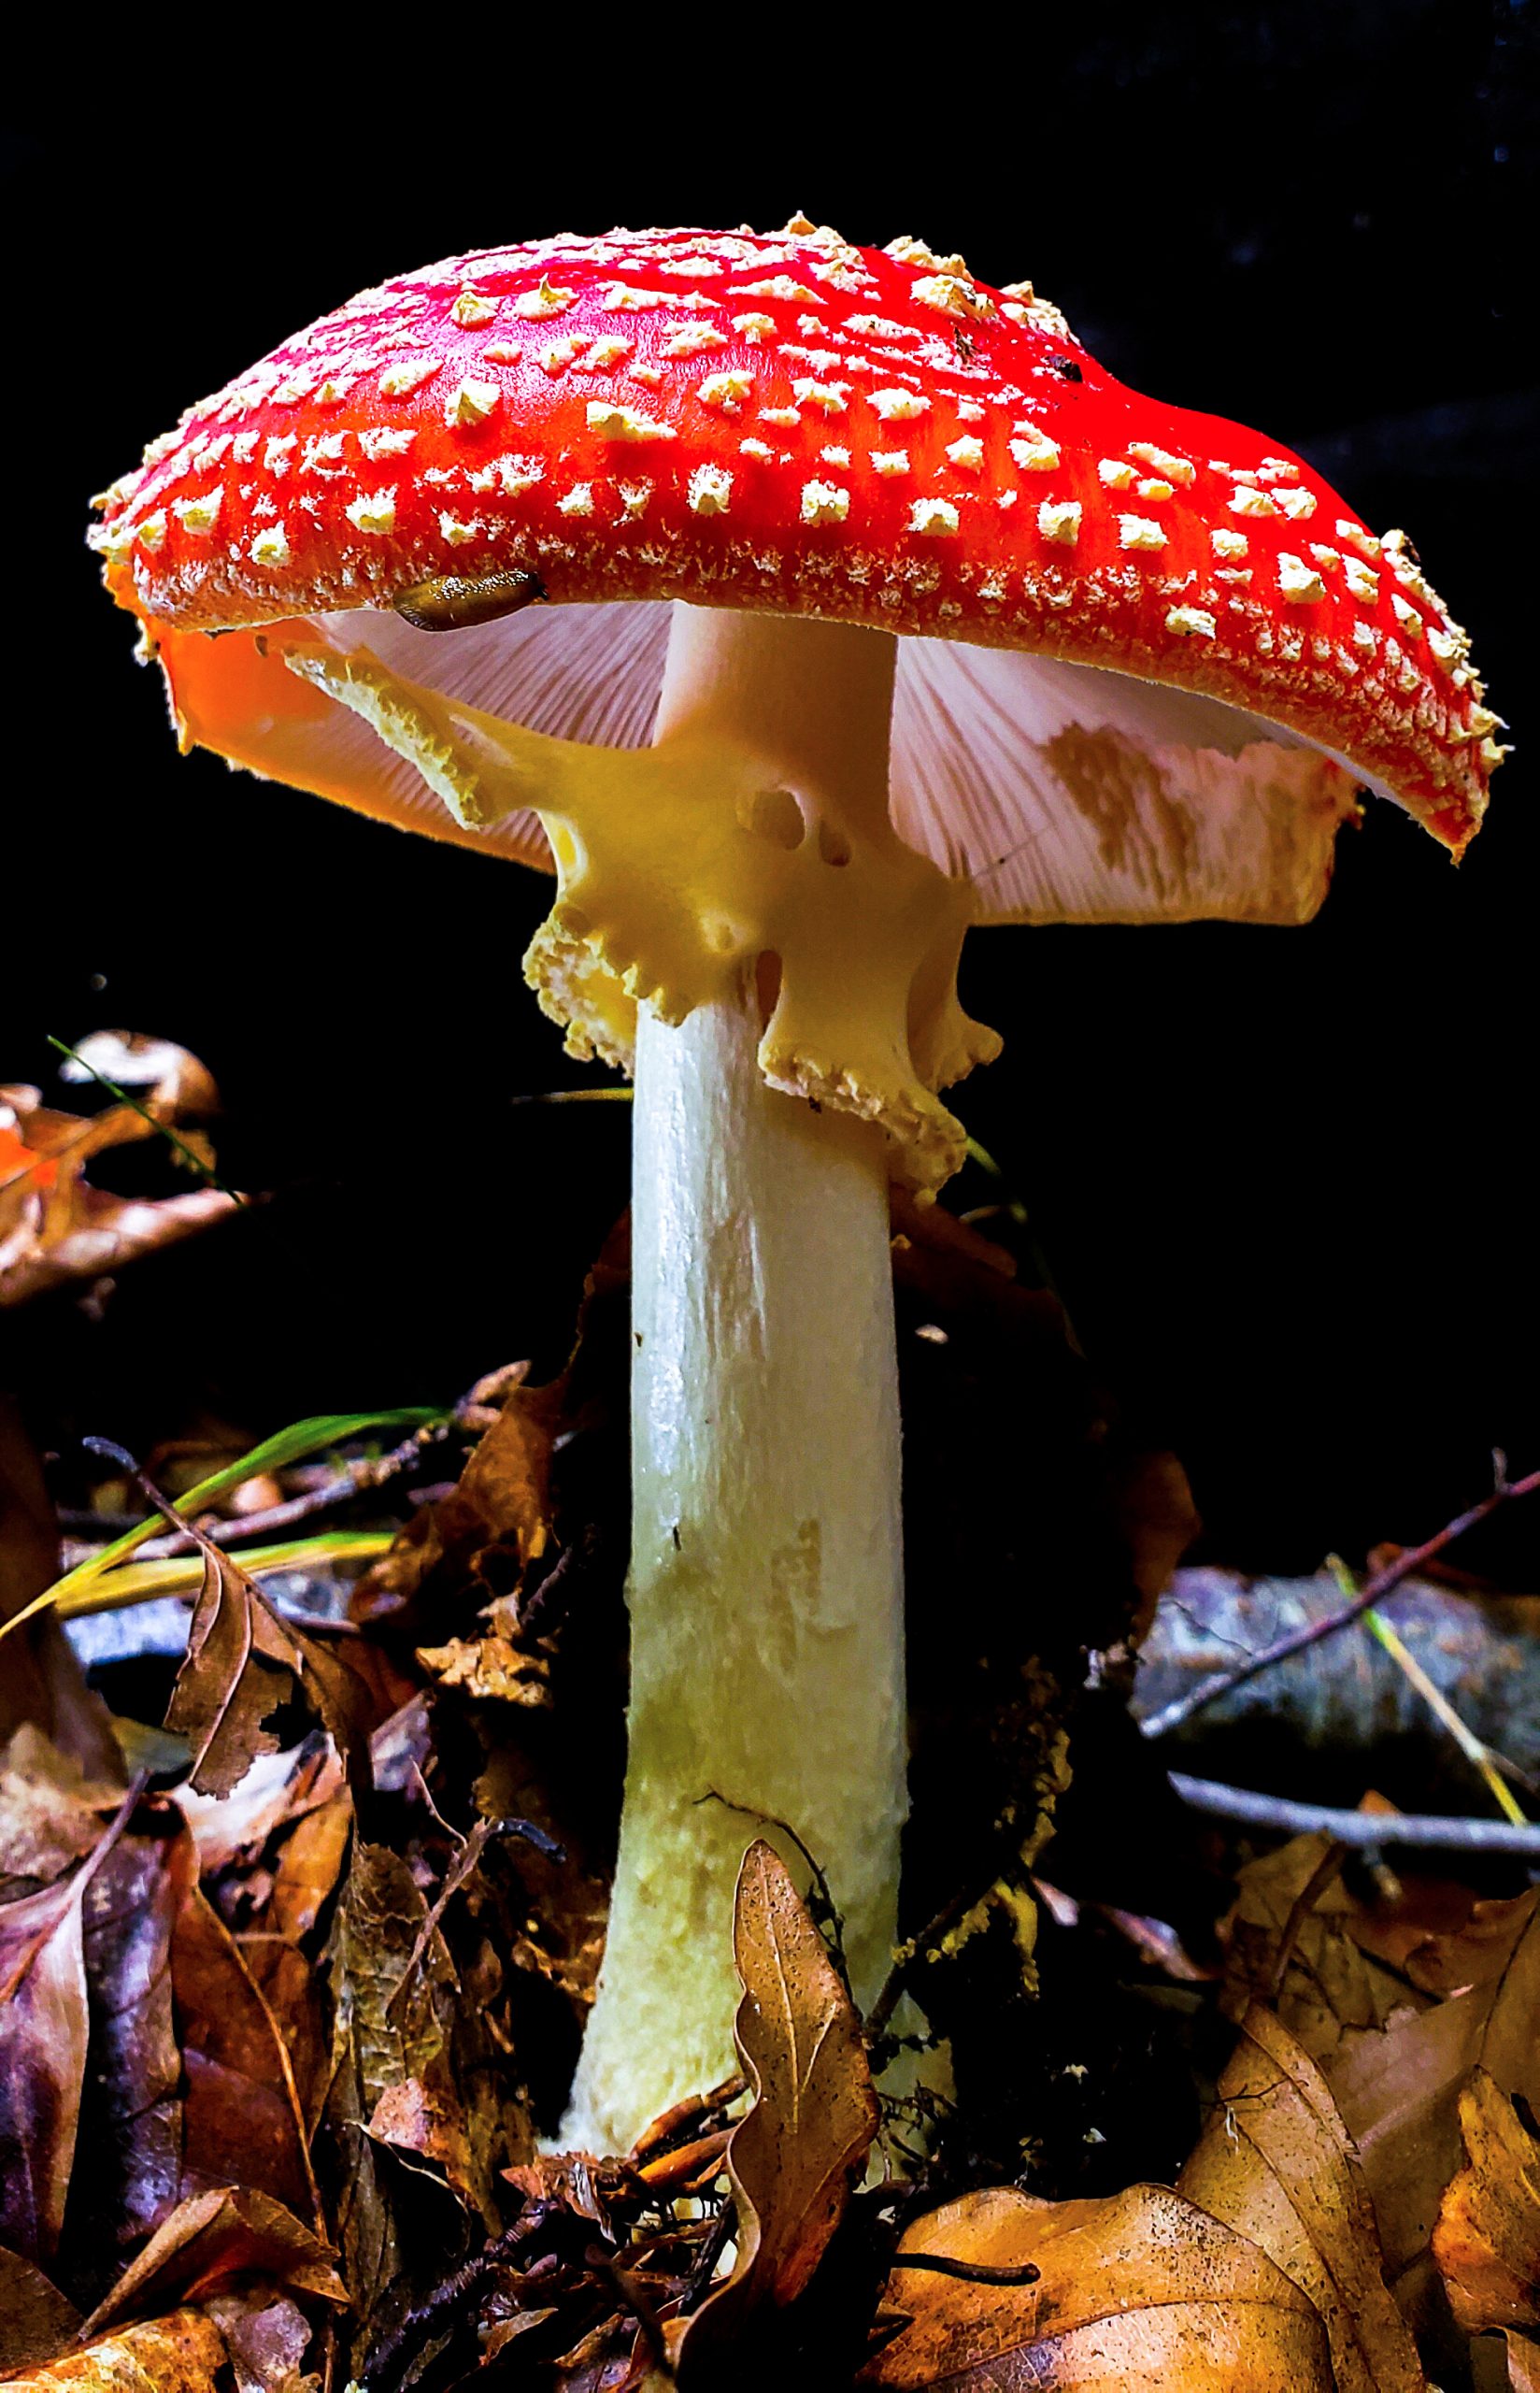
- Good lighting also adds glow and improves the colour rendering of the whole image.
- If there is sun, you almost always want to photograph in the shade. Direct sunlight is rarely flattering for mushrooms. If shade is not available, create it by blocking the light with your body, a piece of card, or a companion standing in the right position.

Natural vs artificial light
Natural light almost always outperforms artificial light for overall image quality and feel. Overcast is ideal. When you are in direct sun, find shade under the canopy, use your body to block the light, or have a companion cast a shadow over the subject. In dark forest conditions where the canopy blocks most light, a tripod becomes essential for managing slower shutter speeds without blur.
Artificial light earns its place not as a replacement for natural light but as a supplement for the areas where natural light does not reach well, particularly from below the cap. Used that way, it blends naturally into the scene without looking artificial.
Reflectors
A reflector bounces existing natural light into the shadow areas of your subject, most usefully from below. The result tends to look completely natural since it is just redirected daylight. You do not need to buy anything: a chip bag or coffee bag with a foil lining, a piece of aluminium foil on card, or white paper all work well. White card gives a softer, more flattering bounce than shiny aluminium. Hold it below and in front of the mushroom, angled to catch the light from above and redirect it up into the gills.
If you want something purpose-built, a small collapsible 5-in-1 reflector gives you silver, gold, white, black, and diffusion options in one compact, flat package. Very little space in a bag and genuinely useful.
Artificial lights
A small portable LED panel is the most practical artificial light for field macro photography. Look for adjustable colour temperature, adjustable intensity, and battery operation. The advantage over flash is that you see the result in real time before you shoot. You can watch how the light falls on the gills, adjust the angle, and make decisions live. Some photographers use multiple lights for more control over the background or to add a rim effect, but a single well-placed LED with a reflector handles most situations well.
Ulanzi VL120 RGB LED Panel
What I use
Compact, rechargeable, with adjustable intensity and colour temperature. Ulanzi has a good reputation for build quality and durability in field conditions. There are many similar options on the market. The key features to look for in any LED are adjustable warmth, adjustable intensity, and reliable battery life. A headlamp or phone torch works in a pinch but gives you much less control and tends to produce harsh flat light.More Info
Tips for the field
Always check the underside of the mushroom before setting up your shot. If the gills and stem are in shadow, sort the lighting before you commit to a position and start stacking.
For focus stacking, keep your light stationary once you have found a good position. Any movement between frames introduces inconsistency in shadows that makes the stack harder to blend. A small clamp or GorillaPod can hold the light in place when you are shooting alone.
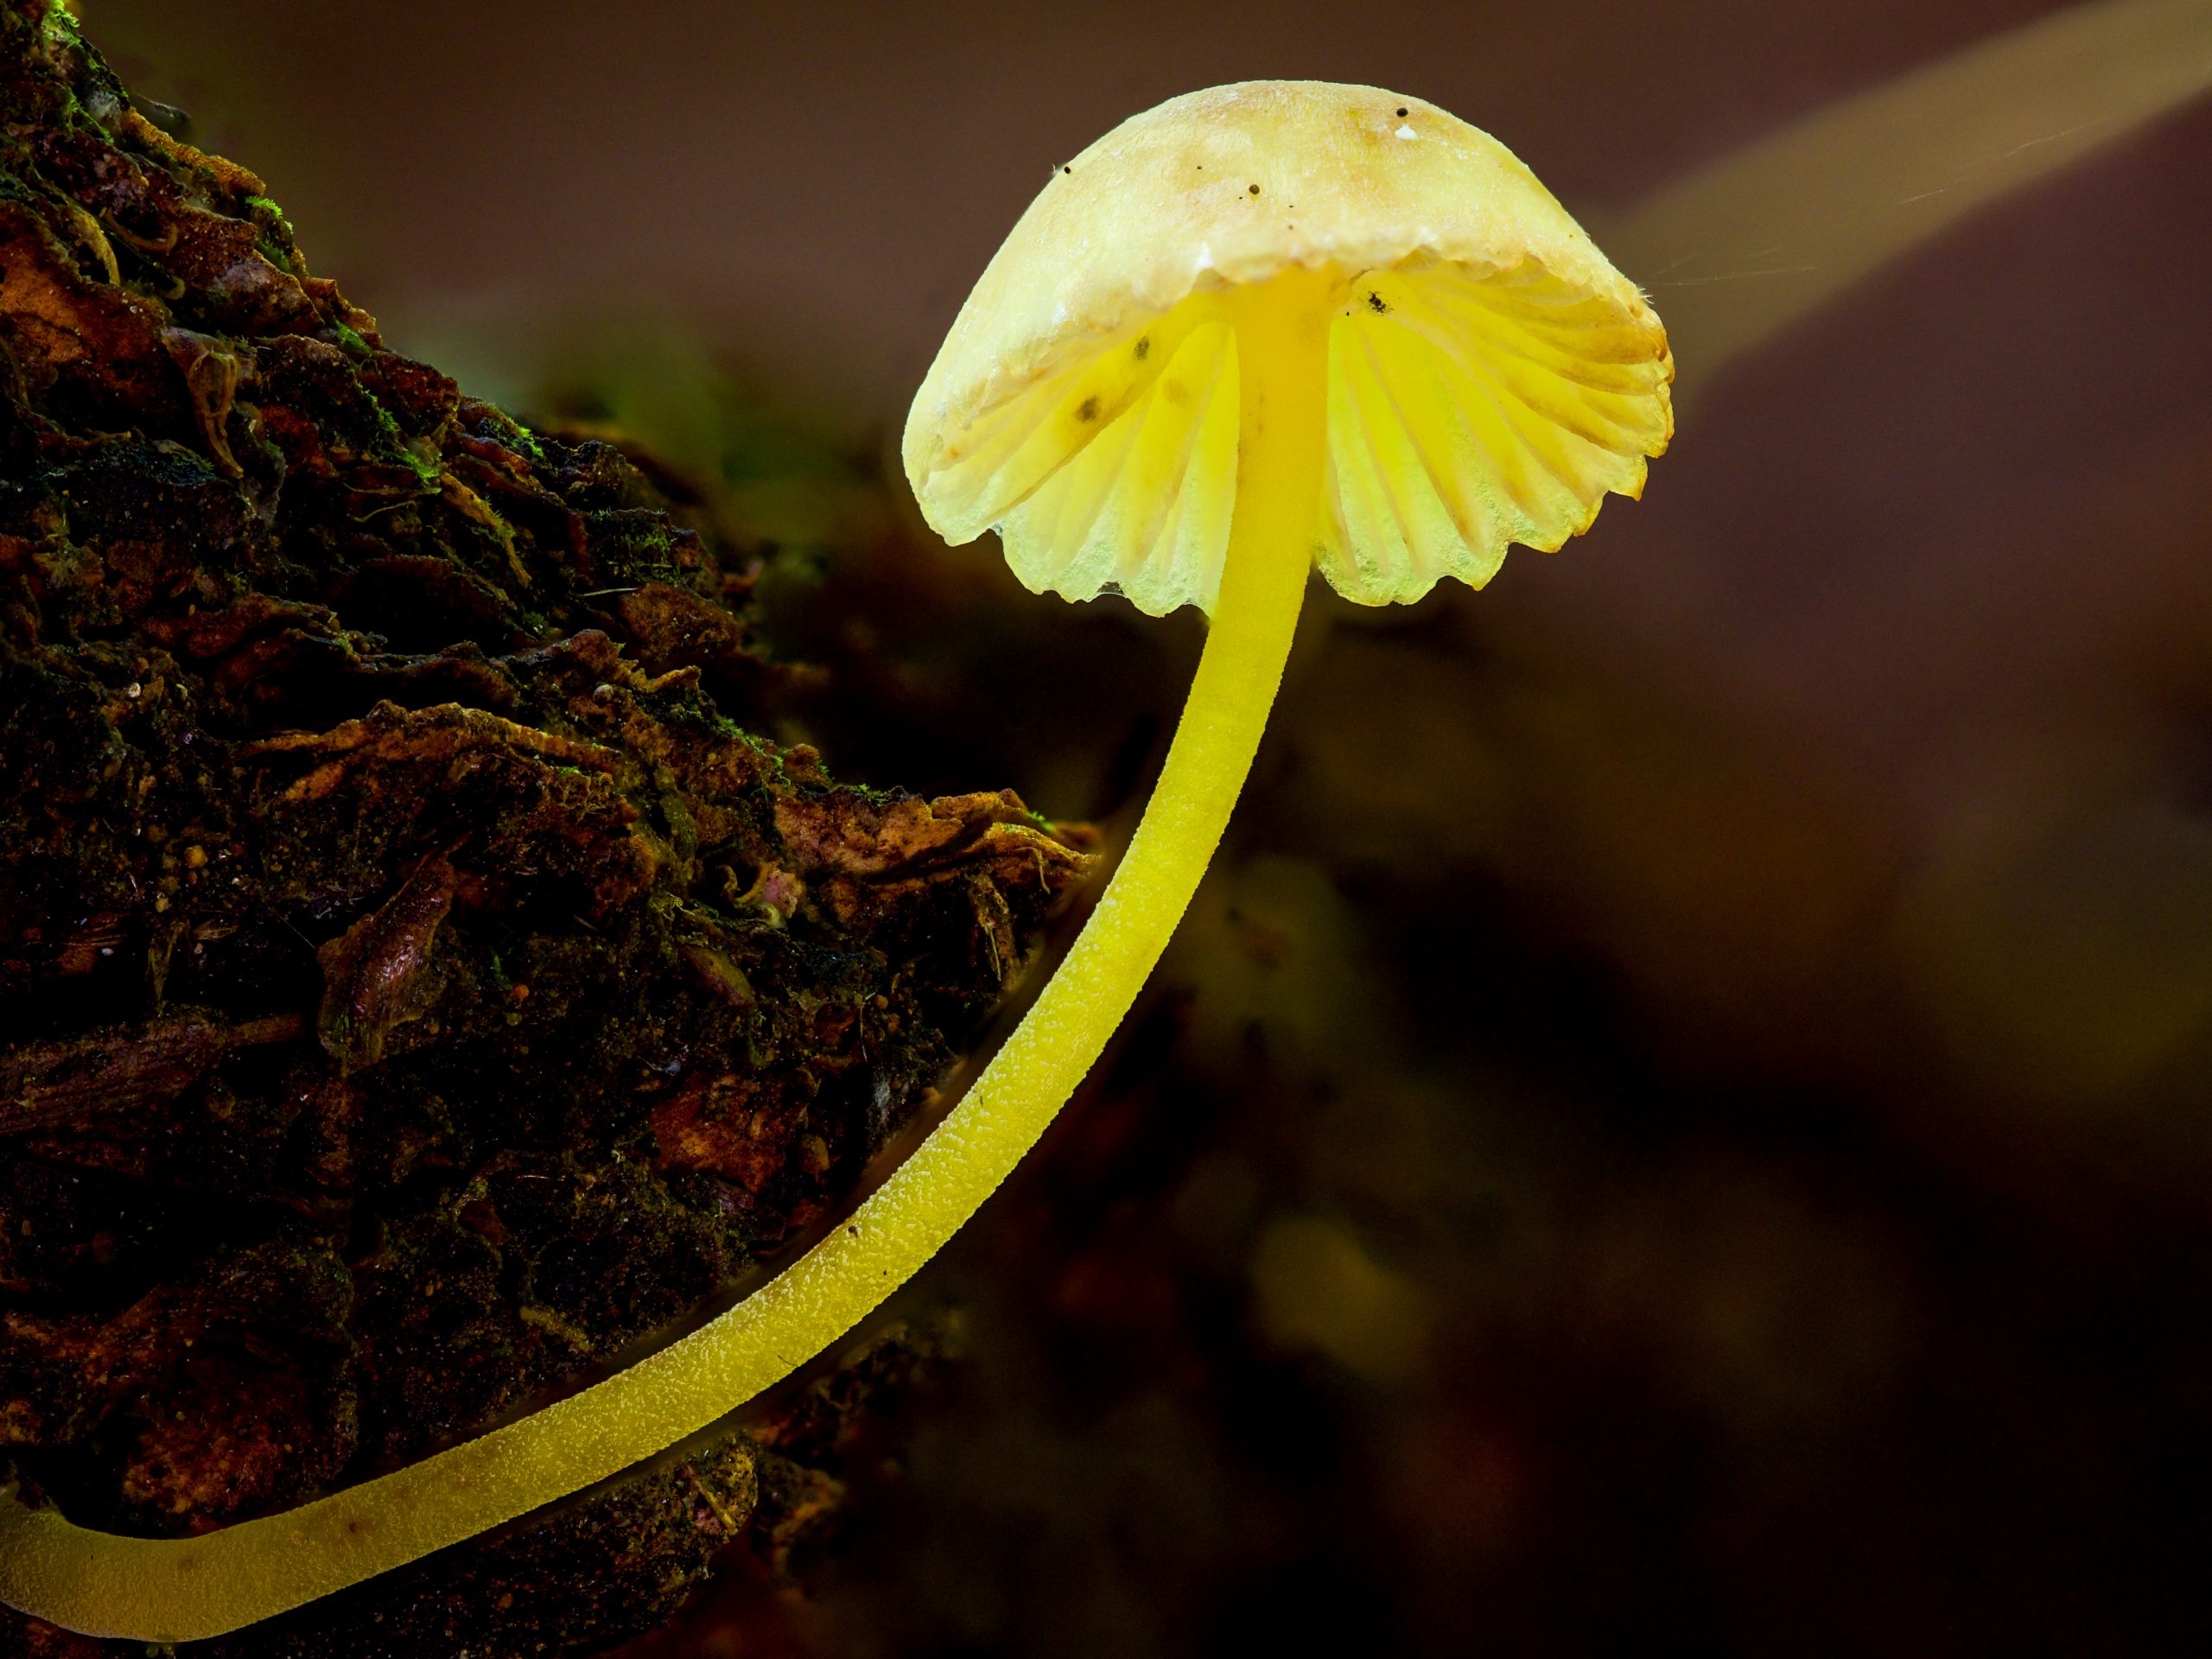
Backlighting is generally not recommended since it tends to flatten the subject and makes the gills harder to read. That said, it is worth experimenting with. One situation where it genuinely pays off is spore release. A backlight can make falling spore clouds visible in the image, which is otherwise very hard to capture and produces a spectacular result when it works.
Lighting is one of those things that clicks quickly once you start paying attention to it. Get under the cap, find the shade, and keep it simple. Best of luck out there.
Best of luck out there.
This article contains affiliate links to Amazon. I may earn a small commission if you purchase through them, at no extra cost to you.
No responses yet