My personal journey with macro lenses
Like a lot of nature photographers, I started with my phone. Portable, always in your pocket, and good enough for social media. When it came to small mushrooms though, the limitations became obvious fast. I did experiment with snap-on macro lenses for the phone at the time, and they kind of worked, but not really. Maybe I will write a separate article on that someday.
I also had a Nikon D3200 that I used for landscape photography. I took it out for mushrooms too, but with the kit lens it came with, I ran into a wall. Even for a relatively large mushroom, I just could not get a decent close-up shot. The kit lens was never designed for that kind of work. It did fine for background scenes and laying out specimen collections for taxonomic purposes, but for real macro work it just was not going to happen.
Eventually, I realized the camera was not the problem. The lens was.
So I started looking into macro lenses. The sticker shock was real. A proper macro lens was going to cost significantly more than my D3200 itself. I kept an eye on Facebook Marketplace for a while and eventually found a Nikon AF-S NIKKOR 85mm at a great price. It had a very minor autofocus quirk but for the most part it worked great. With that lens, everything changed.
Shot taken with my Nikon D3200 and the Nikon AF-S NIKKOR 85mm. Shot looks okay, but not completely in focus!
For the first couple of years I did not do any focus stacking at all. I just stopped down the aperture to a high f-stop to increase depth of field, used a tripod for the long exposures, and got some shots I was genuinely happy with. It is an underrated technique and still totally valid. After that I moved on to a focusing rail, then eventually to a camera with automated in-camera focus bracketing, which is what pushed me toward Olympus. But that is a story for another article. The point is: the lens journey matters, and you do not need to spend a lot to get started.
Why the lens matters as much as the camera
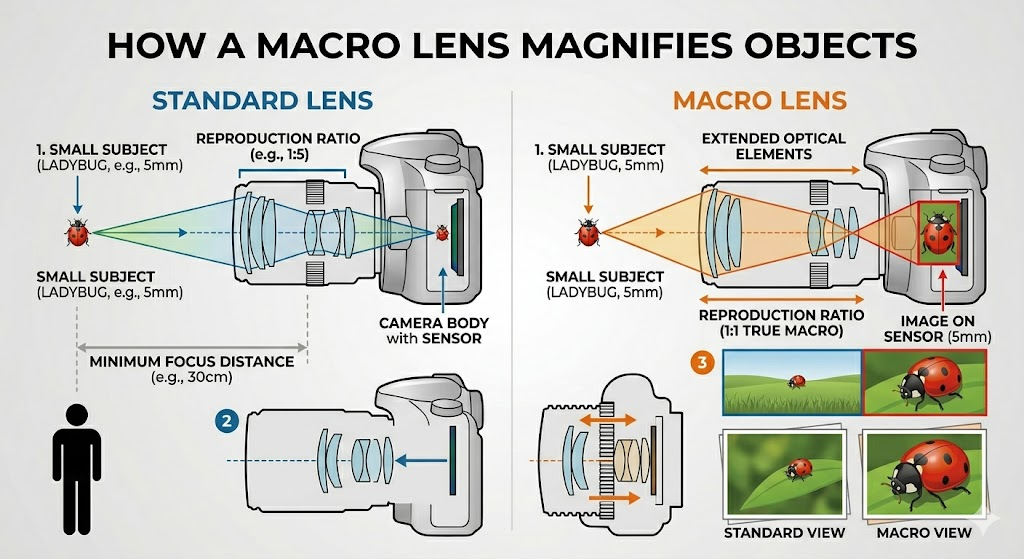
The lens is arguably just as important as the camera body, and in some cases more so. A camera body gets upgraded every few years. A good macro lens can last a decade or more if you look after it well.
Prices can be surprising. The Olympus 60mm f/2.8 Macro is relatively affordable at around $400 to $500 new. But professional options like the Canon RF 100mm f/2.8L or Sony FE 90mm G OSS sit in the $1,000 to $1,200 range. That said, used lenses are a great option, and accessories like extension tubes and the Raynox DCR-250 can extend what you already own significantly. I will cover those in a separate article.
The other thing to understand upfront is that your lens choice depends entirely on your camera system. Lenses are not interchangeable between systems without adapters, and a native lens will always give you better autofocus performance and full electronic communication. Start with your system and work from there.
Autofocus and focus bracketing
For in-camera automated focus bracketing to work, your lens needs autofocus capability and full electronic communication with the camera body. The camera drives the lens focus motor to step through positions automatically, so if the lens cannot do this, the bracketing system will not work.
This is worth knowing when buying used lenses. Some older lenses are technically autofocus but use a screw-drive system that is incompatible with newer bodies. Older Nikon D-type lenses are a classic example of this. The AF-S designation (silent wave motor built into the lens) is what you want for Nikon compatibility.
That said, many experienced macro photographers work entirely manually anyway. At very close distances, autofocus tends to hunt and land on the wrong part of the subject. Plenty of remarkable fungi photos are taken with fully manual focus and a focusing rail. So autofocus compatibility is important if you want automated bracketing, but it is not the only way to get good results.
PS: If you are on a budget, I do recommend buying a used macro lens. It might take a while of patrolling Facebook marketplace, Craigslist, or other used gear sites, but something eventually shows up. Check the nearest big city near you too. But before any of that, you can check out my guide about buying used macro lenses!
Recommended Lenses Based on Brand
Nikon AF-S NIKKOR 85mm f/3.5G ED VR Micro
The lens I used personally on my D3200 for years. True 1:1 macro with vibration reduction and a built-in silent wave motor for reliable autofocus on a wide range of Nikon DSLR bodies. Compact, well-built, and available used at very reasonable prices. A solid first macro lens if you are on Nikon DSLR.
More InfoNikon AF-S Micro-NIKKOR 105mm f/2.8G IF-ED VR
Nikon’s classic DSLR macro and one of the most respected in its class. The longer focal length gives you more working distance from your subject, which makes a real difference when lighting tricky angles. Available used at good prices now that many Nikon shooters have moved to Z-mount.
More InfoNikon NIKKOR Z MC 105mm f/2.8 VR S
Nikon’s native mirrorless macro and genuinely one of the best in its class. Excellent sharpness, vibration reduction, and full compatibility with the Z system’s focus bracketing. Premium price but worth it if you are invested in the Nikon Z system.
More InfoNikon NIKKOR Z MC 50mm f/2.8
A much more affordable Nikon Z entry point. Shorter working distance than the 105mm but a great option for getting started without spending a lot.
More InfoOlympus M.Zuiko 60mm f/2.8 Macro
The lens I currently use and the one I would recommend to most Olympus shooters without hesitation. Sharp, lightweight, weather sealed, and works beautifully with the in-camera focus bracketing and stacking on Olympus bodies. The effective focal length of 120mm due to the MFT crop factor gives a comfortable working distance. Relatively affordable and holds its value well on the used market.
More InfoPanasonic Leica DG Macro-Elmarit 45mm f/2.8
Another solid MFT option at an equivalent 90mm. Works on both Olympus and Panasonic bodies and often available used at a good price.
More InfoSony FE 90mm f/2.8 Macro G OSS
The lens that some of the best fungi photographers in the world shoot with on Sony bodies. Optically outstanding, with built-in stabilisation that helps in awkward shooting positions. Not cheap, but one of the best macro lenses available for any system. If you are serious about Sony and serious about fungi photography, this is the one.
More InfoSigma 105mm f/2.8 DG DN Macro Art (Sony E-mount)
A more affordable alternative that still delivers excellent image quality. Worth considering if the Sony 90mm G is out of budget.
More InfoCanon RF 100mm f/2.8L Macro IS USM
Canon’s flagship mirrorless macro, capable of 1.4x magnification beyond true 1:1. Excellent hybrid stabilisation. Expensive, but if you are on Canon RF this is the lens to have.
More InfoCanon RF 85mm f/2 Macro IS STM
A more budget-friendly Canon RF option. Only reaches 0.5x magnification rather than true 1:1, which is a limitation for very small subjects, but a solid starting point at a much more accessible price.
More InfoFujinon XF 80mm f/2.8 R LM OIS WR Macro
Fujifilm’s dedicated macro lens. Weather sealed, optically stabilised, and compatible with in-camera focus bracketing on X-T series bodies. The effective focal length of 120mm gives a good working distance in the field.
More InfoLens care in the field
Fungi photography happens in exactly the environments that are hardest on equipment: damp, humid, often rainy. A few habits go a long way.
Always carry a microfibre cloth. Moisture on the front element degrades image quality immediately. A lens hood gives the front element some physical protection from drips and accidental contact with the ground. Weather-sealed lenses like the Olympus 60mm, Sony 90mm G, and Canon RF 100mm L are a genuine advantage in light rain, though not waterproof.
For storage, never keep lenses in airtight plastic bags for long periods, especially with any moisture present. That is the ideal environment for fungus to grow inside the barrel. Silica gel desiccant packs in your camera bag help, particularly in humid climates. Let lenses acclimatize slowly if coming in from the cold before sealing them away. And after any wet field session, wipe the exterior down with a dry cloth before putting the lens away.
Best of luck out there.
No responses yet